
Here is a downloadable PDF of the LED Room Light Conversion (right click to save the file):
I have a good modeler friend named Michael Rose who has an excellent (and large!) layout under construction ( http://www.gamrailroad.com/ ). He is converting the layout lighting from florescent to LED and when I saw it in person I was hooked! His LED lighting looks so natural and has great color and shadow – much like outdoor light. I currently have halogen track lighting which super heats my little layout room so besides better looking lighting I wanted lower temperature lighting.
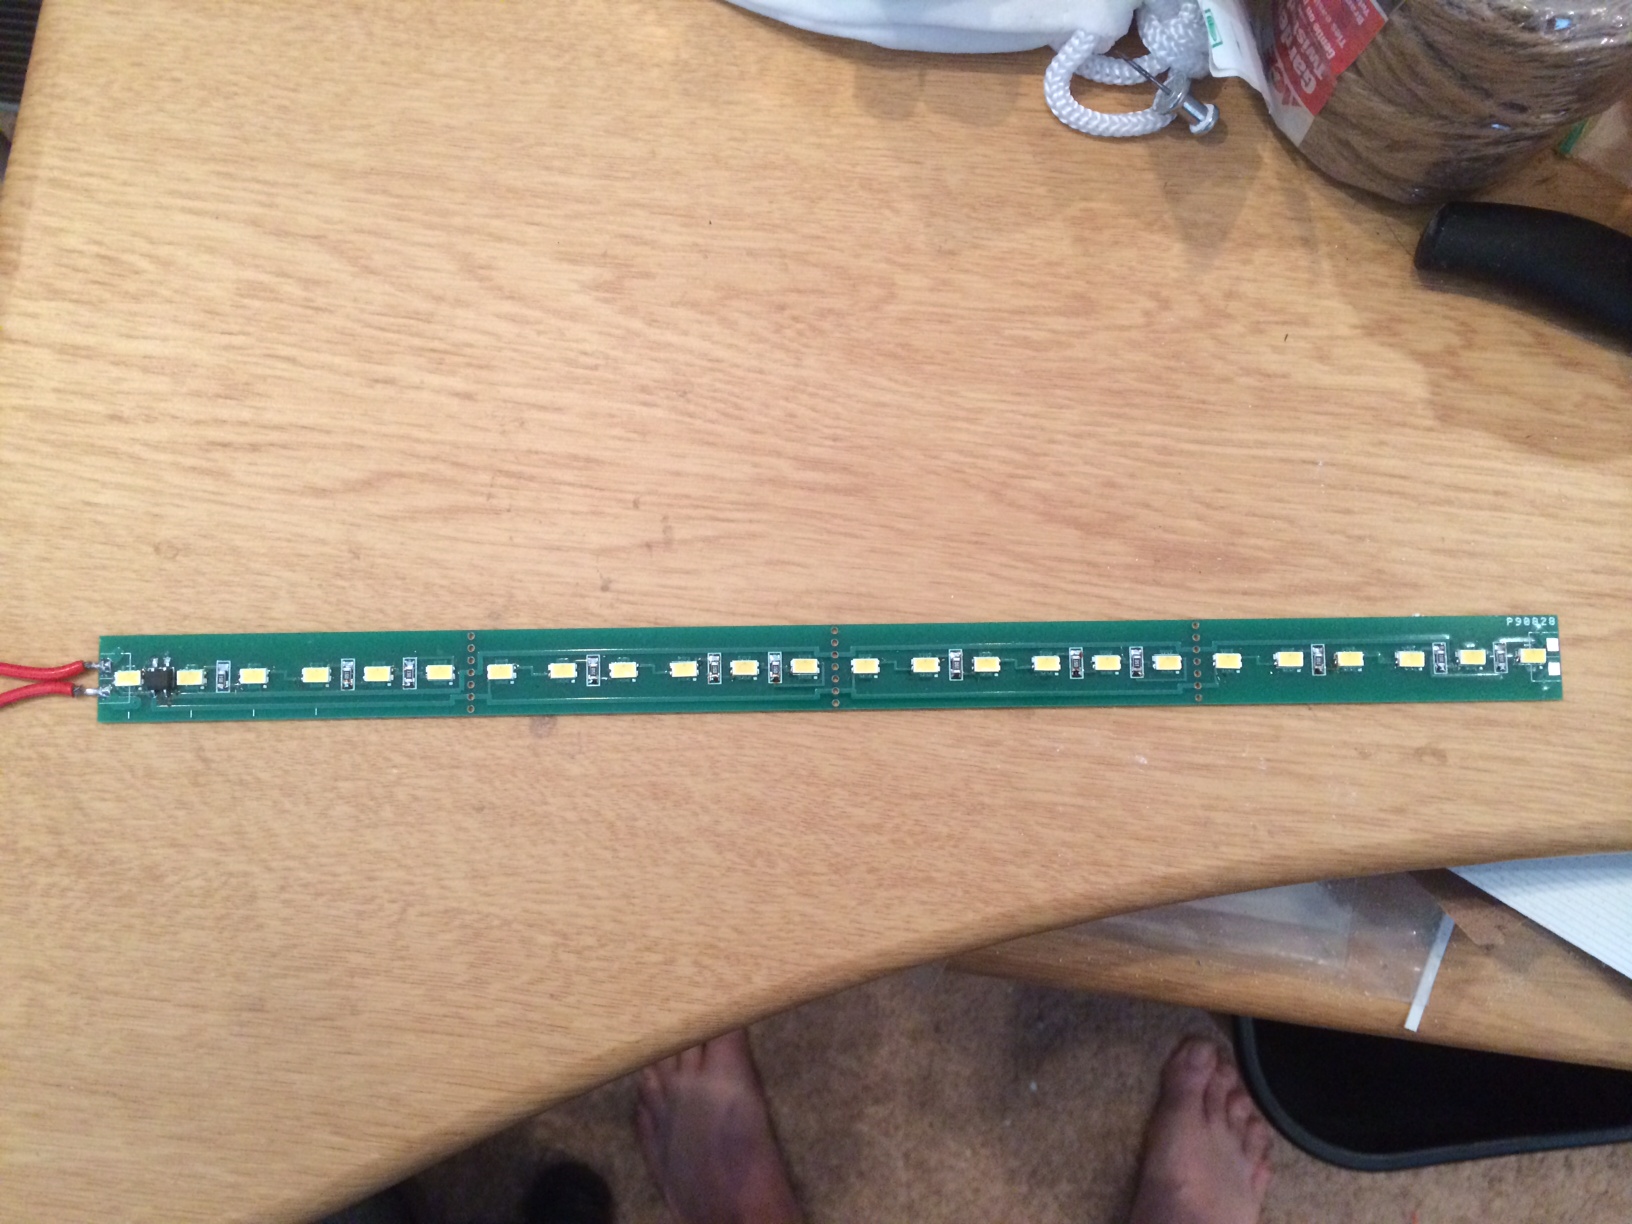
Michael is an electrical engineer and designed and assembled his own LED light strips including the boards. The strips are one foot long and have 21 high output LEDs along with three resistors. The strips are powered by 24 VDC and consume about 7 watts per board while outputting amazing light levels that look very natural on the layout. Here’s what one of the assembled LED board looks like:
 So I told you the advantages – now here are the disadvantages: 1.) Expense – an assembled board cost about $12.00 each; and 2.) You have to assemble them yourself. I ordered the blank boards from Bill Brillinger ( http://www.pdc.ca/rr/catalog/5000/ ) while getting the LEDs and resistors from Digikey.
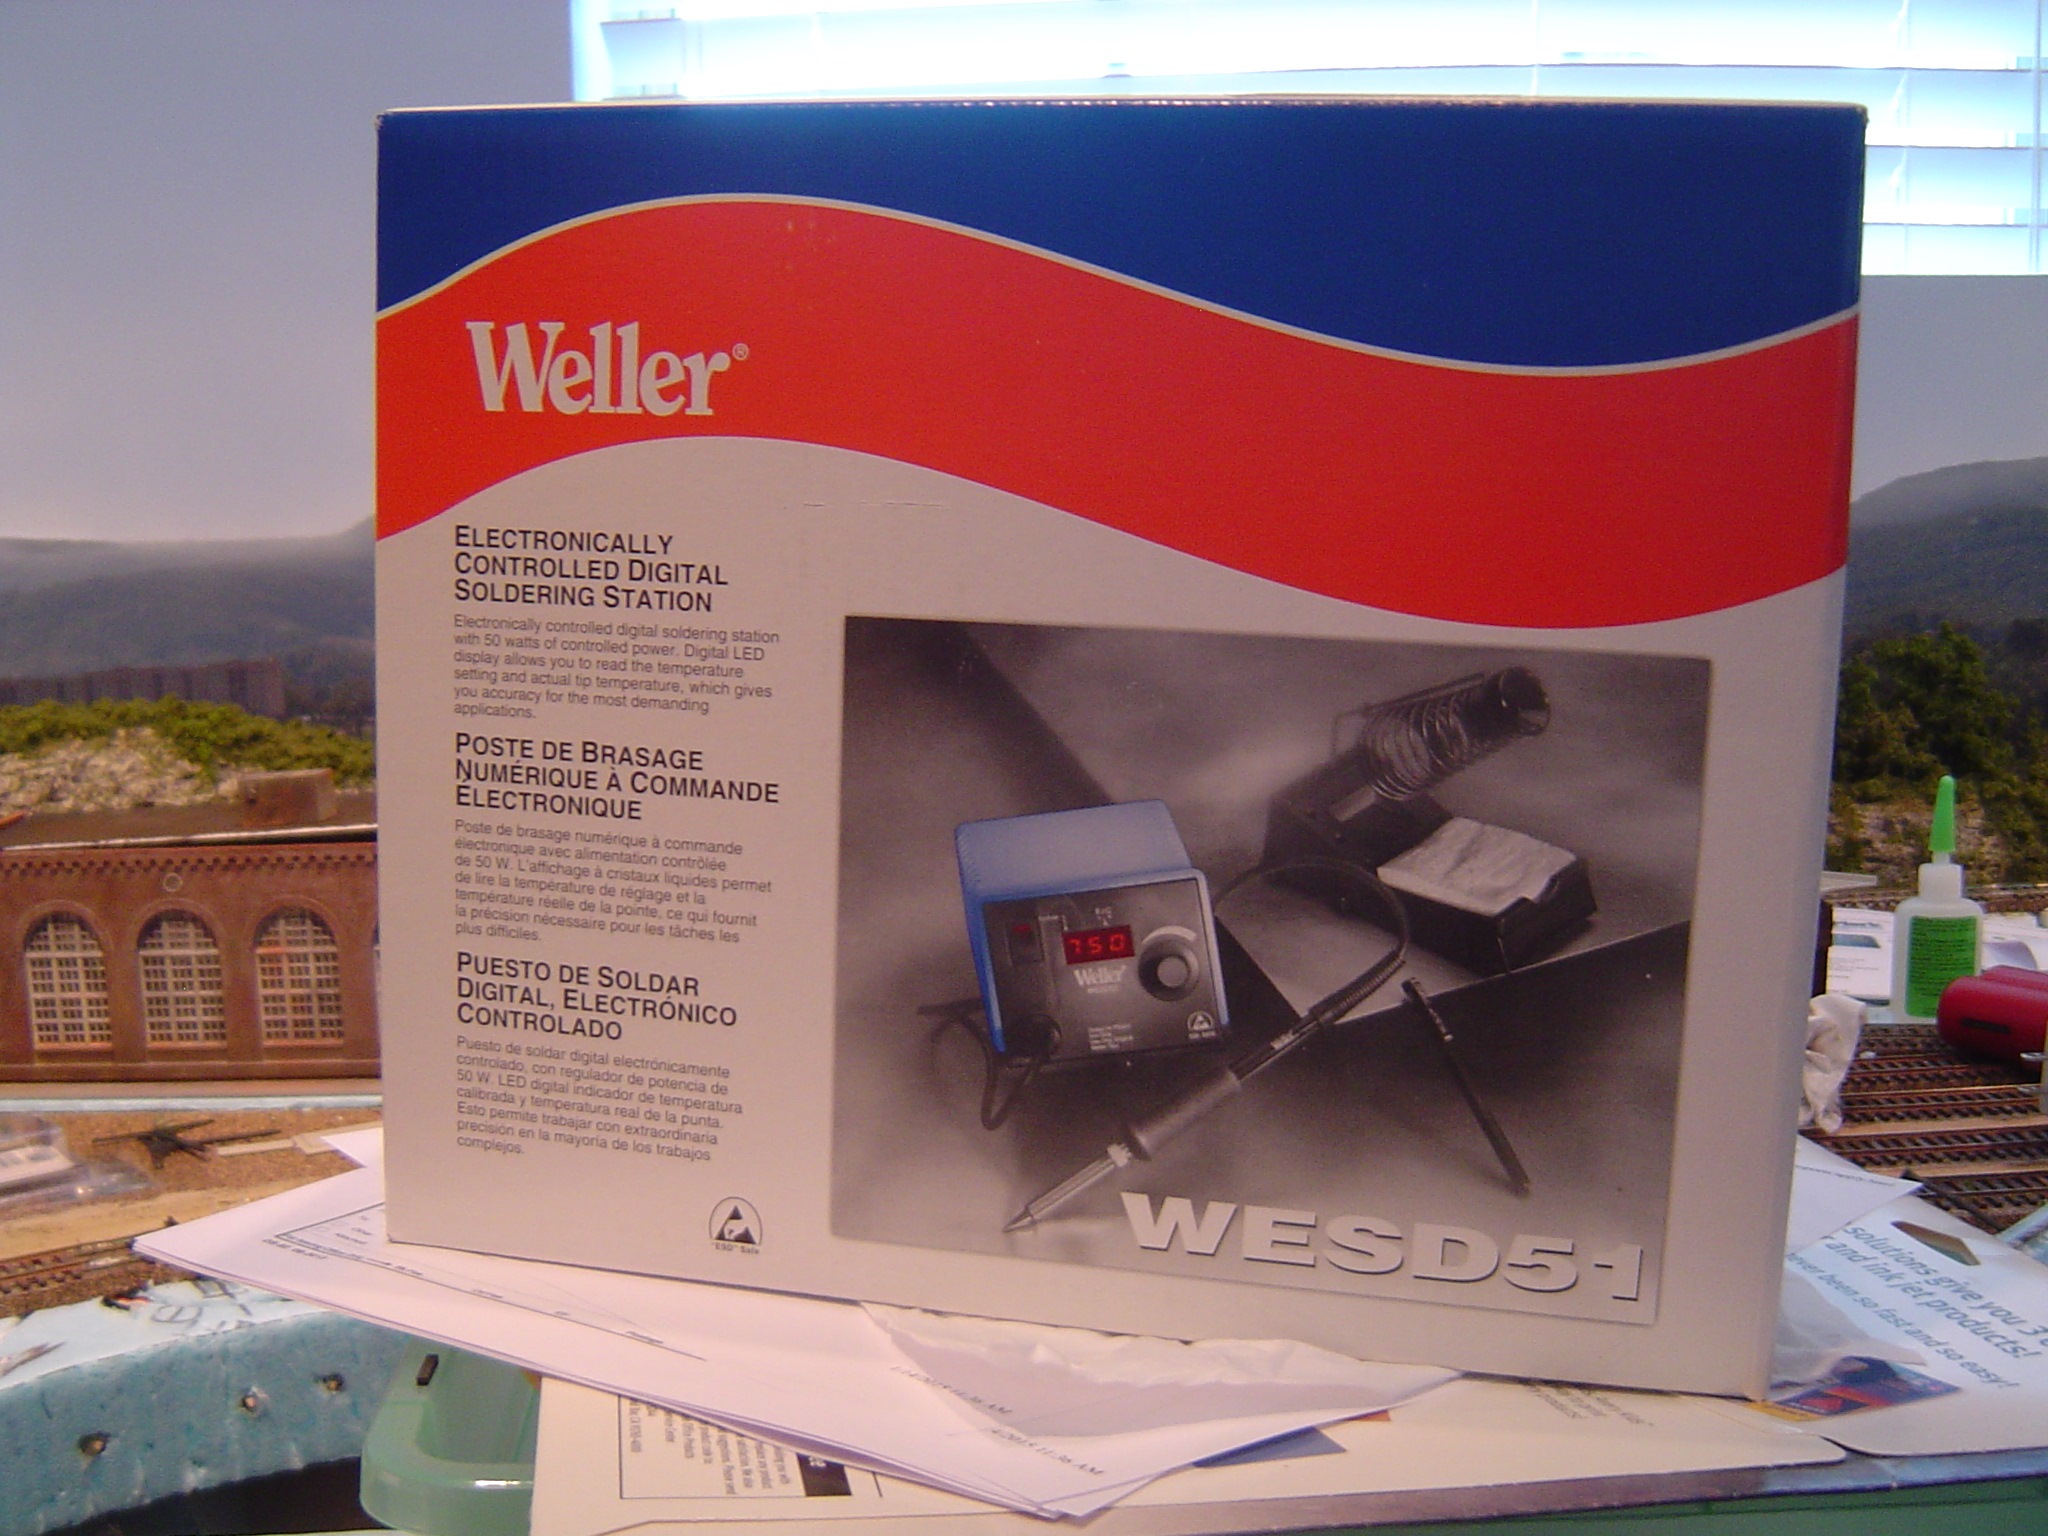
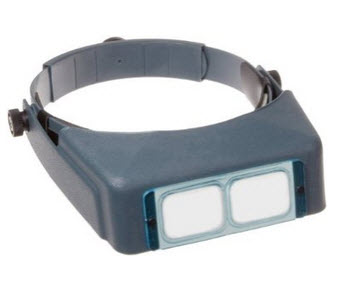
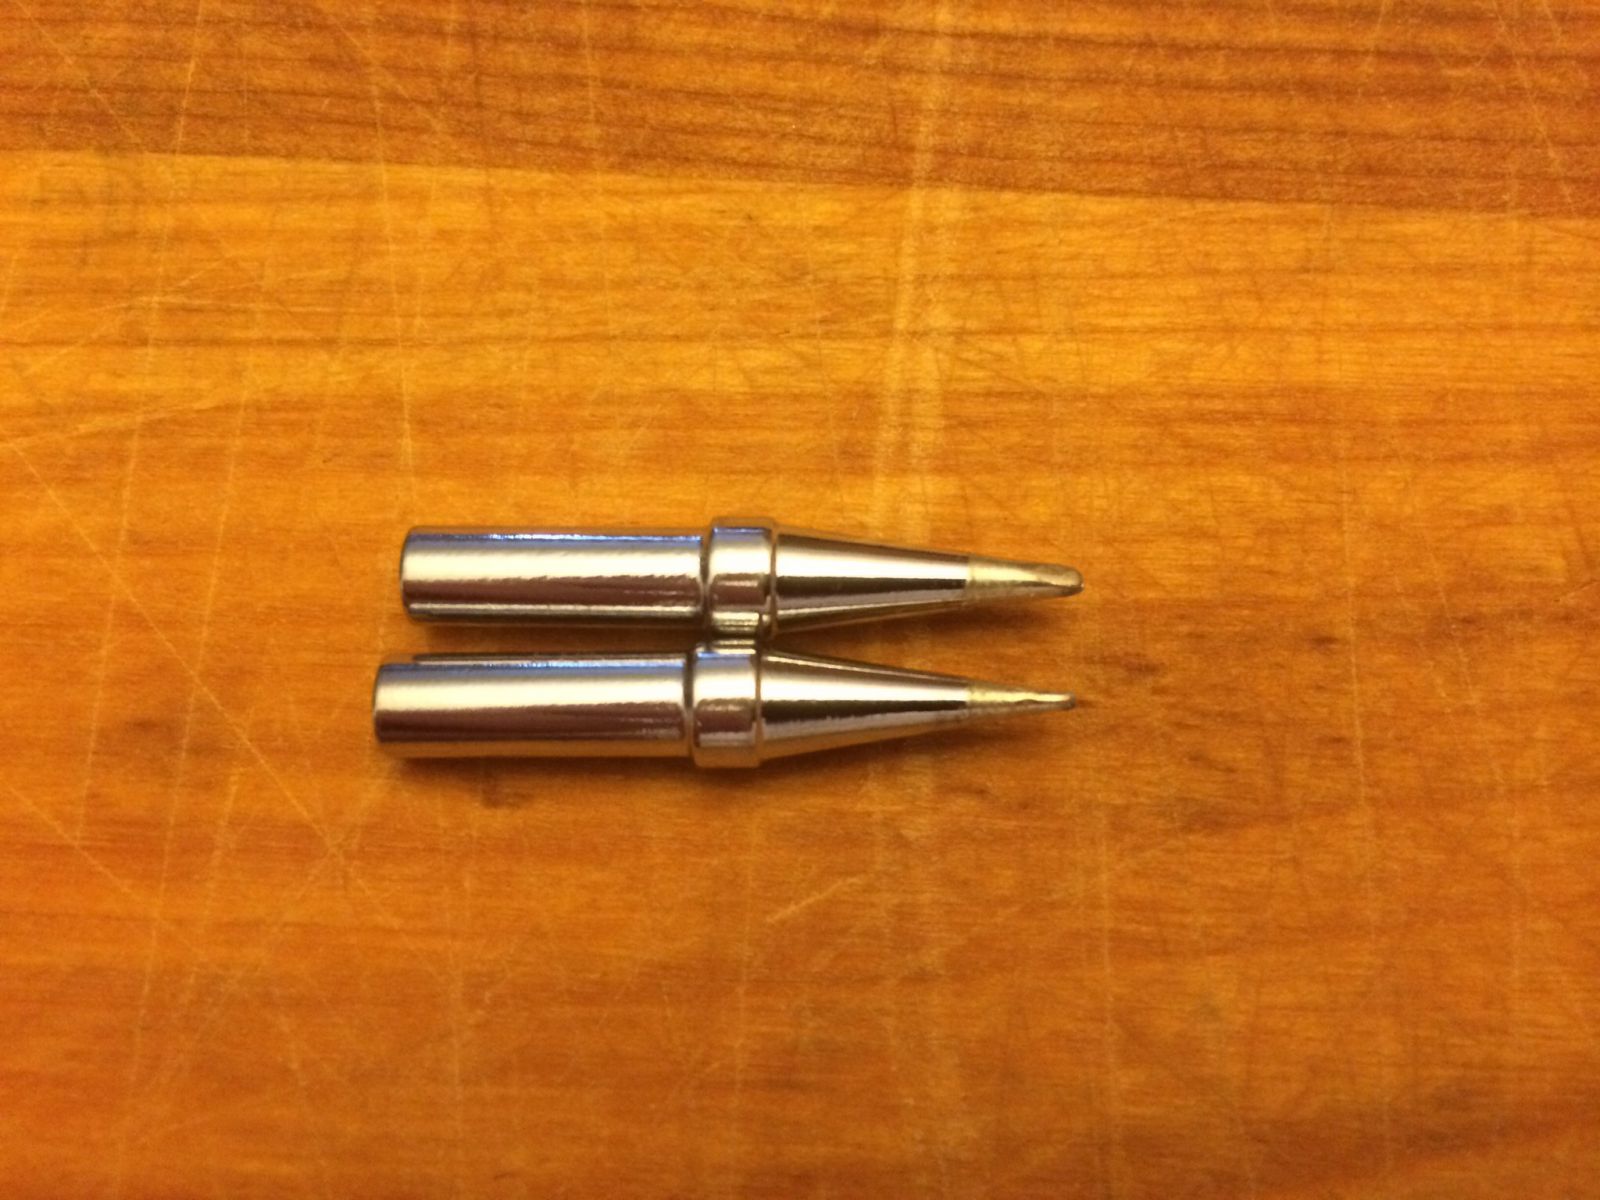
Now I’ve never attempted soldering such small components and I wanted to do all I could to insure success so I bought the same soldering station as what Michael uses along with the same solder and smaller tips. Here’s some pictures of what I got:

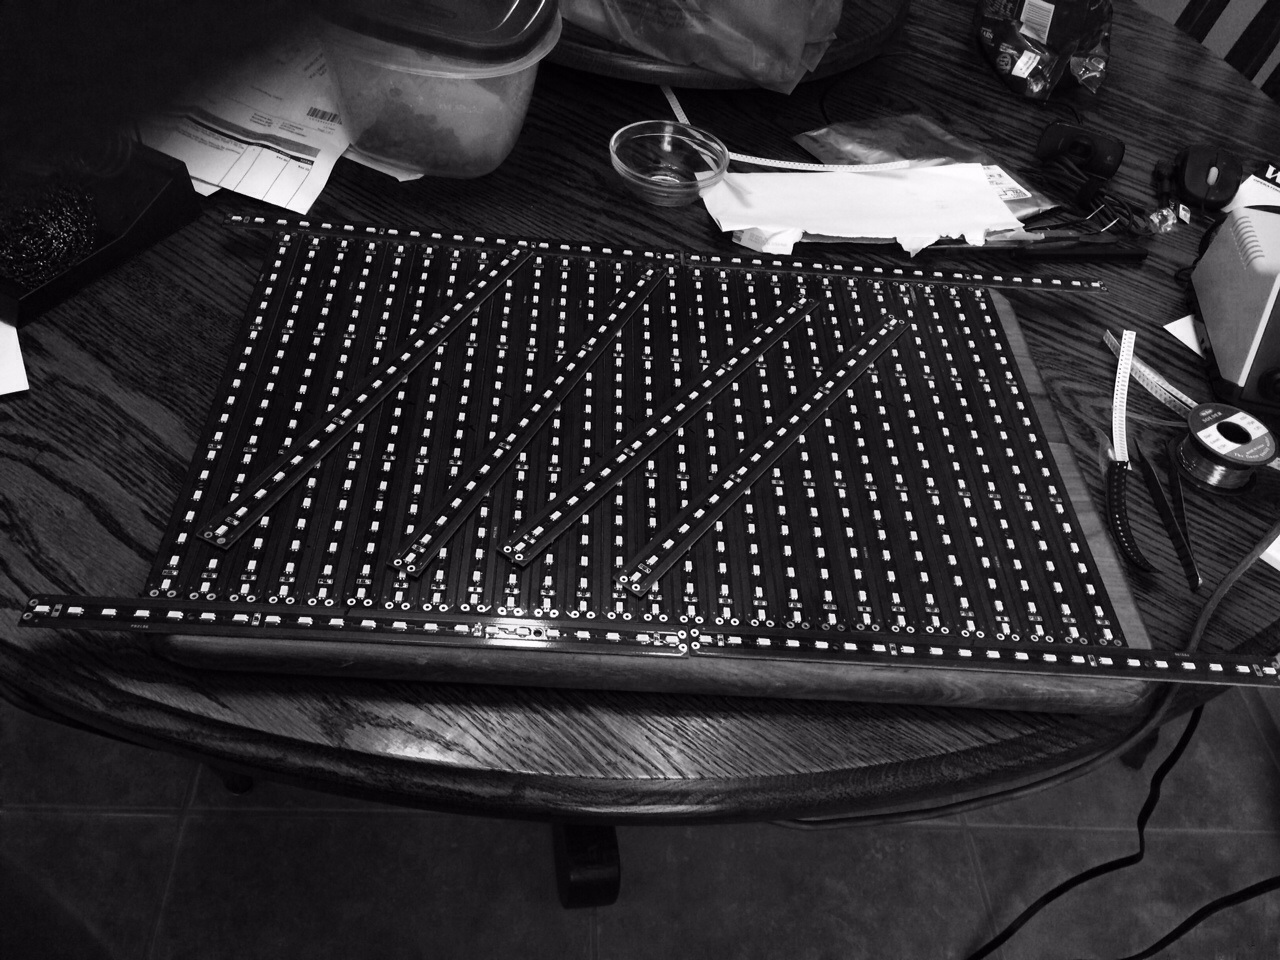
 I soldered the components onto the boards and after a few boards I got the hang of it and actually found it enjoyable. I needed 35 boards which took about 3-1/2 hours to assemble. Here’s picture of the assembled boards:
 Now with the boards completed I needed a way to hang them in my room. Michael suggested hanging the boards 30″ – 36″ above the layout at the edge with the boards angled in at a 45 degree angle. I used some 1″ x 3″ pine boards with 3/4″ quarter round to give me the angle.

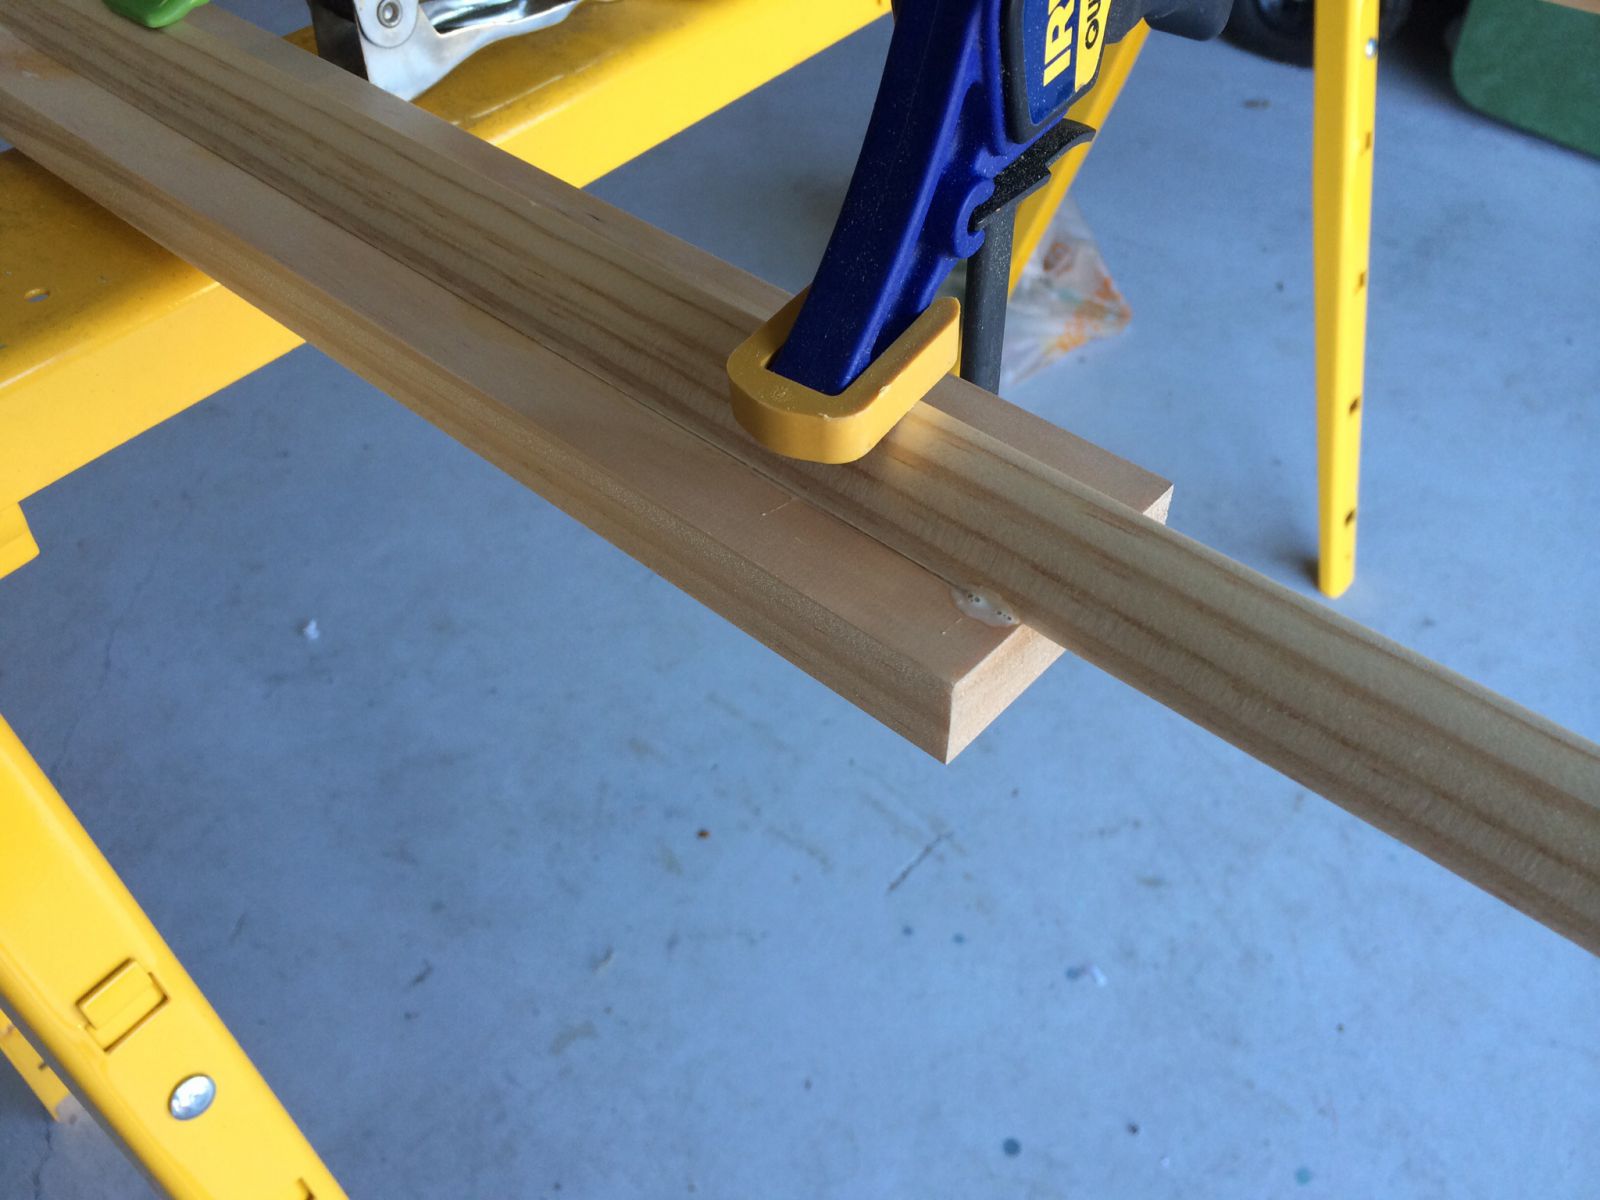 After I mounted the quarter round I painted the wood strips the same color as my layout walls and then mounted the strips using #6 x 1/2″ screws.
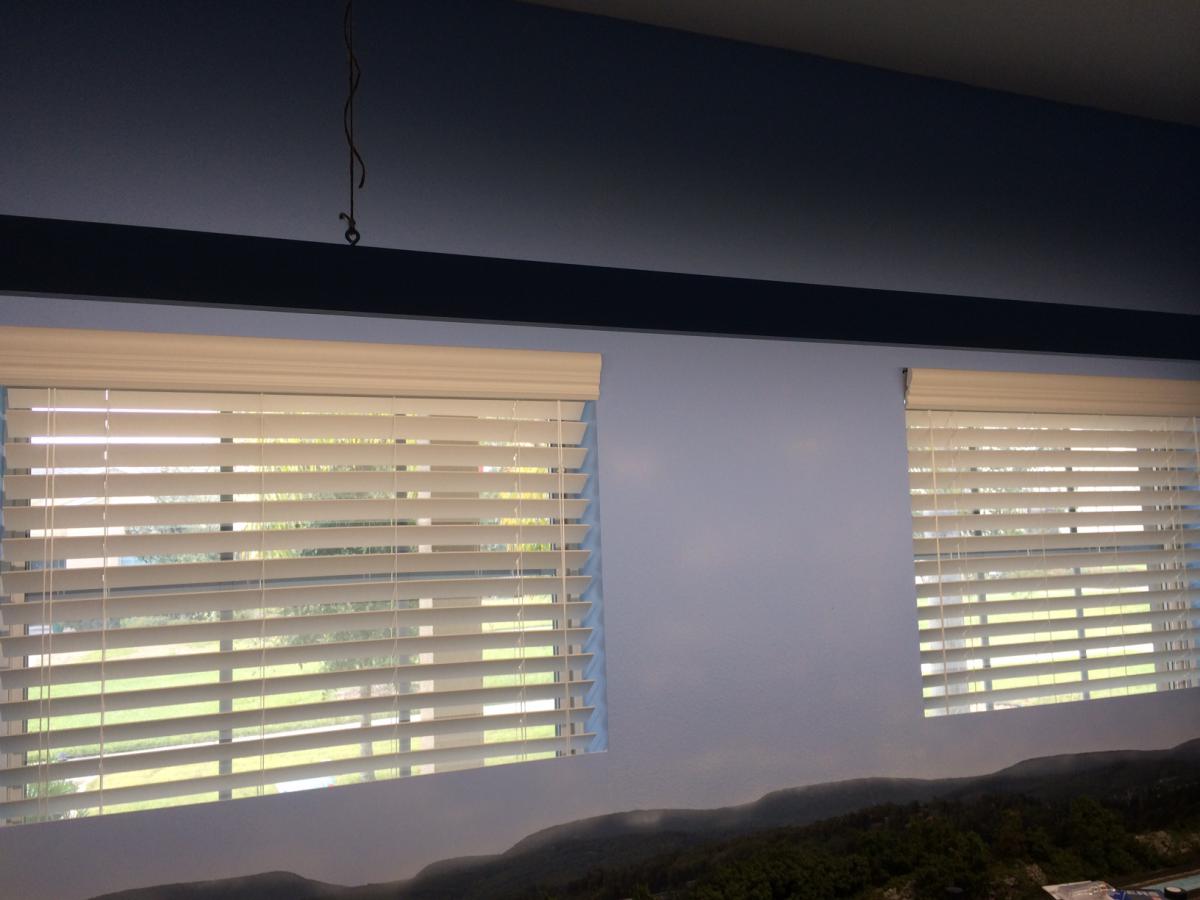
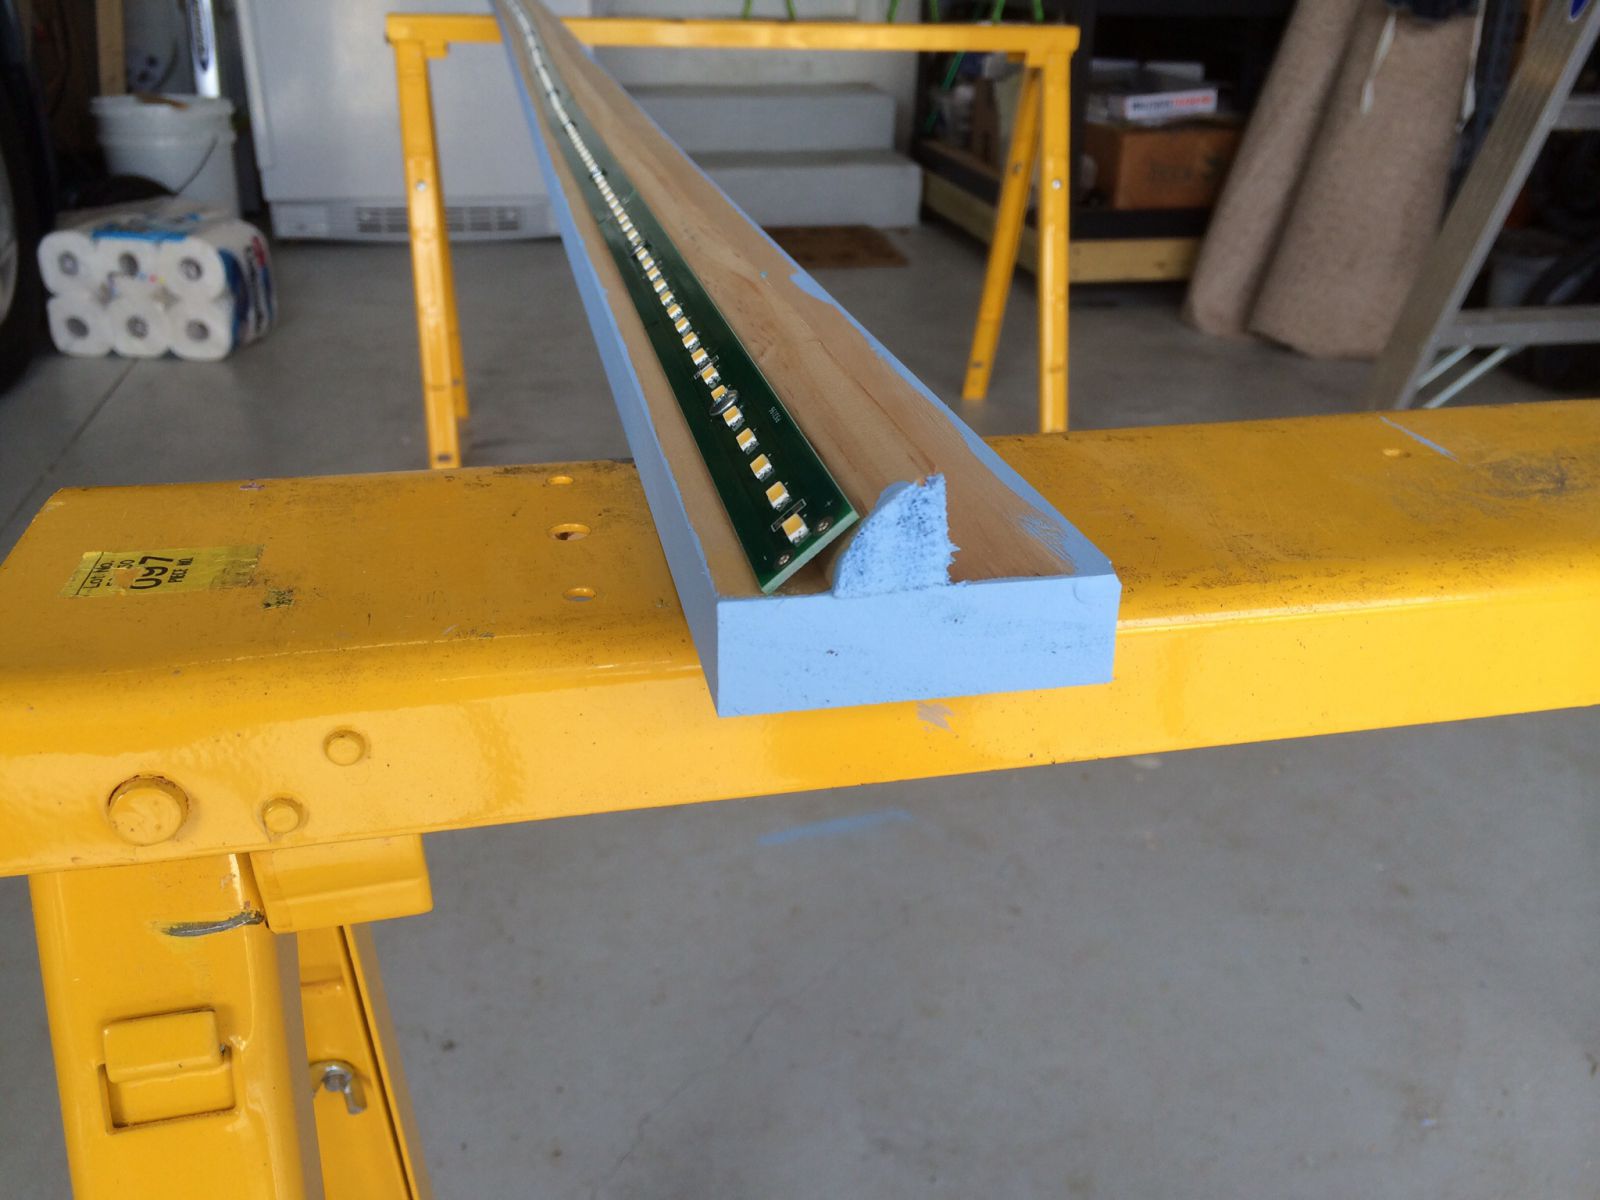 I used 16 ga wire to solder the boards in series using the supplied contacts on the ends of each board. With my small room I’m not using a valance and want to leave the upper room walls visible as I will be displaying pictures in that area. Here is one of the LED light bars hung in place temporarily:
 I’m blogging this project on the Model Railroad Hobbyist site. You can see it by clicking HERE.


