PLEASE NOTE: This is historical information as the railroad has been torn down and no longer exists.
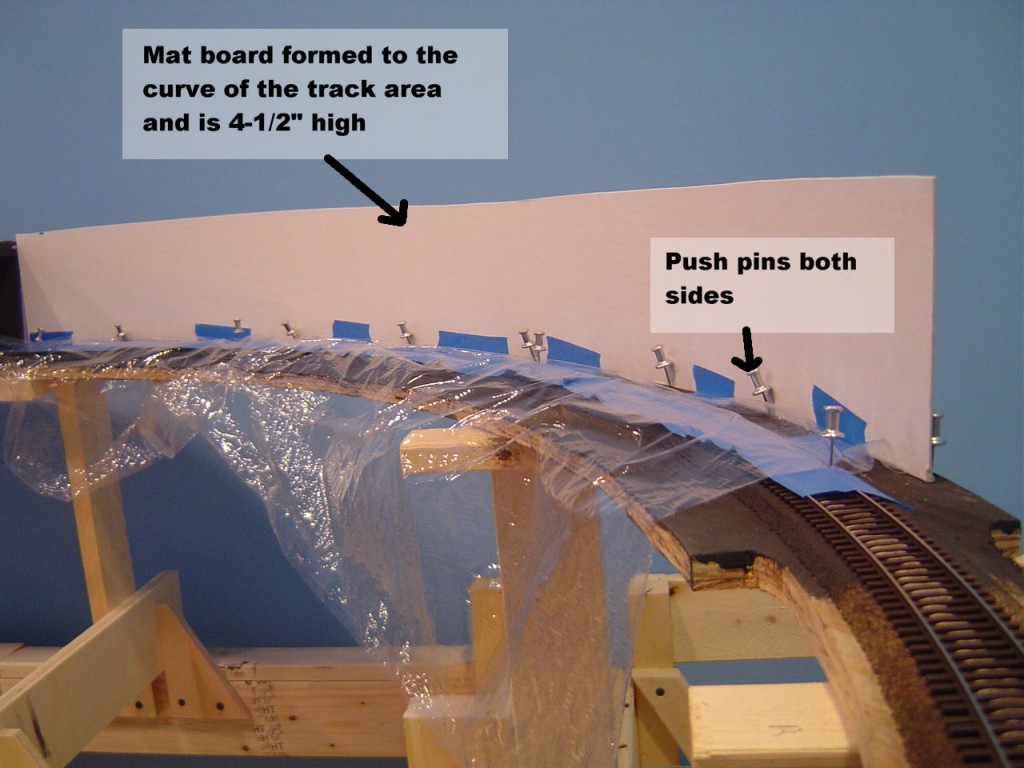
Now that the lower track mainline portion is nearly complete I need to complete the tunnel before starting on the upper mainline since it will cover the lower mainline for a distance. I made the straight portion of the tunnel out of 1″ foamboard but need a curved section on either end. There are many ways to do this, but I decided that I would try a new (at least it’s new to me) process that I thought up using mat board covered with plaster cloth. Following are pictures of the progress of the work.
Here’s the mat board held in place with push pins that will be removed as I apply plaster cloth. The purpose of the plaster cloth is to make a rigid curve.
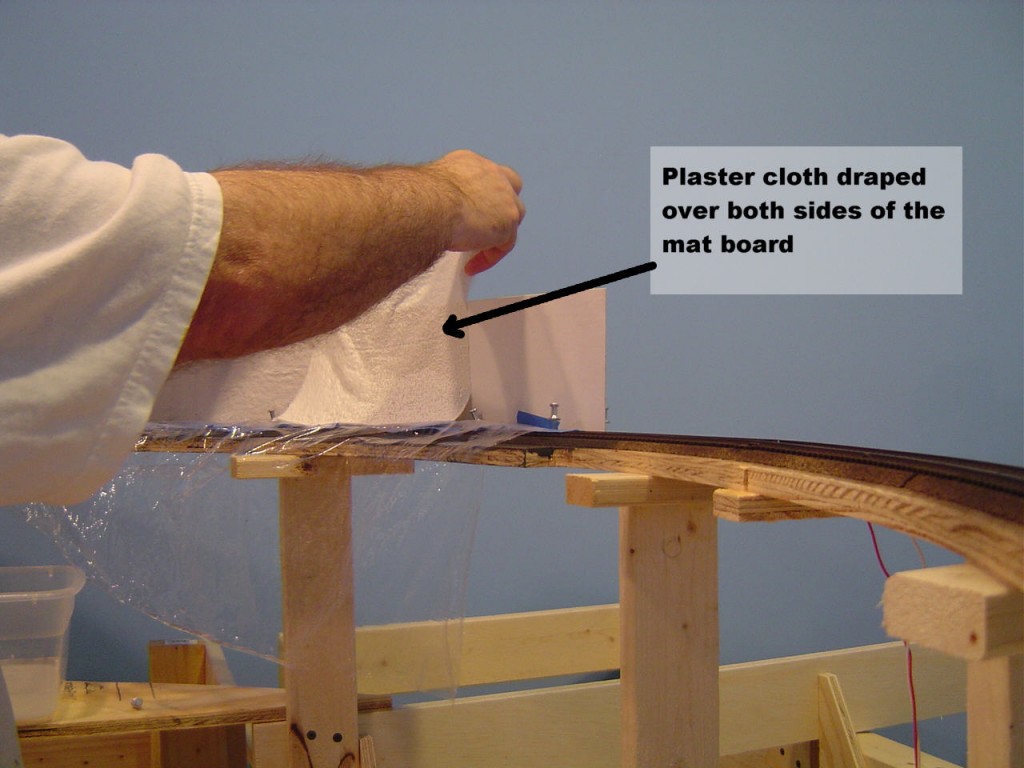
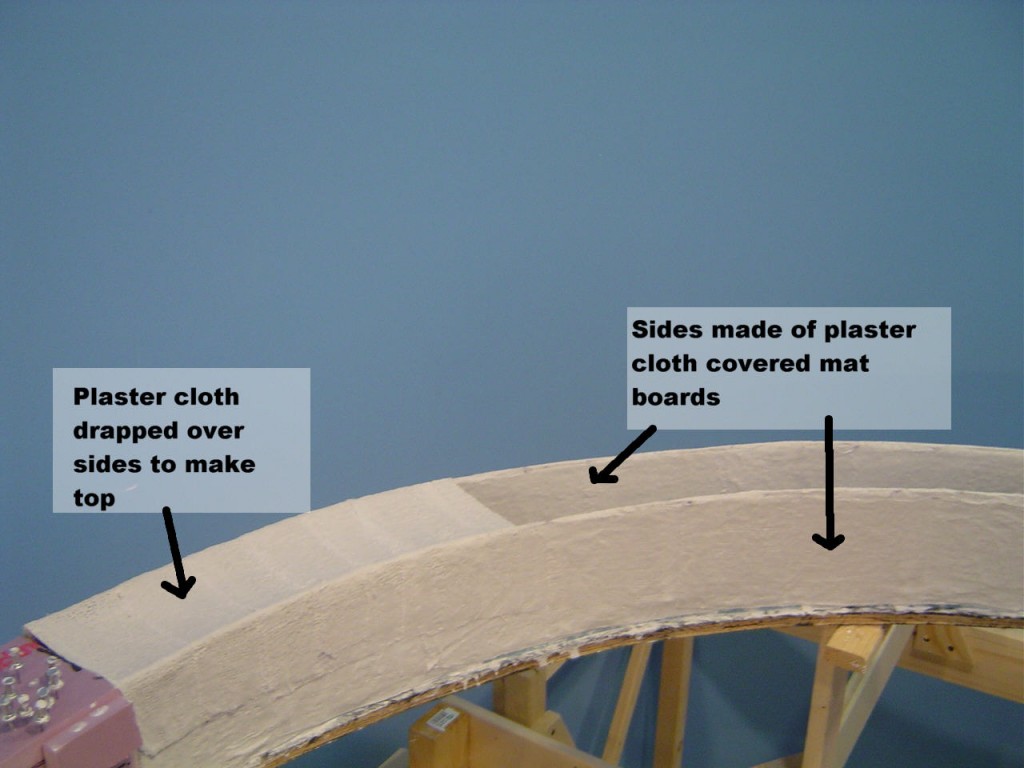
The plaster cloth was cut long enough to overlap and cover both sides and each piece overlapped the previous by 50% to add some strength.
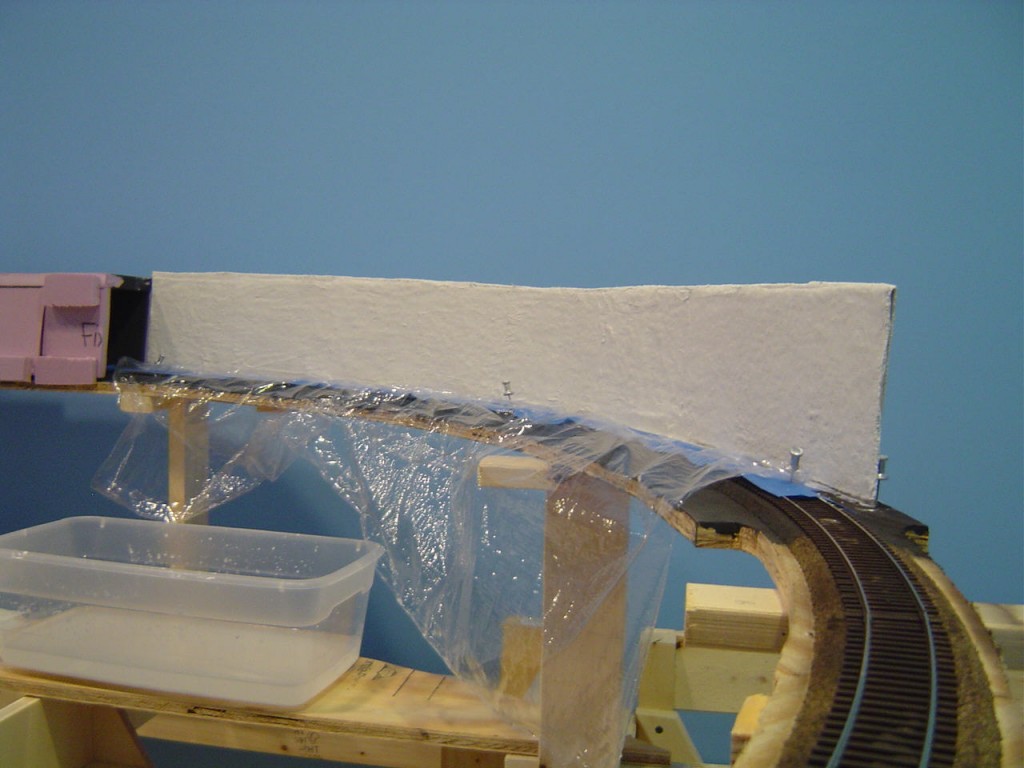
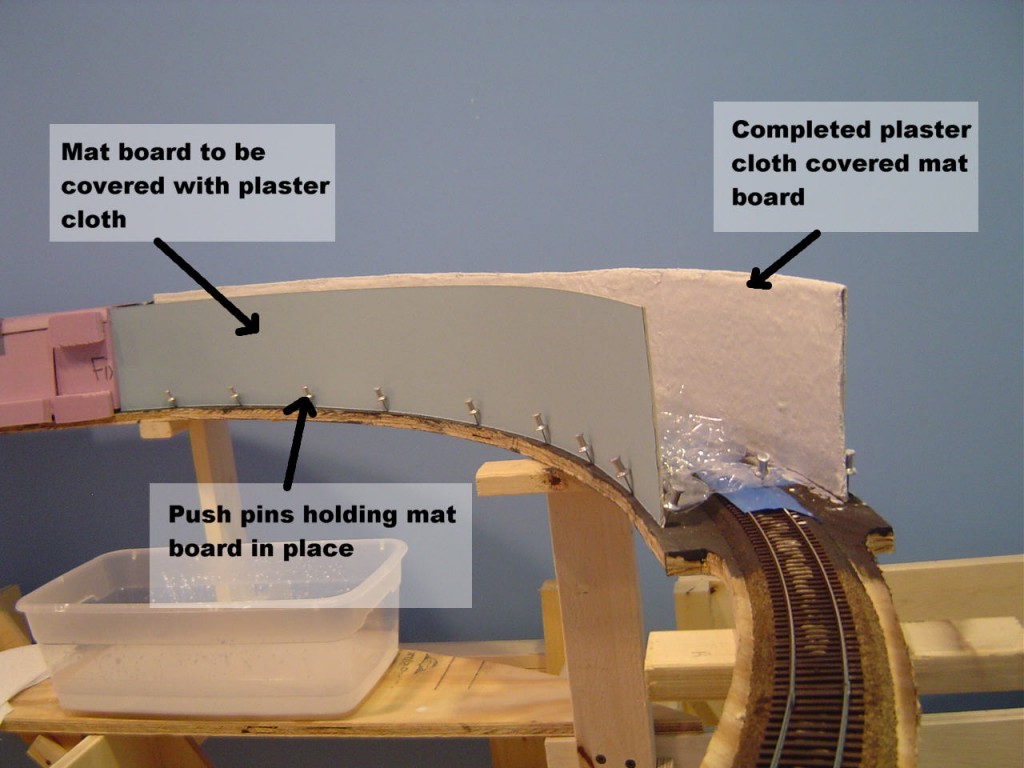
Here’s the one side completely covered with plaster cloth.
With one side covered with plaster cloth it’s time to cover the second side.
After I had completed both side I applied plaster cloth over both to form the top of the tunnel.
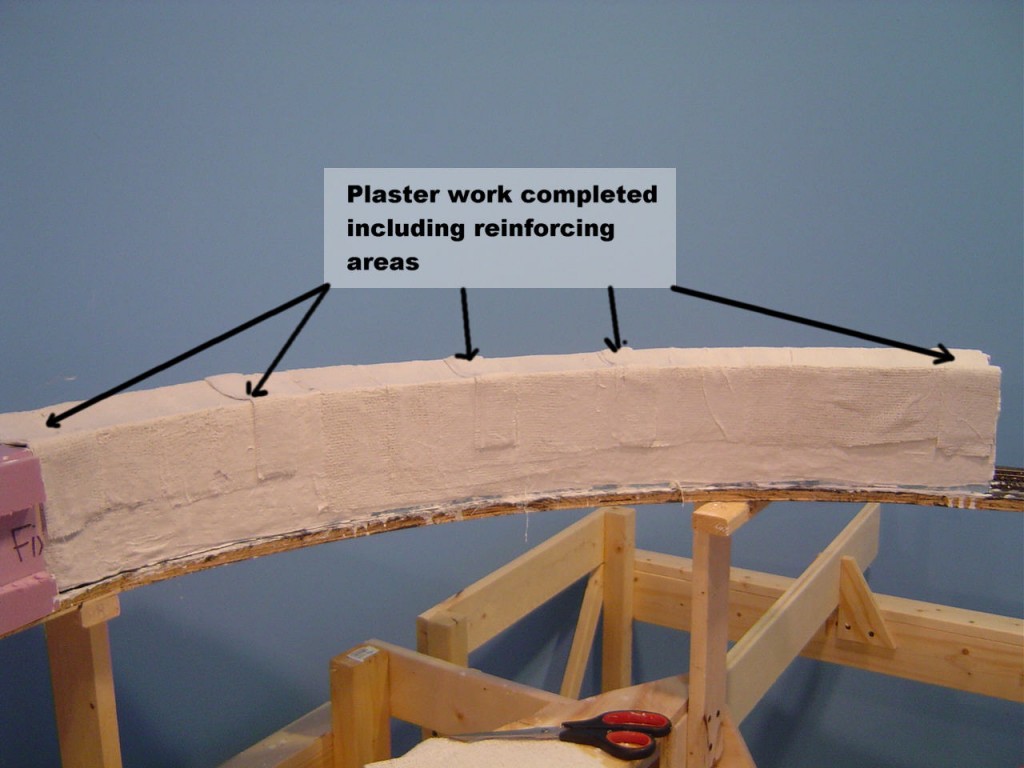
Here the tunnel top is complete along with reinforced areas to add strength.
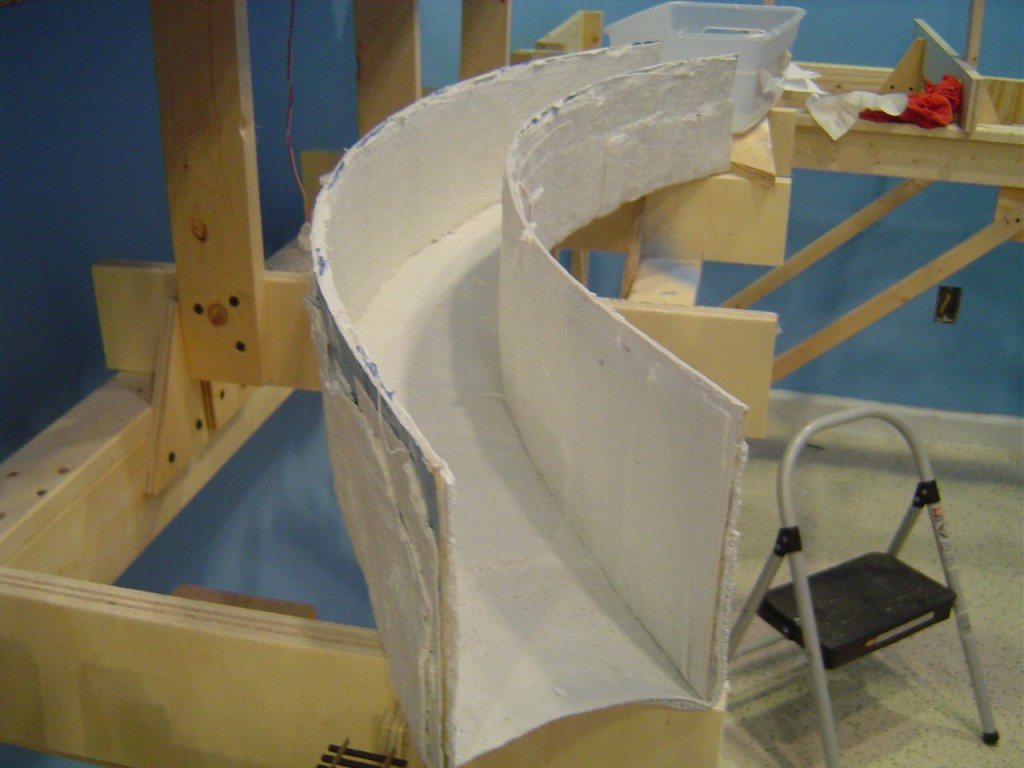
This is a view of the tunnel inverted to show the interior.
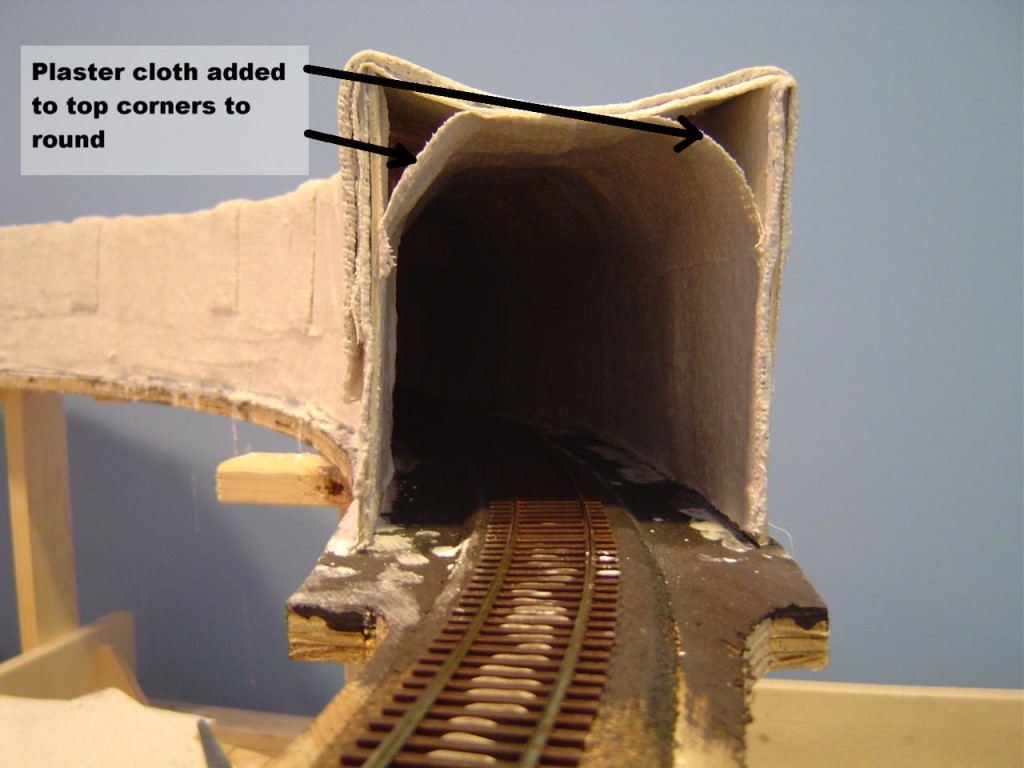
Of course tunnels don’t have square upper corners, so pieces of plaster cloth were added to round the corners.
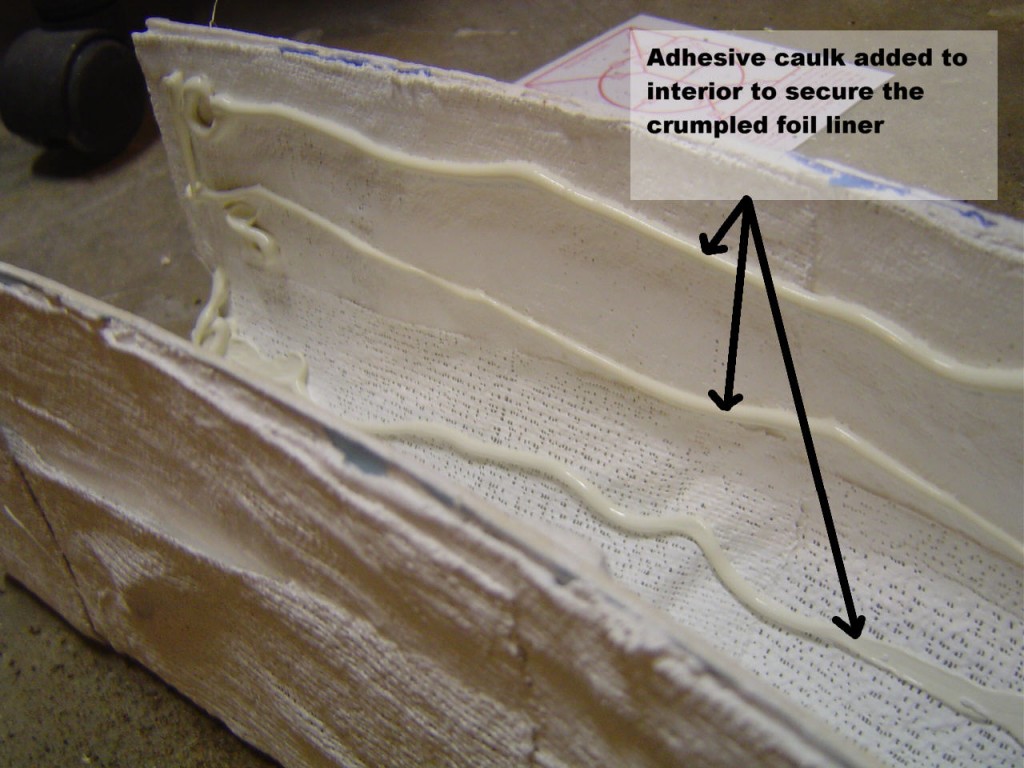
I applied lines of adhesive caulk to hold the crumpled foil liner to the plaster cloth.
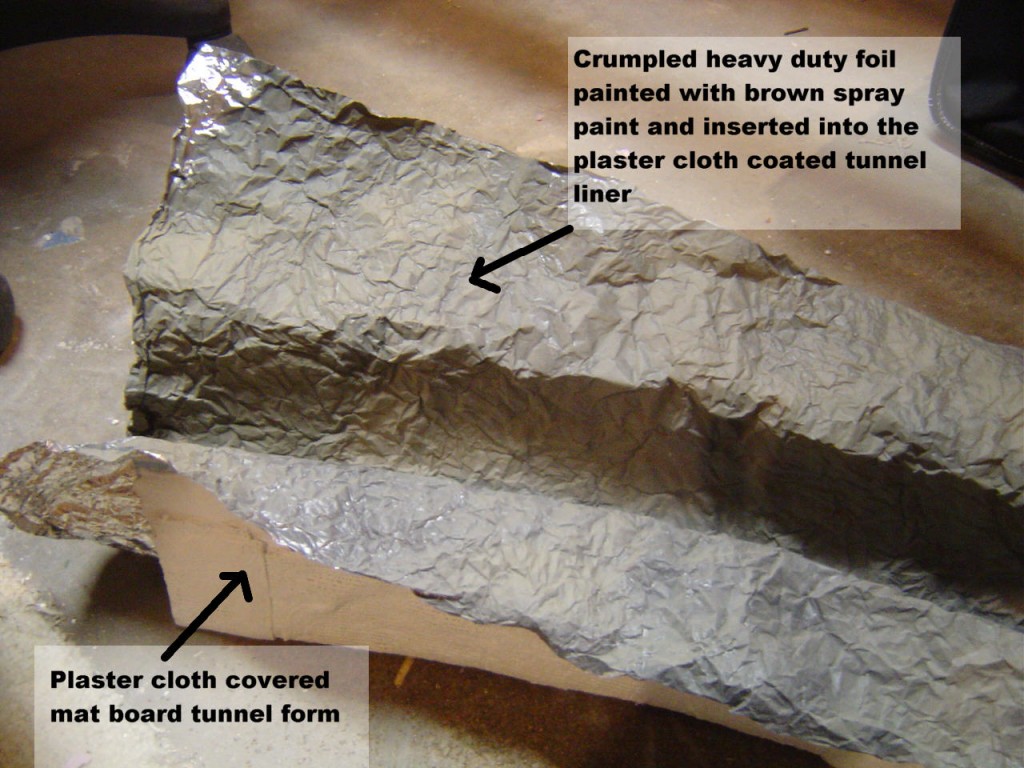
I was originally going to apply plaster to the plaster cloth and carve the rock face for the inside of the tunnel but decided to use the crumpled foil technique instead. I used heavy duty foil which I carefully crumpled and then smoothed out (not too smooth). Next I spray painted the foil with dark gray spay paint followed by a light coating of brown spray paint. I carefully formed the foil to the inside of the tunnel liner and pressed it into the adhesive caulk.
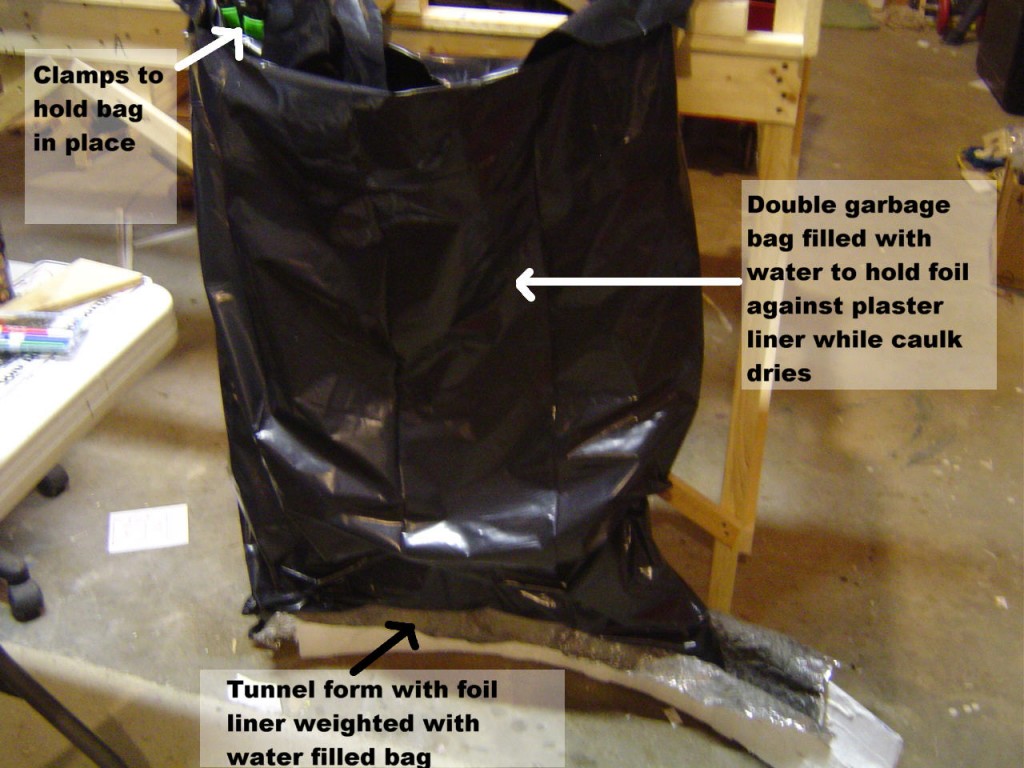
I wanted to make sure that the foil stayed pressed firmly into the adhesive caulk and stayed there until it dried. I came up with the idea of using a water filled bag since it would apply pressure in all directions. I “double bagged” it just in case there were any leaks and clamped the bags at the top to hold it up. I let the caulk dry overnight.
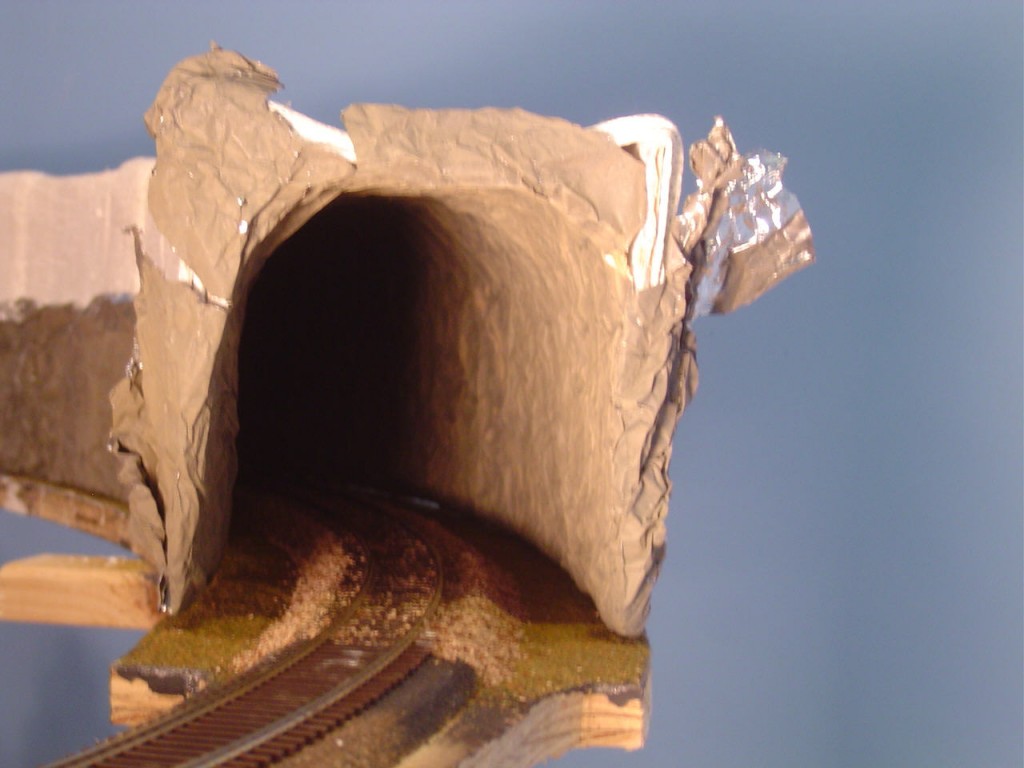
The tunnel liner still needs some color work and it just sitting on the benchwork at this point. Since I use a train video camera I wanted to make sure that the first part of the tunnel is finished as trains head into the dark. Once I do the coloring and track finishing I’ll permantly install the tunnel curves to the layout.

