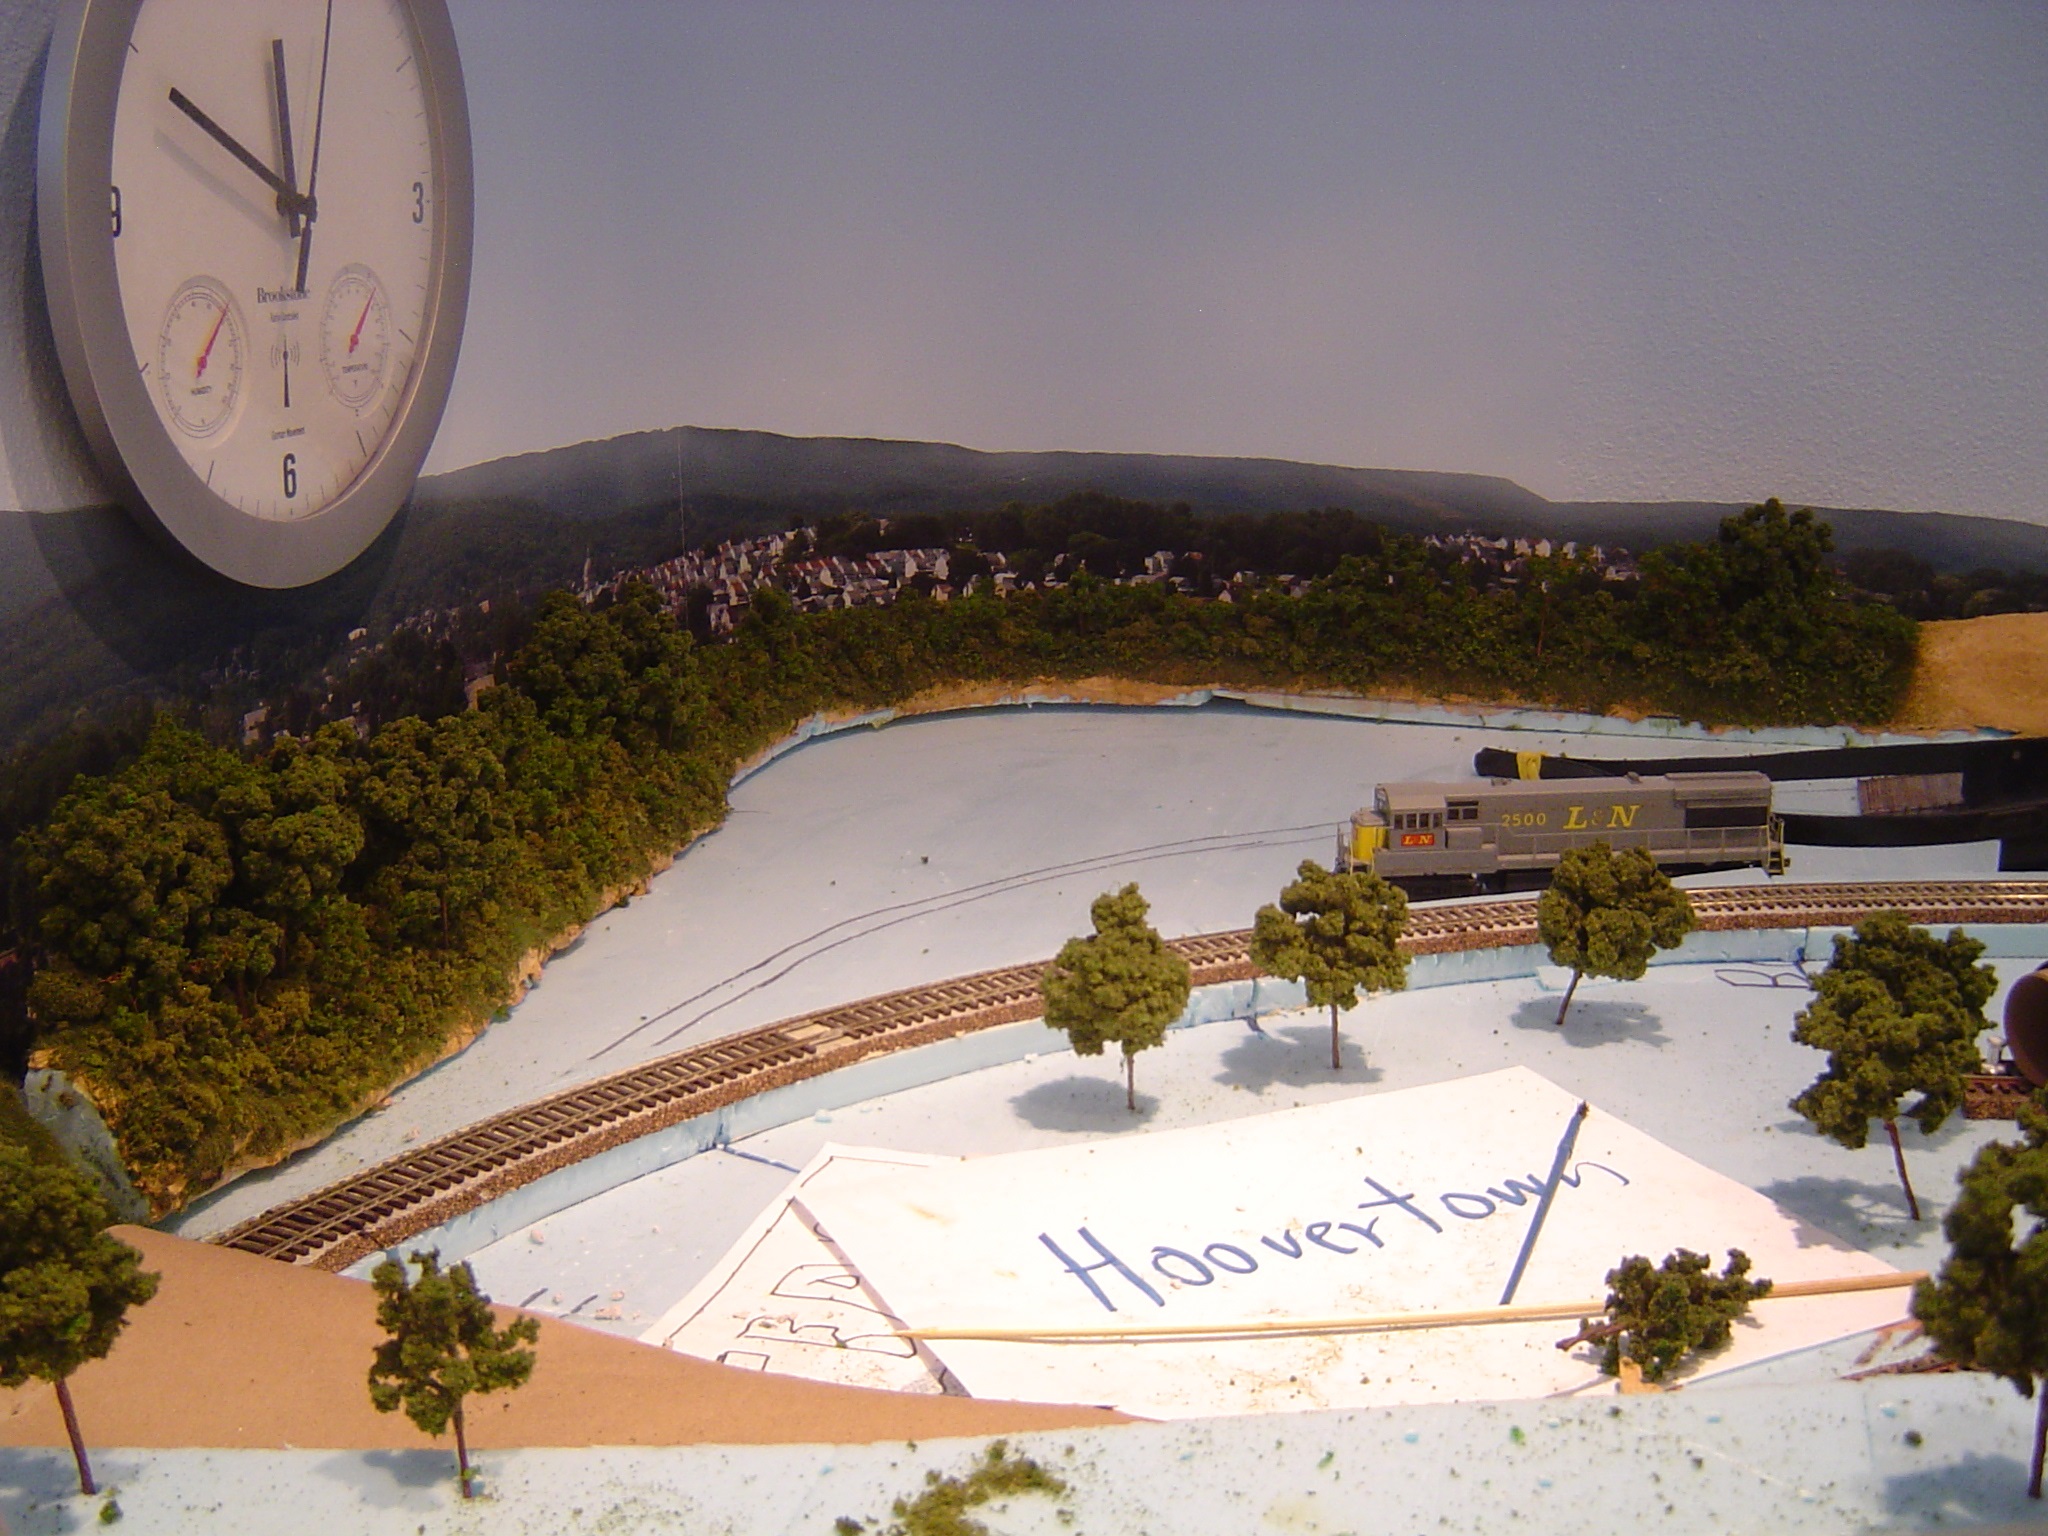
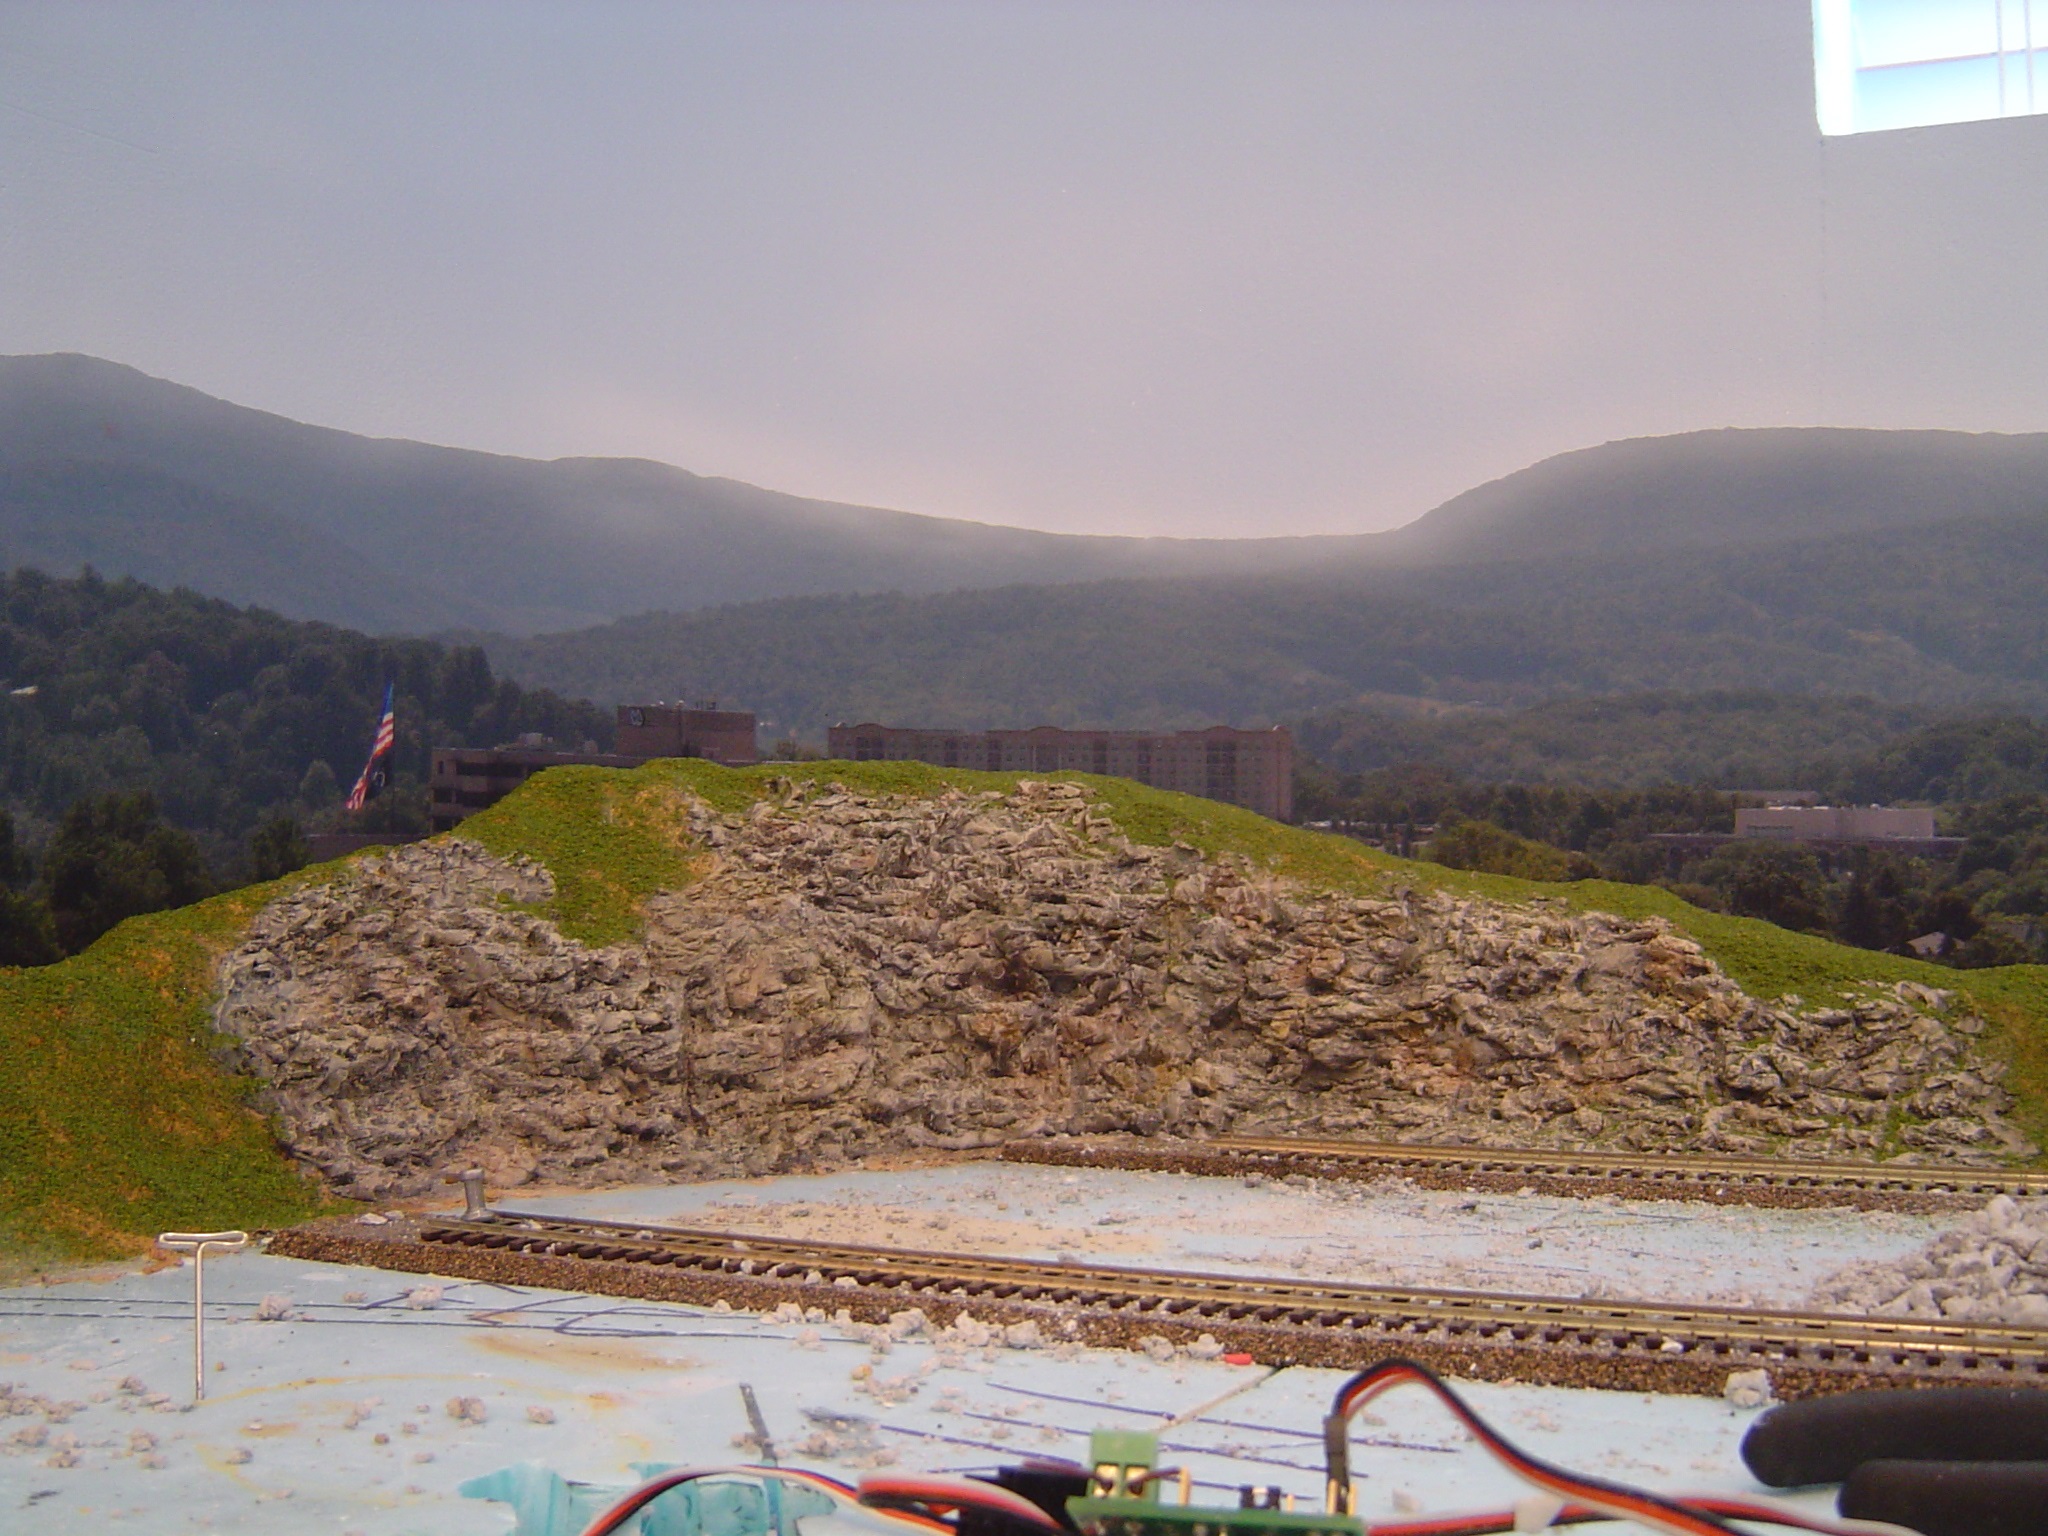
With the backdrop installed I started work on the hills next to it at the back of the benchwork. The hills are crumpled aluminum foil covered with masking tape and then topped off with Sculptamold(tm) tinted brown. Next I added gray tinted plaster rocks which I hand carved. The pictures below are of the painting process followed by the start of adding foliage.
**** Clicking on the pictures will give you a larger view ****
I used the “Leopard Spot” process as outlined on the Woodland Scenic(tm) video on their site. There are three colors: Yellow Ochre, Forrest Green, and Pumpkin Orange all cut with water 1 part paint to 20 parts water. I dabbed the colors randomly and in places on top of each other.

After adding the three colors I spayed the entire area with black paint thinned with water and alcohol. I don’t know the ratio but just tested it on a scrap piece of plaster until I got the look that I liked.
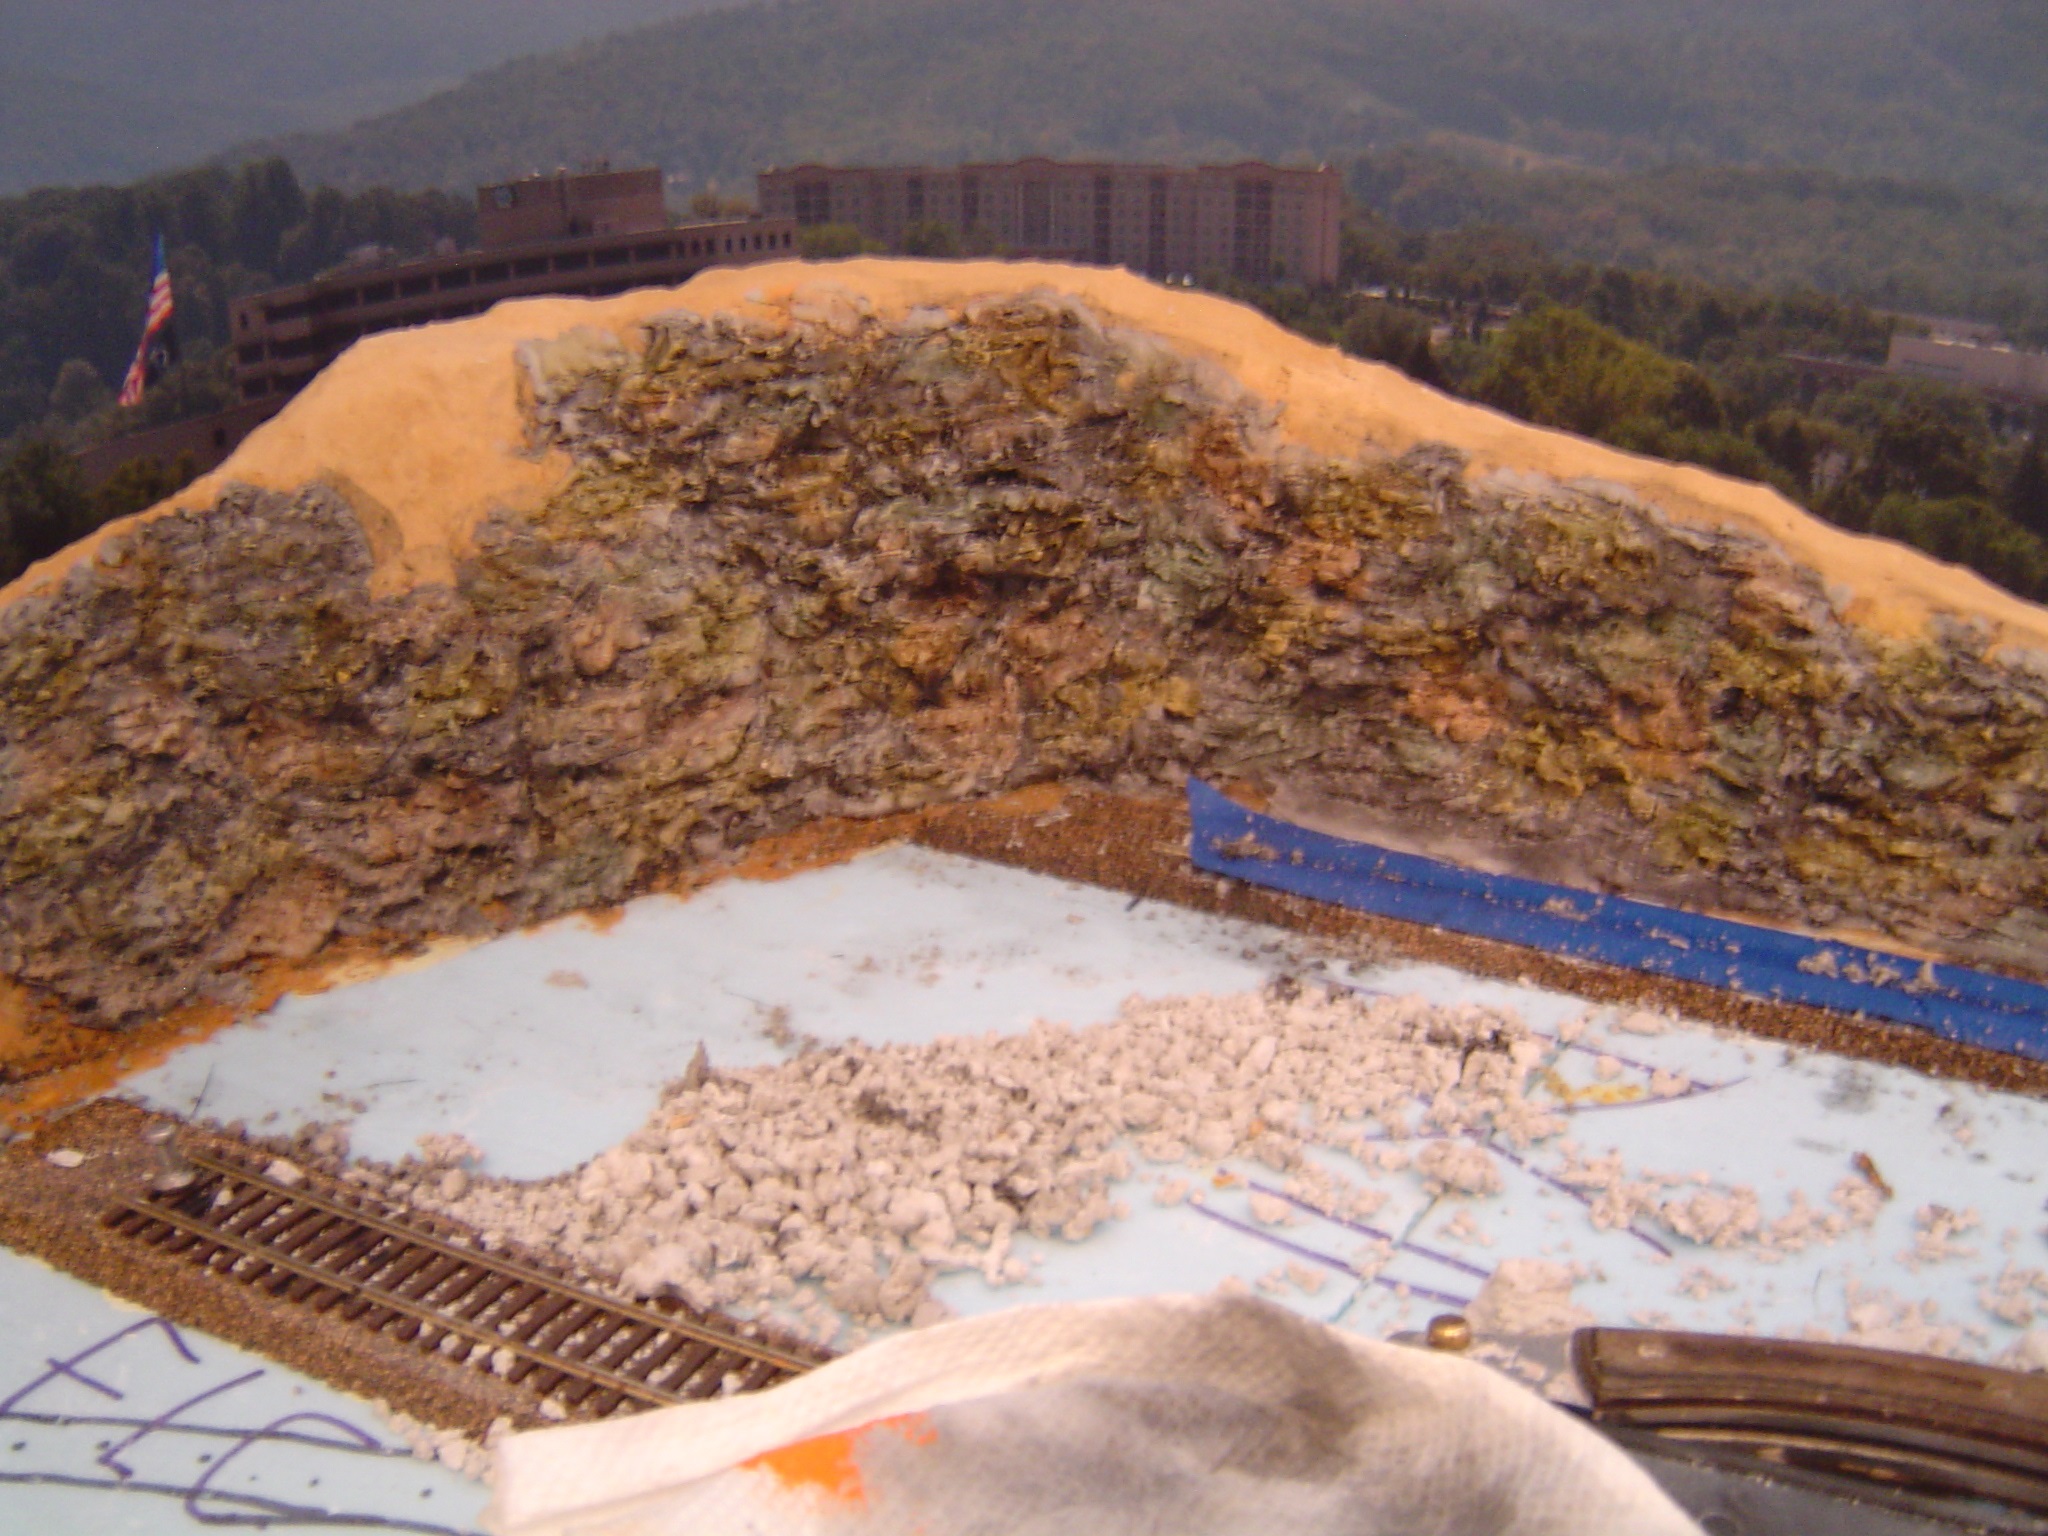
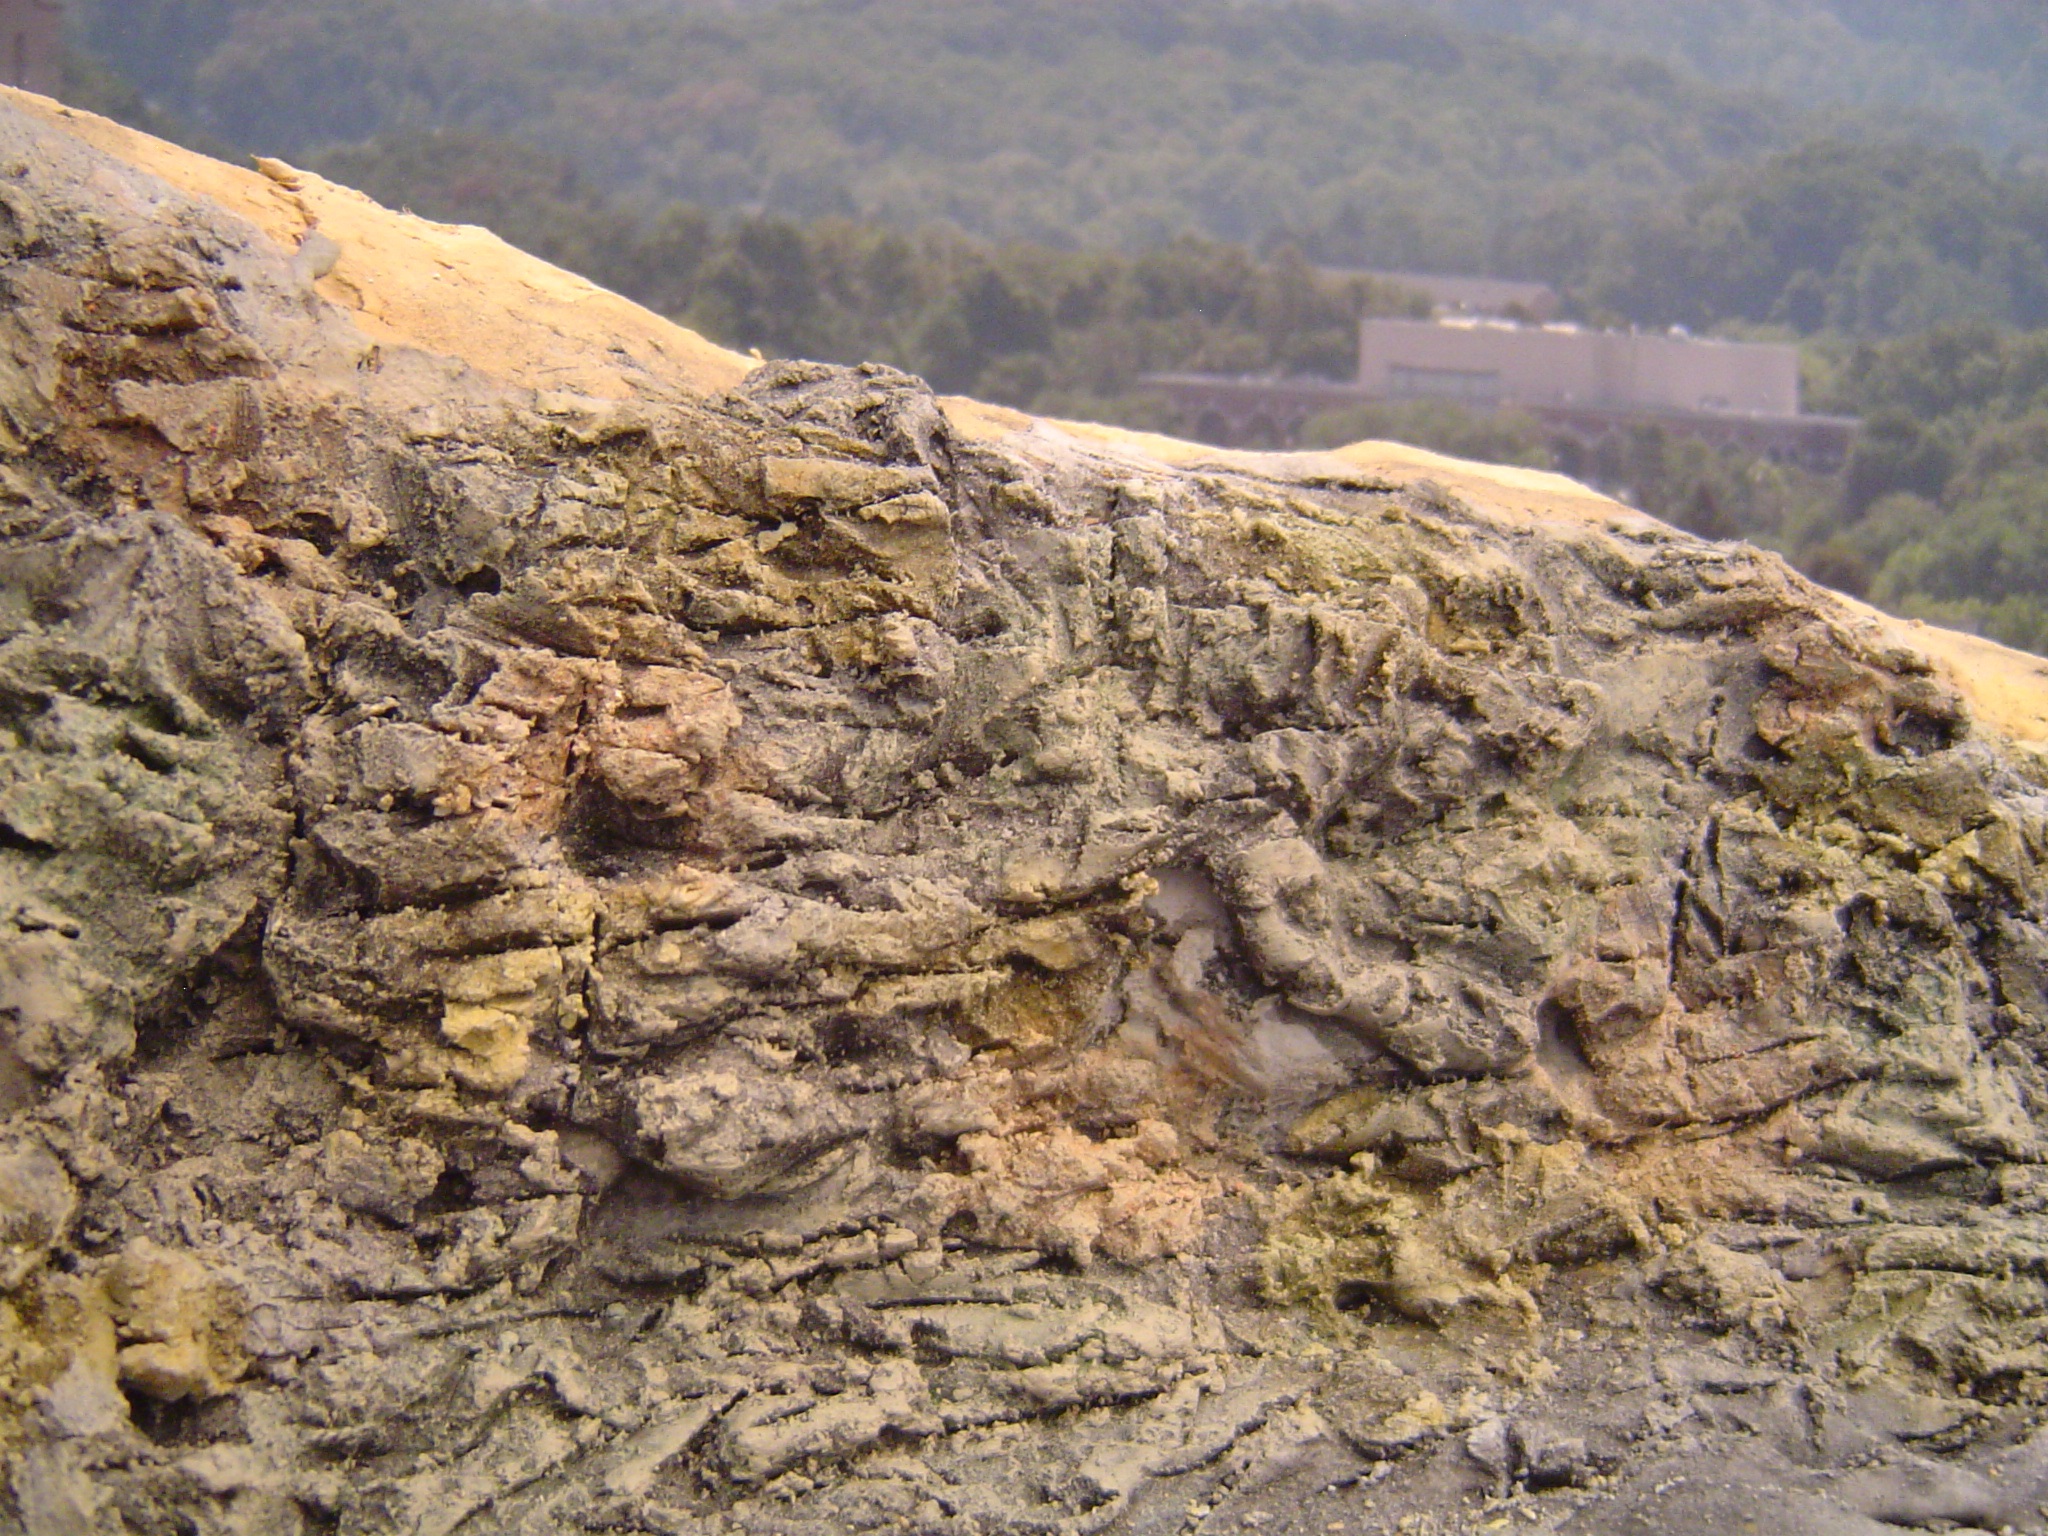
Here’s a close up shot of the area after highlighting the edges of the rocks with medium tan and then with light tan.
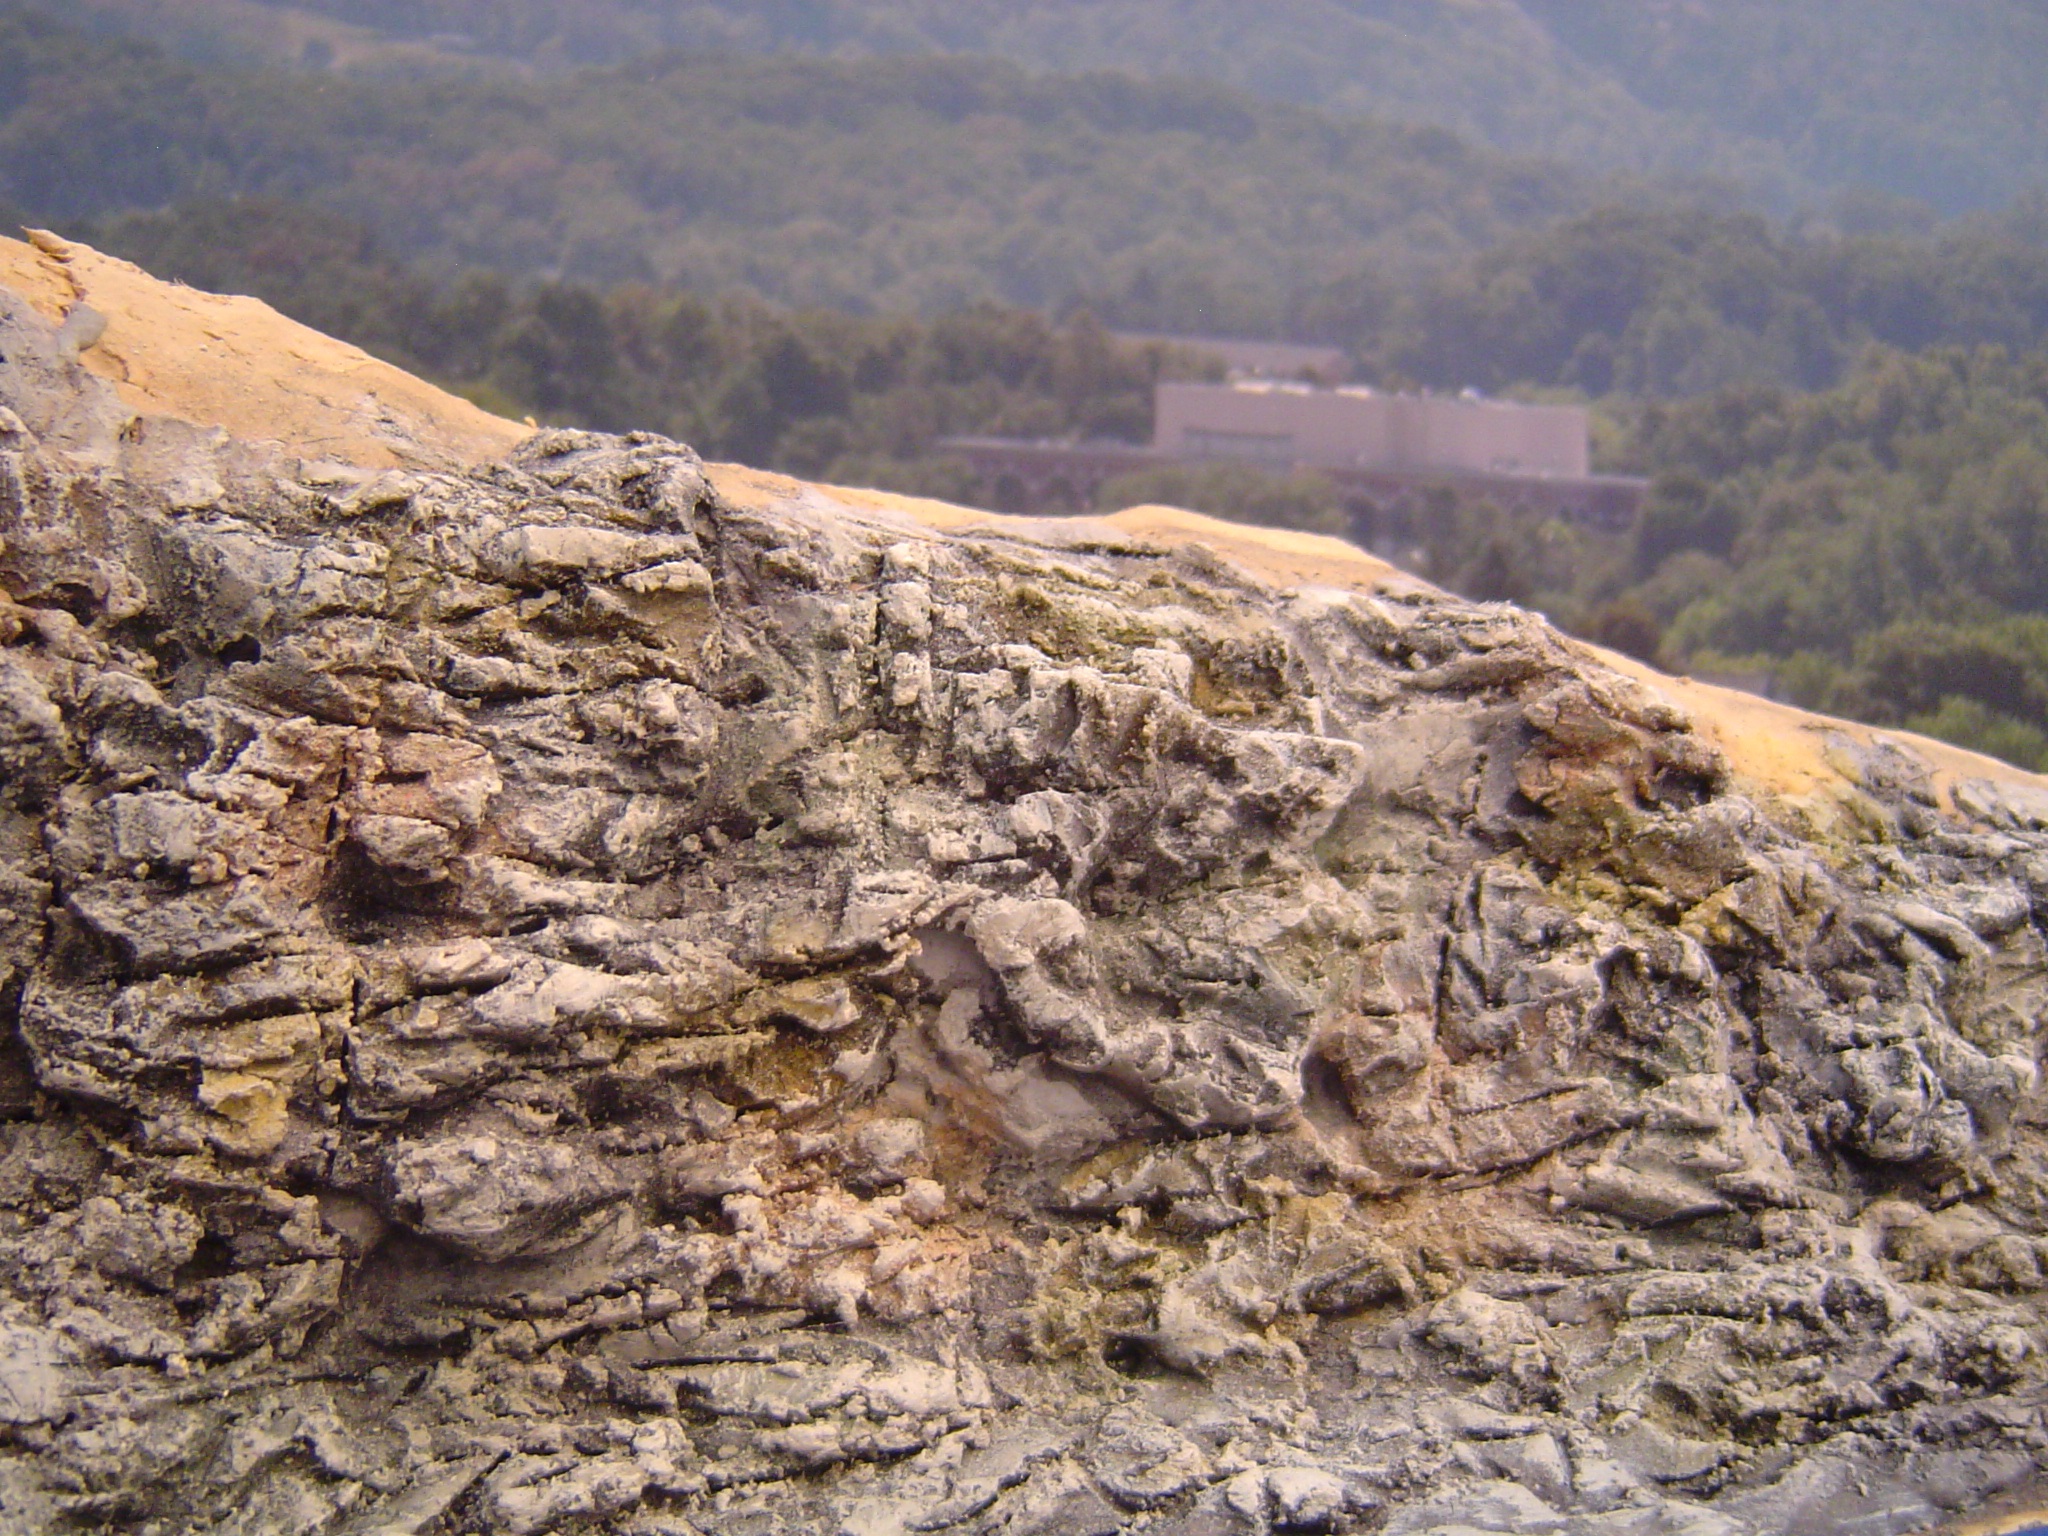
Another view of the rocks.
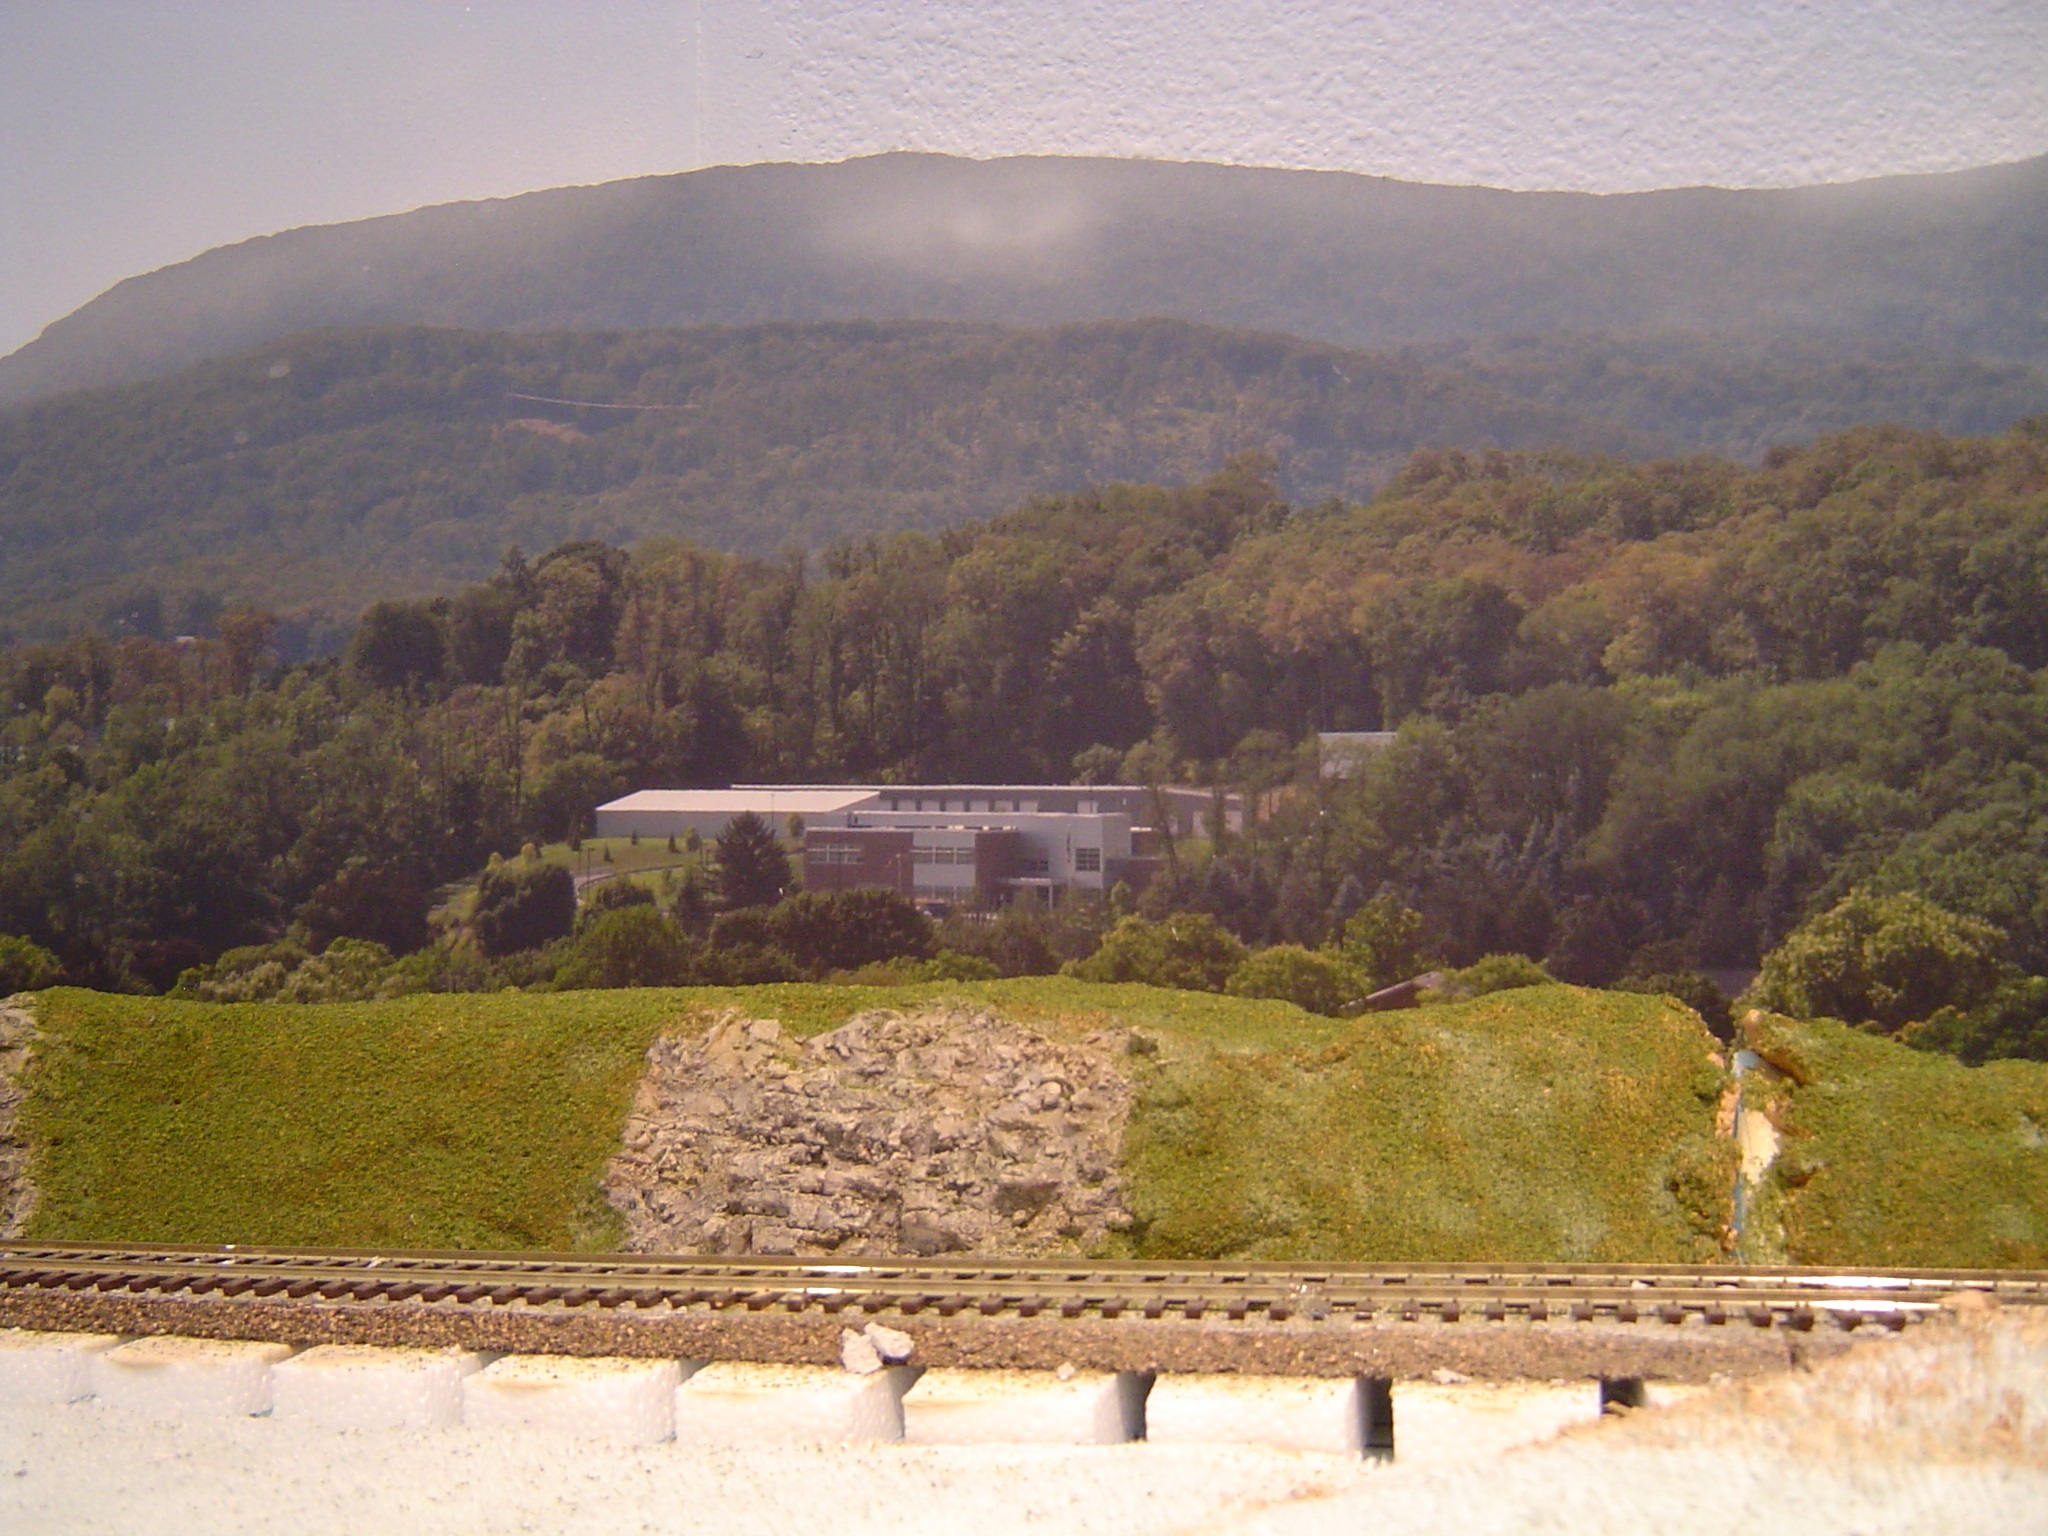
Once everything was completely dry I added the first layer of ground foam. I applied full strength white glue and sprinkled on WS Blended Turf Green Blend. Additional layers of different colors, textures and material along with trees and bushes will be added later.

The “crack” in the hills at the right of the picture is where two benchwork sections join and I’ll add foam rubber here to fill the crack which will be covered with foliage. I want to be able to take the sections apart easily if I have to move.
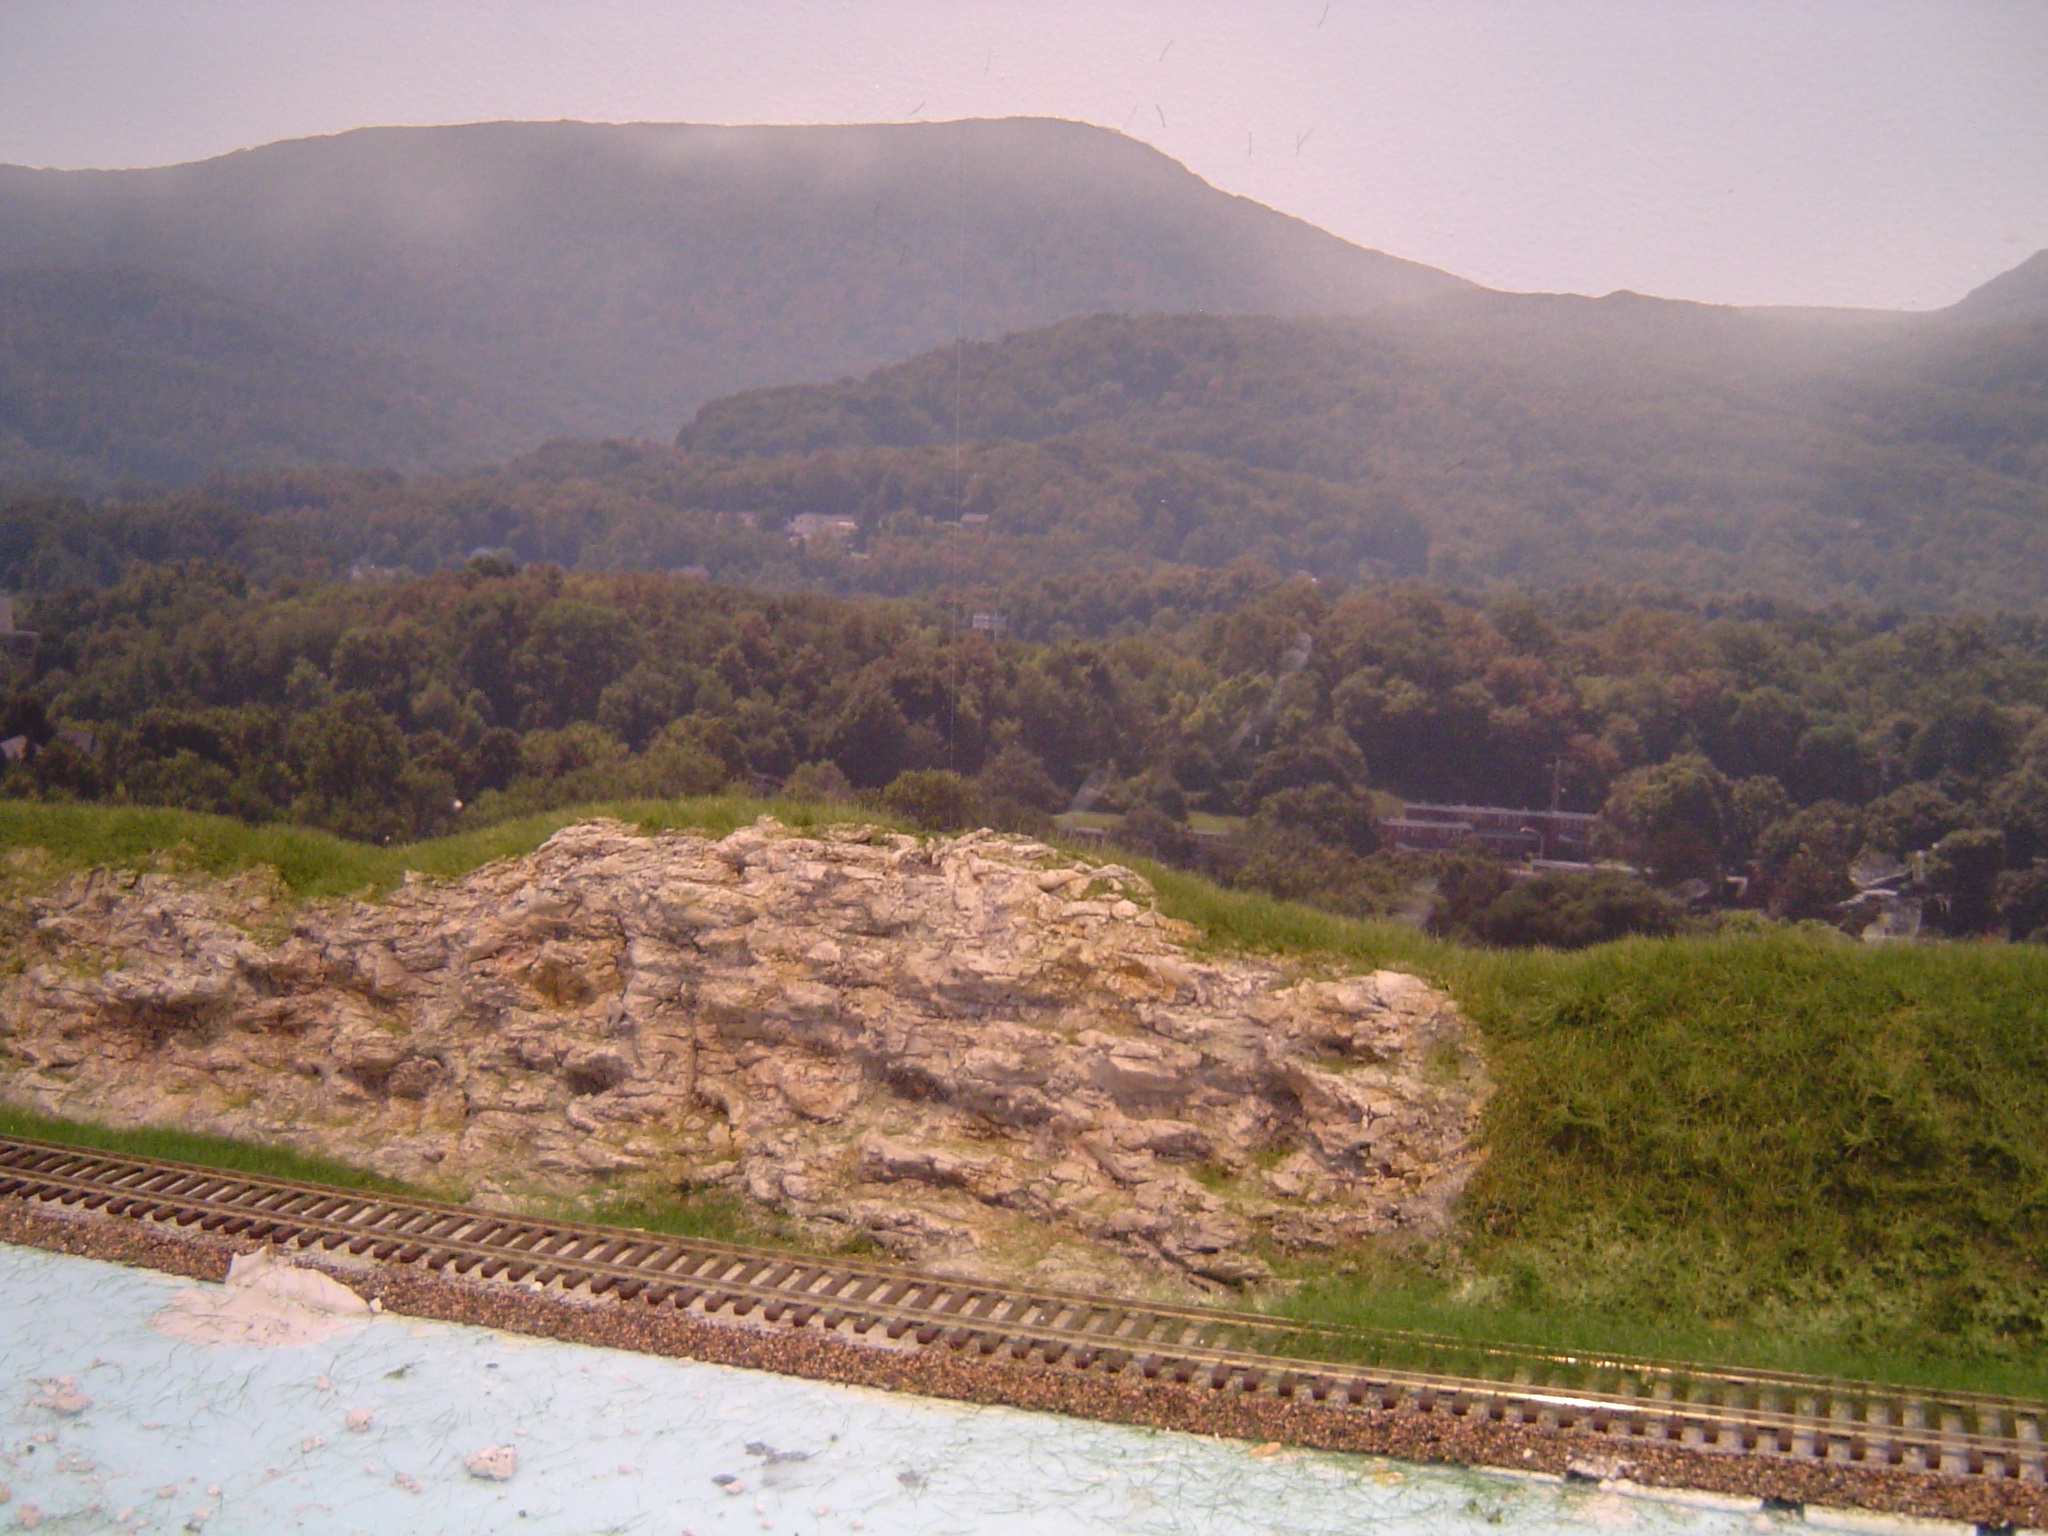
Here I’ve added static grass. I used 6mm in the ditch along the track and 4mm on the hills.
The following pictures were added 6/4/14
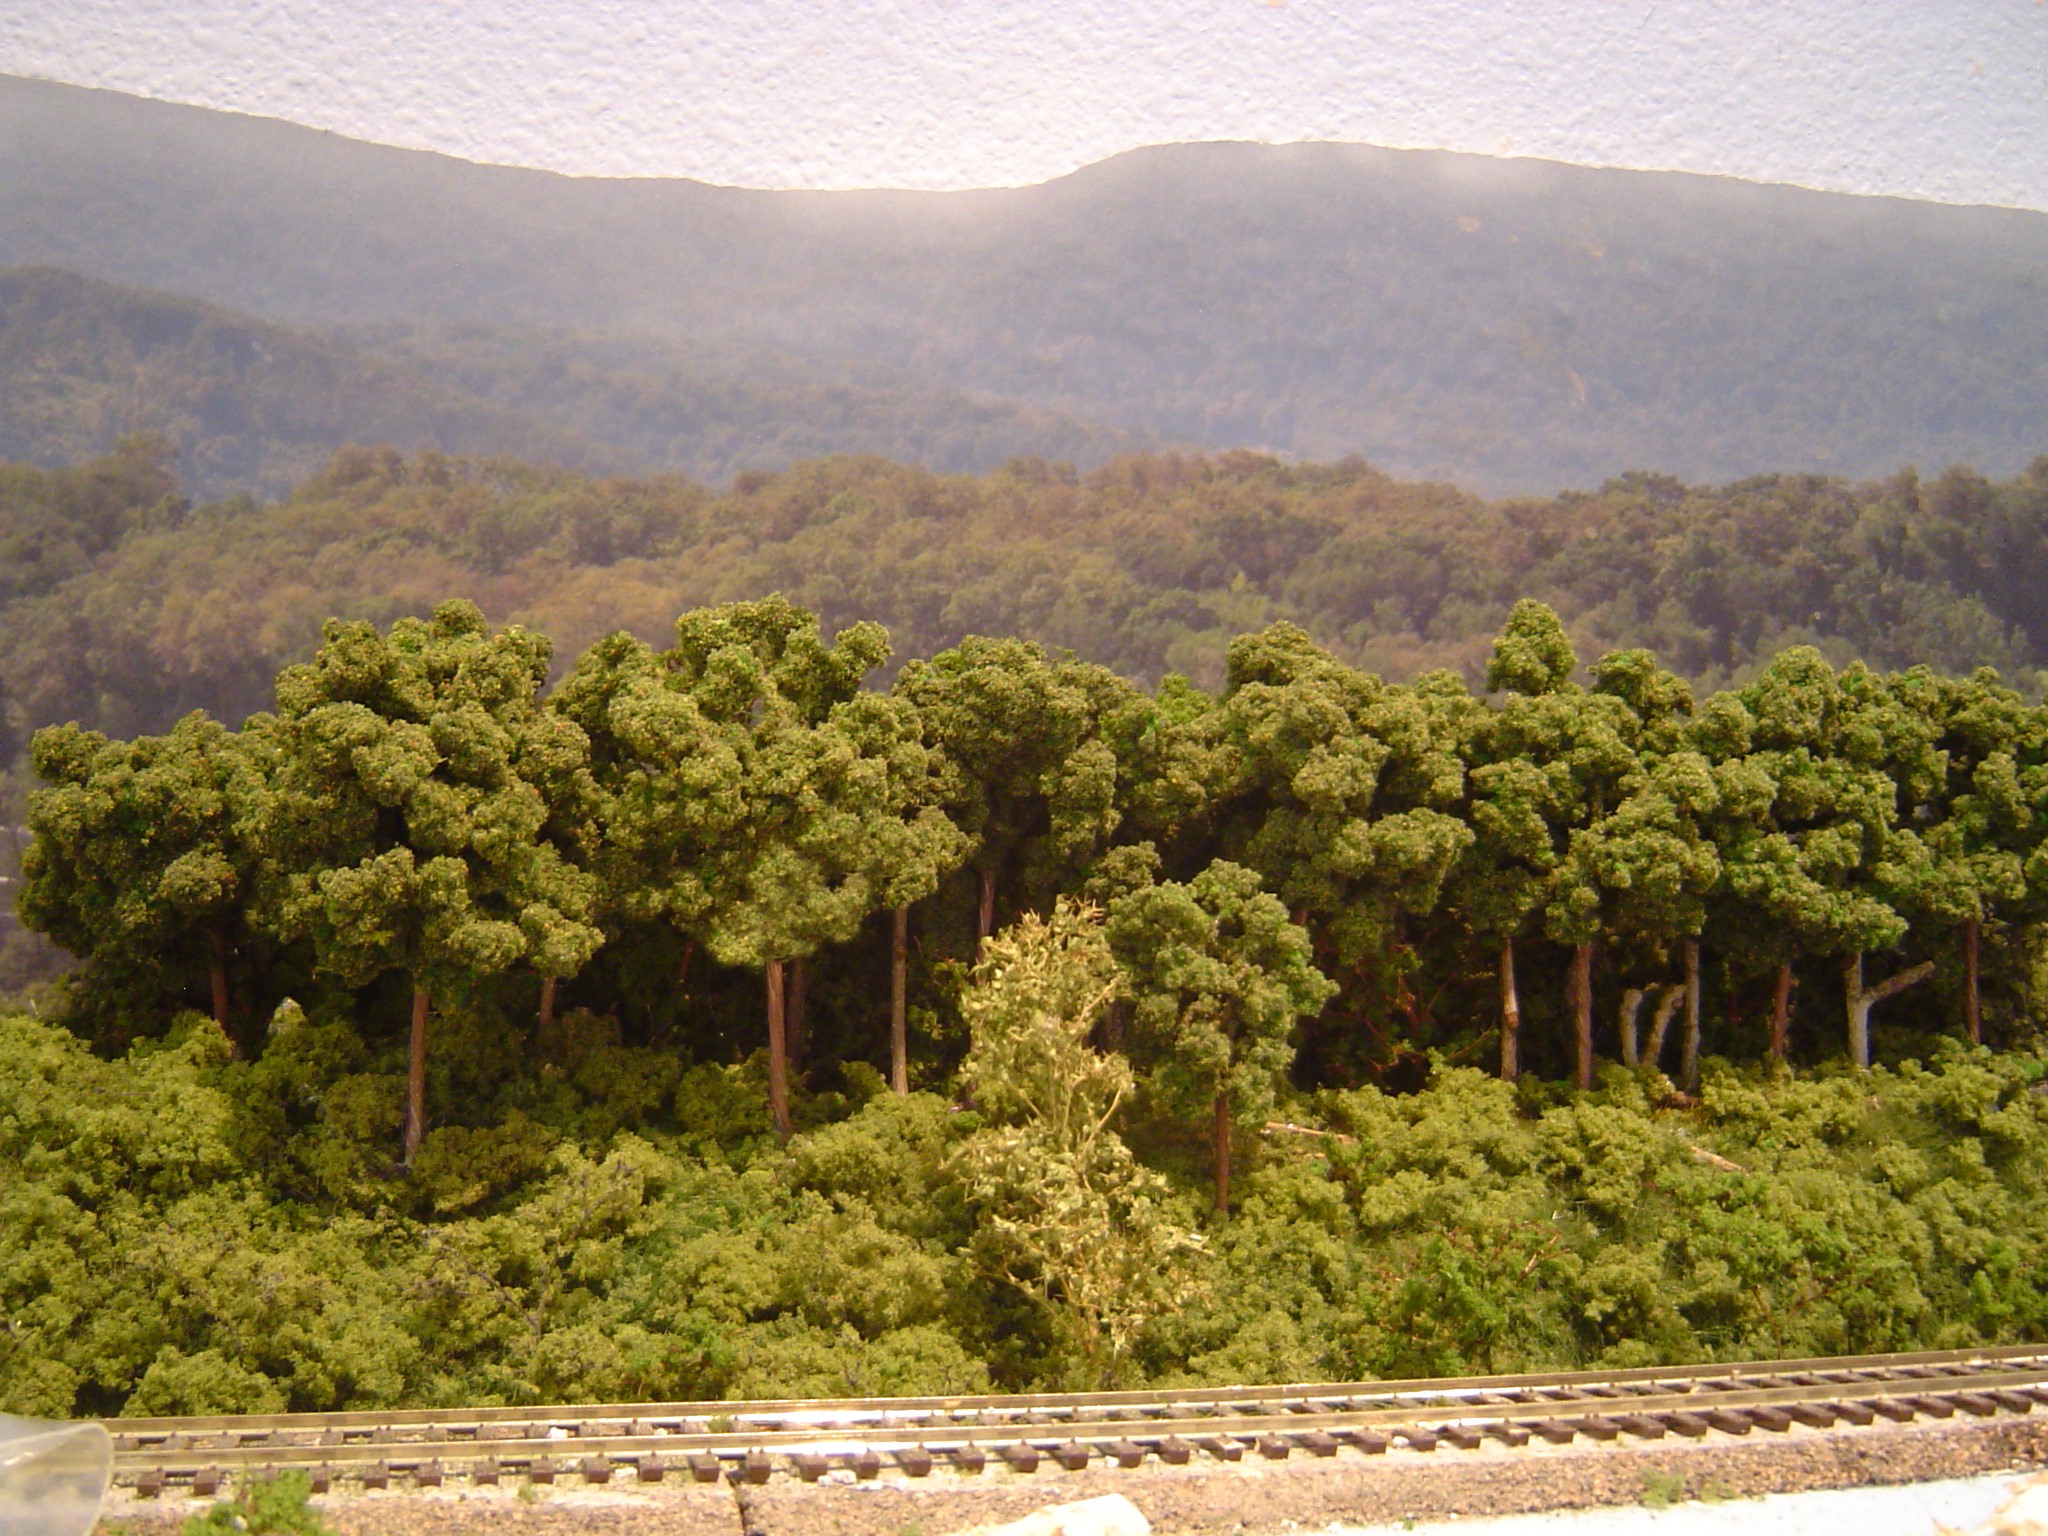
This first picture shows the hills between the rock outcroppings. Many trees were added along with just plain sticks (from my front yard) to represent tree trunks. A foam covered furnace filter piece was added between the back of the hills and the wall to block seeing through the trees to the printed backdrop.
Here’s another view of that area before a few foreground trees and bushes were added.
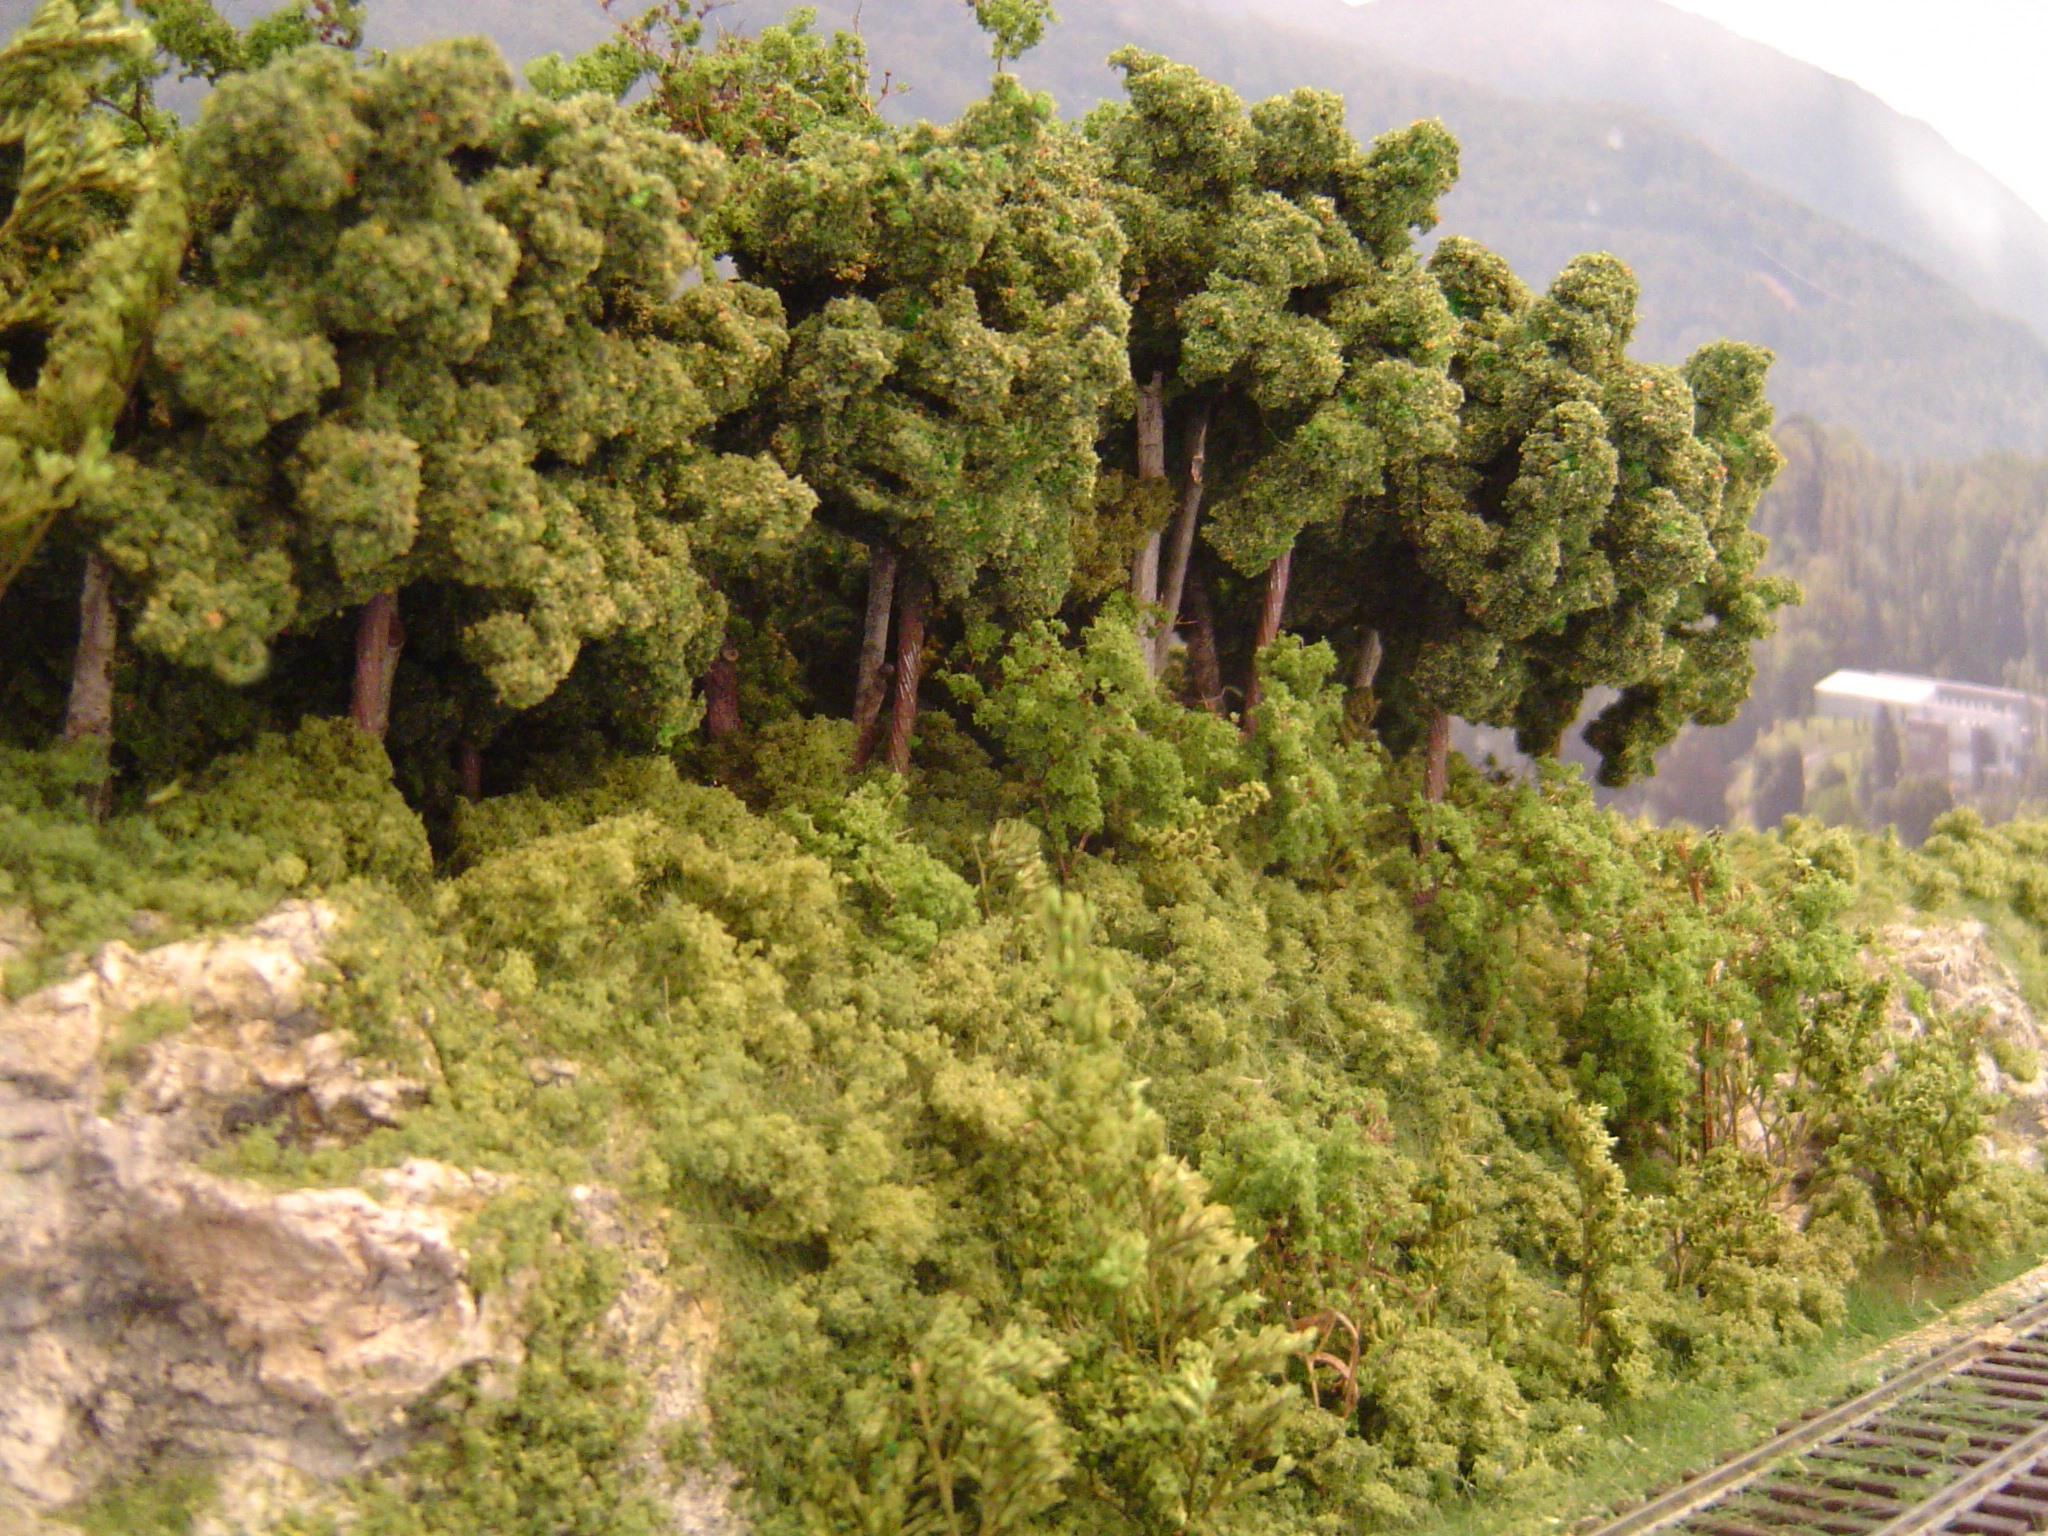
Here you can see a view of more of the area including the rock outcroppings. I’ll be adding more trees and bushes along the area.
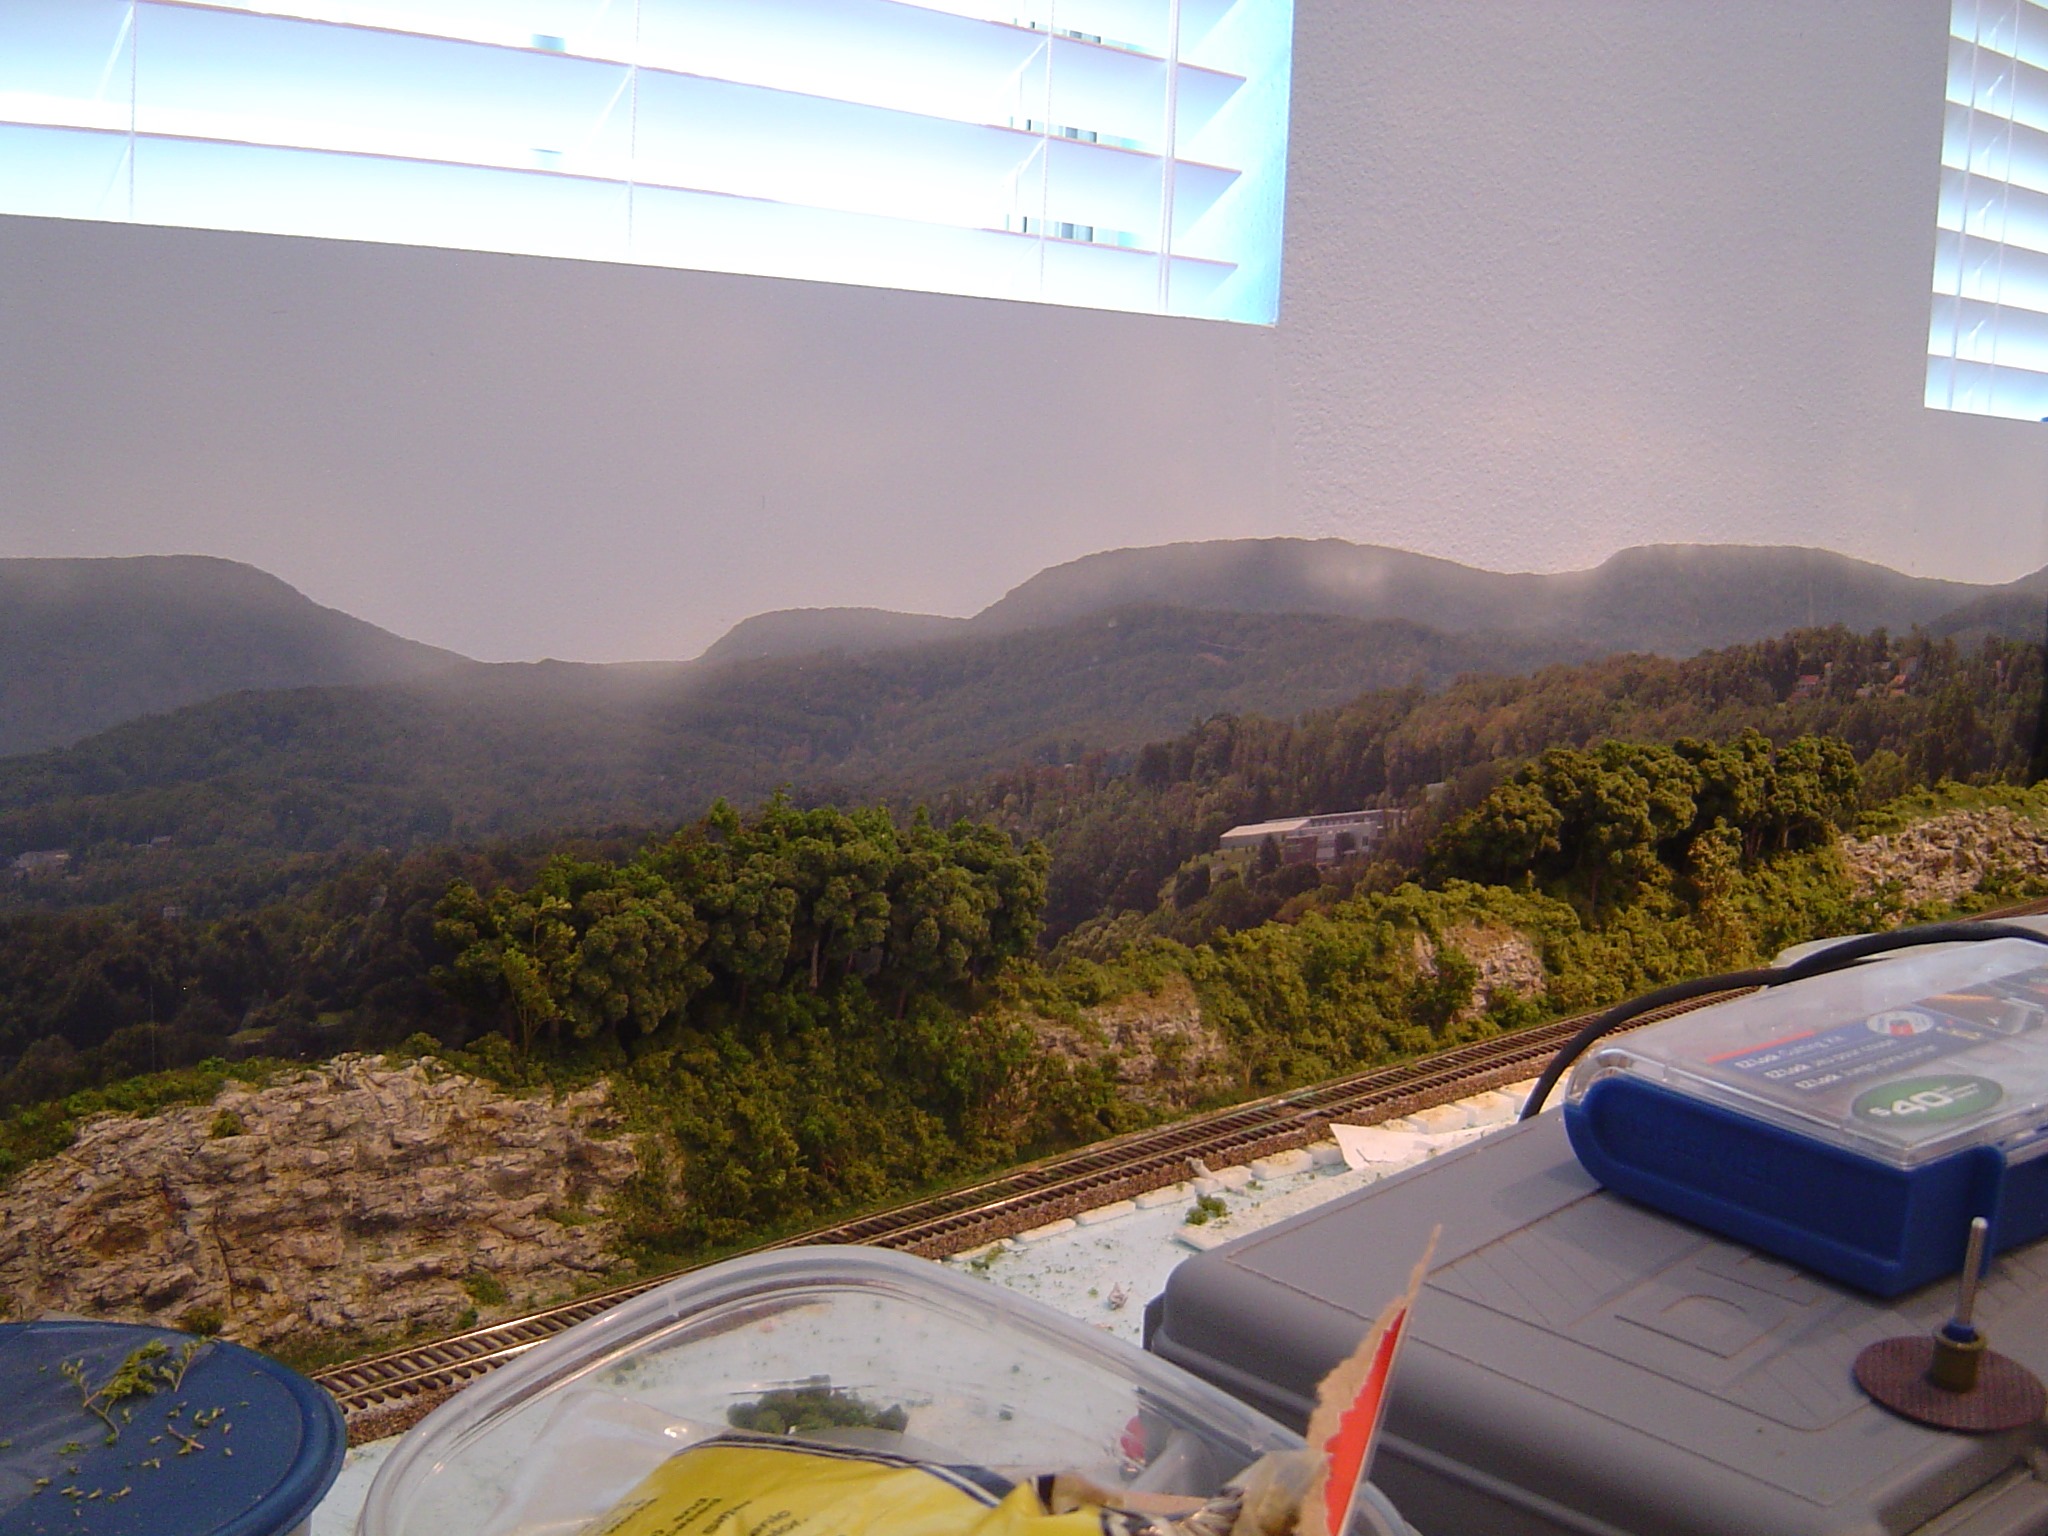
I couldn’t reach the back of the corner so I made a corner piece which is currently just setting in place. I used the same techniques as before to “forest” the hills. My next step will be to secure the corner piece with adhesive caulk and blend the seams.