Well, I had been putting it off long enough so this long Labor Day weekend I decided to tackle the gate for my benchwork. I had been trying to decided between a lift (hinged) gate and a swing gate. After careful consideration I decided on a swing gate as I believe that I (personally) have a better chance of achieving and keeping track alignment with a swing style gate.
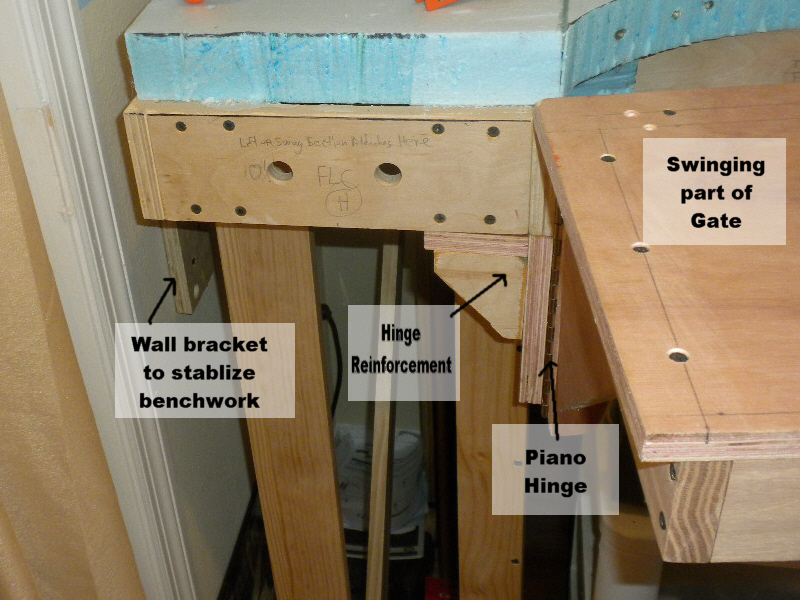
I wanted to stabilize the benchwork rather than relying on the legs alone so I made a bracket and attached it to the wall and the benchwork. The picture below is looking directly at the stationary benchwork with the swinging part of the gate to the right and my doorway to the left.
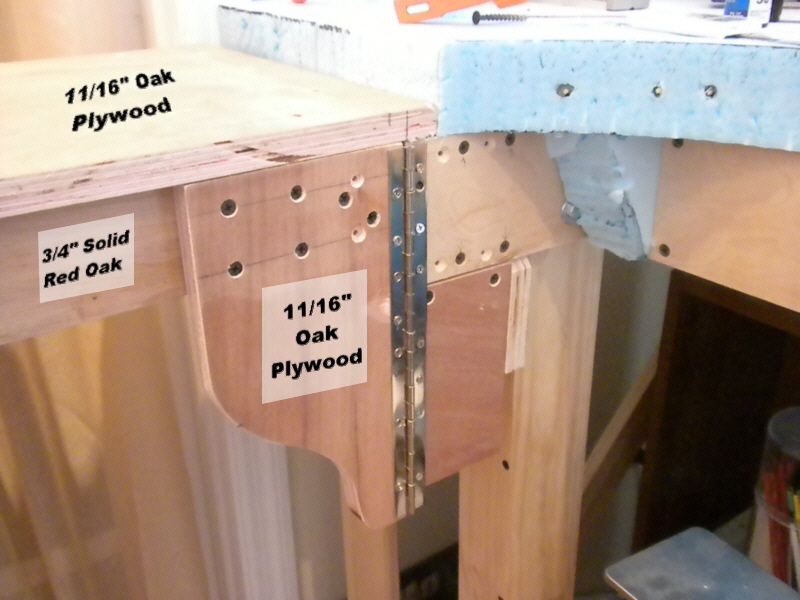
Now if I had ever become an engineer by trade I would have been known as “Mr. Over Engineer” as I always error on the side of more. The gate has a 3/4″ solid red oak frame with 11/16″ oak plywood as the top and hinge reinforcement. The hinge is a “piano” style hinge and I’m going to add a few more screws to it. Yes, the gate is a little heavy; however, when closed it will rest on the other benchwork and when open rest on a support (to be installed later) on the fascia – and of course when being operated it will be supported by my hand. For the sharp of eye you may wonder what the extra screw holes are for. Well, let’s just call them “practice holes” and leave it at that. This will all be covered by fascia and fascia curtain.
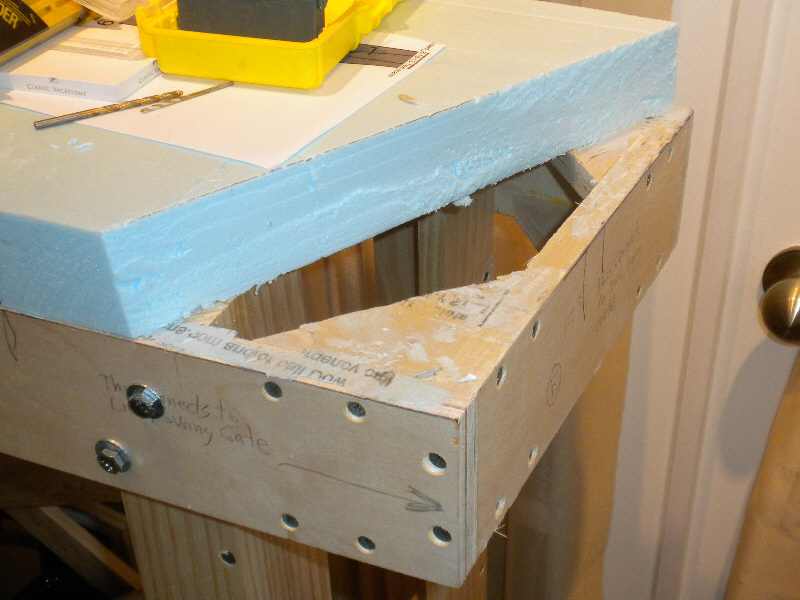
This is where the 11/16″ gate top rests. I have yet to install stop pins and the locking mechanism.
 This is what the gate looks like when it’s closed. When I open the gate it does sag a little bit, so when closing I have to slightly lift up the end to slide it shut.
Here’s the gate swung open with the end resting on a block of wood (not shown) on the benchwork to right. Even with my “wide body” I’ve got enough room to get past the gate when open.
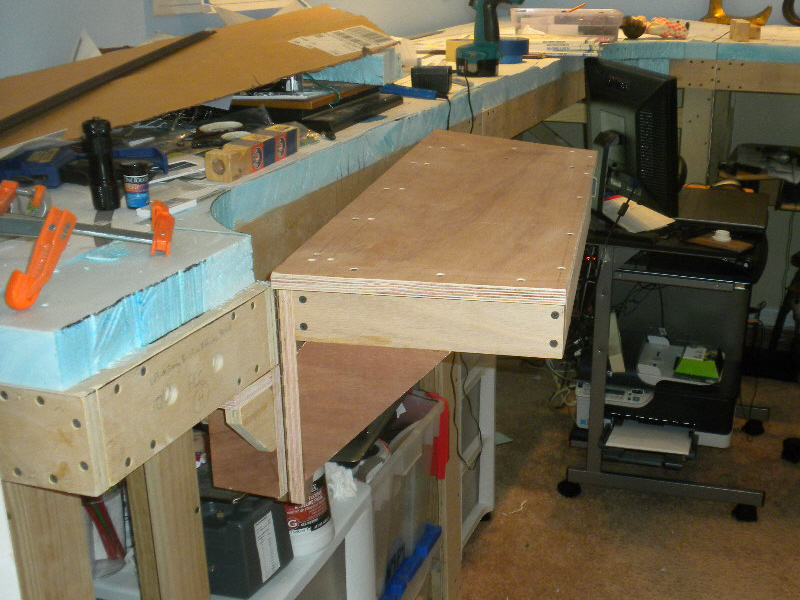
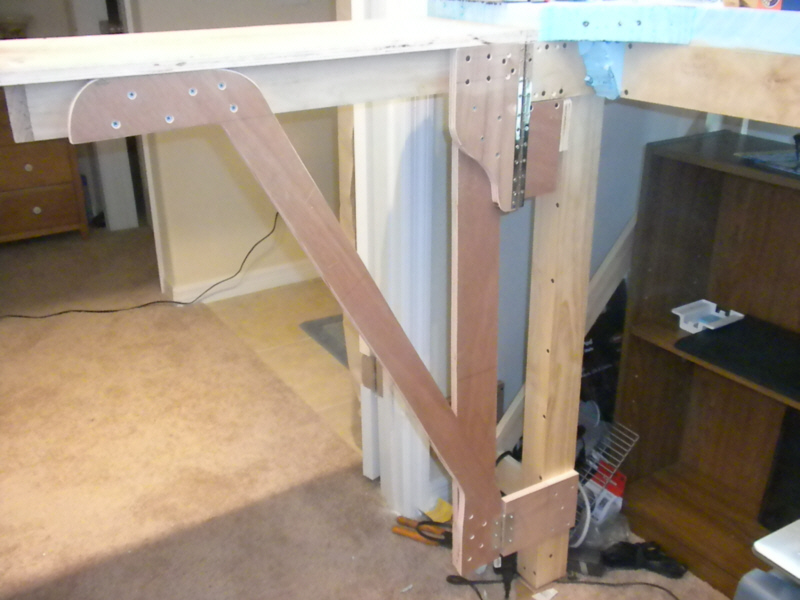
I want to give a special thanks to Trevor (MRH website) for posting links to his gate where I saw how he added a diagonal brace. It got me to looking critically at my gate and I could see that with only one top hinge that any downward pressure on the end opposite the hinge could easily damage the hinge. I’ve since added a diagonal brace (that looks sort of like a hockey stick) along with another vertical brace with both being attached to another hinge. In addition I added an a brace from the benchwork leg to the wall at the bottom. With the additions shown below the unit is much sturdier.
 So now that I have a gate I don’t have any excuse to get going on the track work.

