What to do with the backdrop? On Richlawn RR V1 it was a combination of printed and hand painted with the hand painted being done by a local artist – Linda. I did have a local artist from Winter Garden, FL out to my layout to see if she would be interested in painting a backdrop for my and although see was very interested she just didn’t have the time.
I thought that I would try my hand at painting and after many attempts at painting I came up with the following:
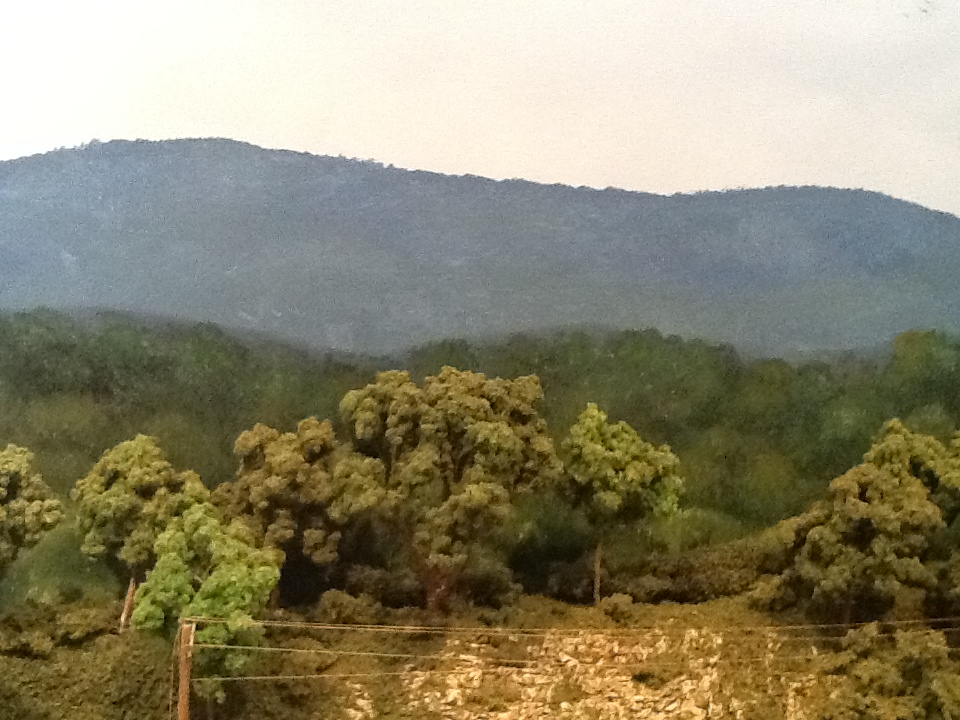 The two “layers” of hills (the blue-ish and the green-ish) are from the painting which I stuck up behind Buck & Loretta’s place. Although it was o.k. it wasn’t good enough for me. I worked with Dave (the owner) of Backdrop Junction to customize his MTN044 and MTN045 wooded hill scenes for me and he did a great job. He resized the scenes smaller to still fit in the 18ft long panels.
After I cut off the unprinted portion above the hills I taped the MTN044 scenes to the wall. The backdrop is cut into (4) 4-1/2 foot sections per my request to allow for easier handing when applying the self-adhesive sections.
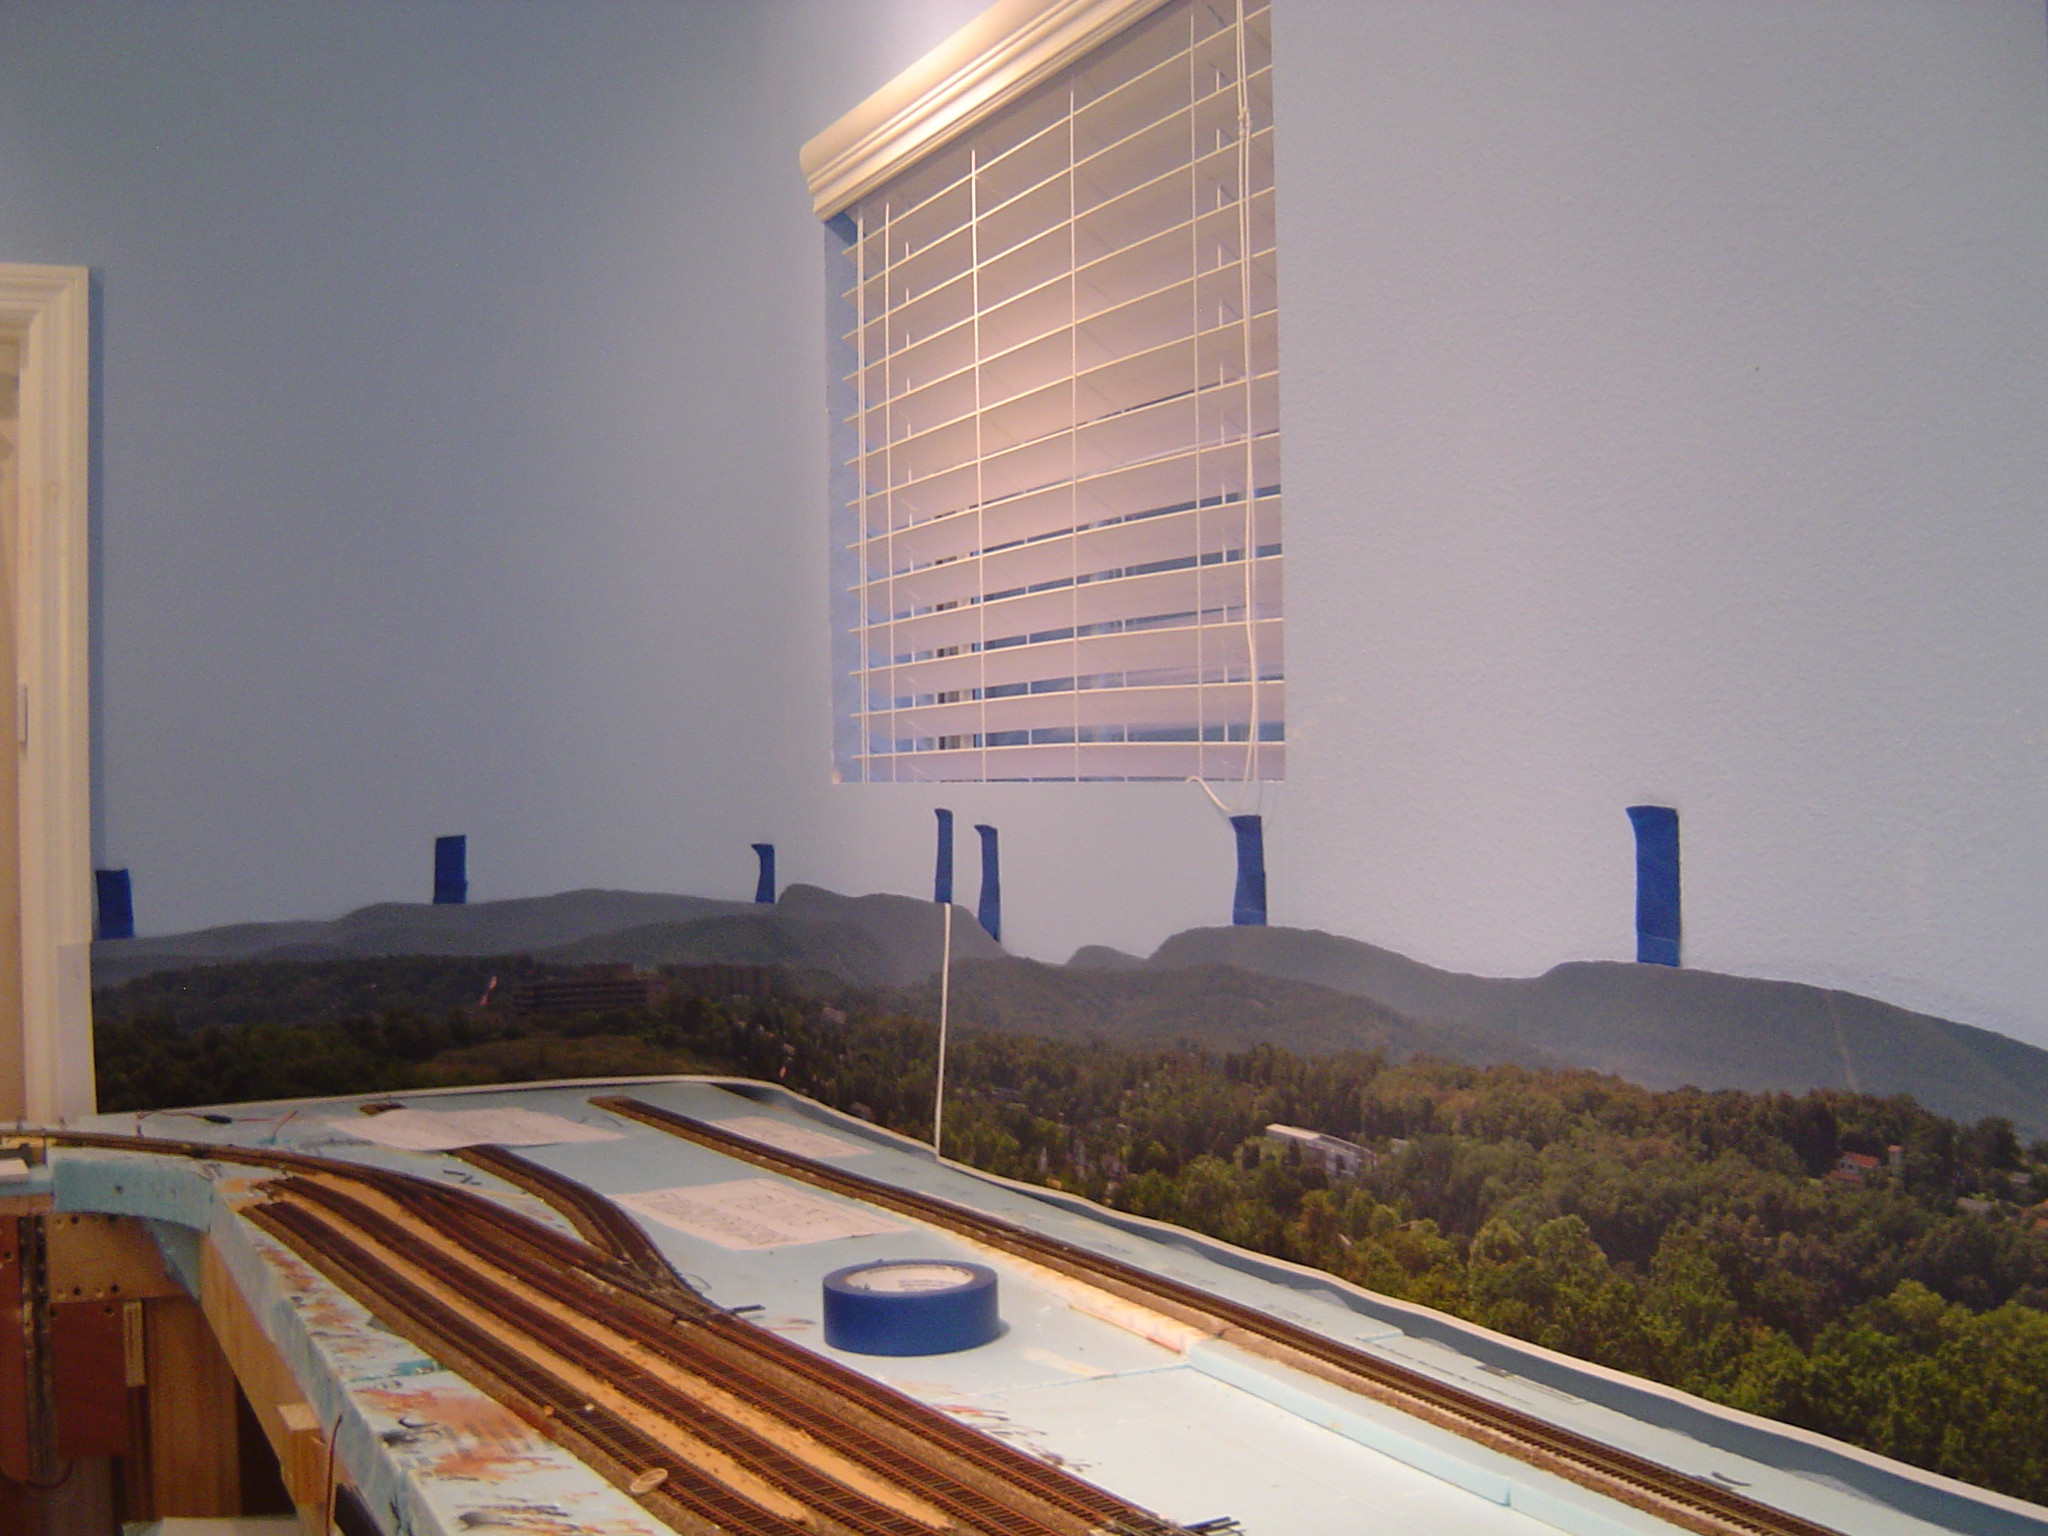
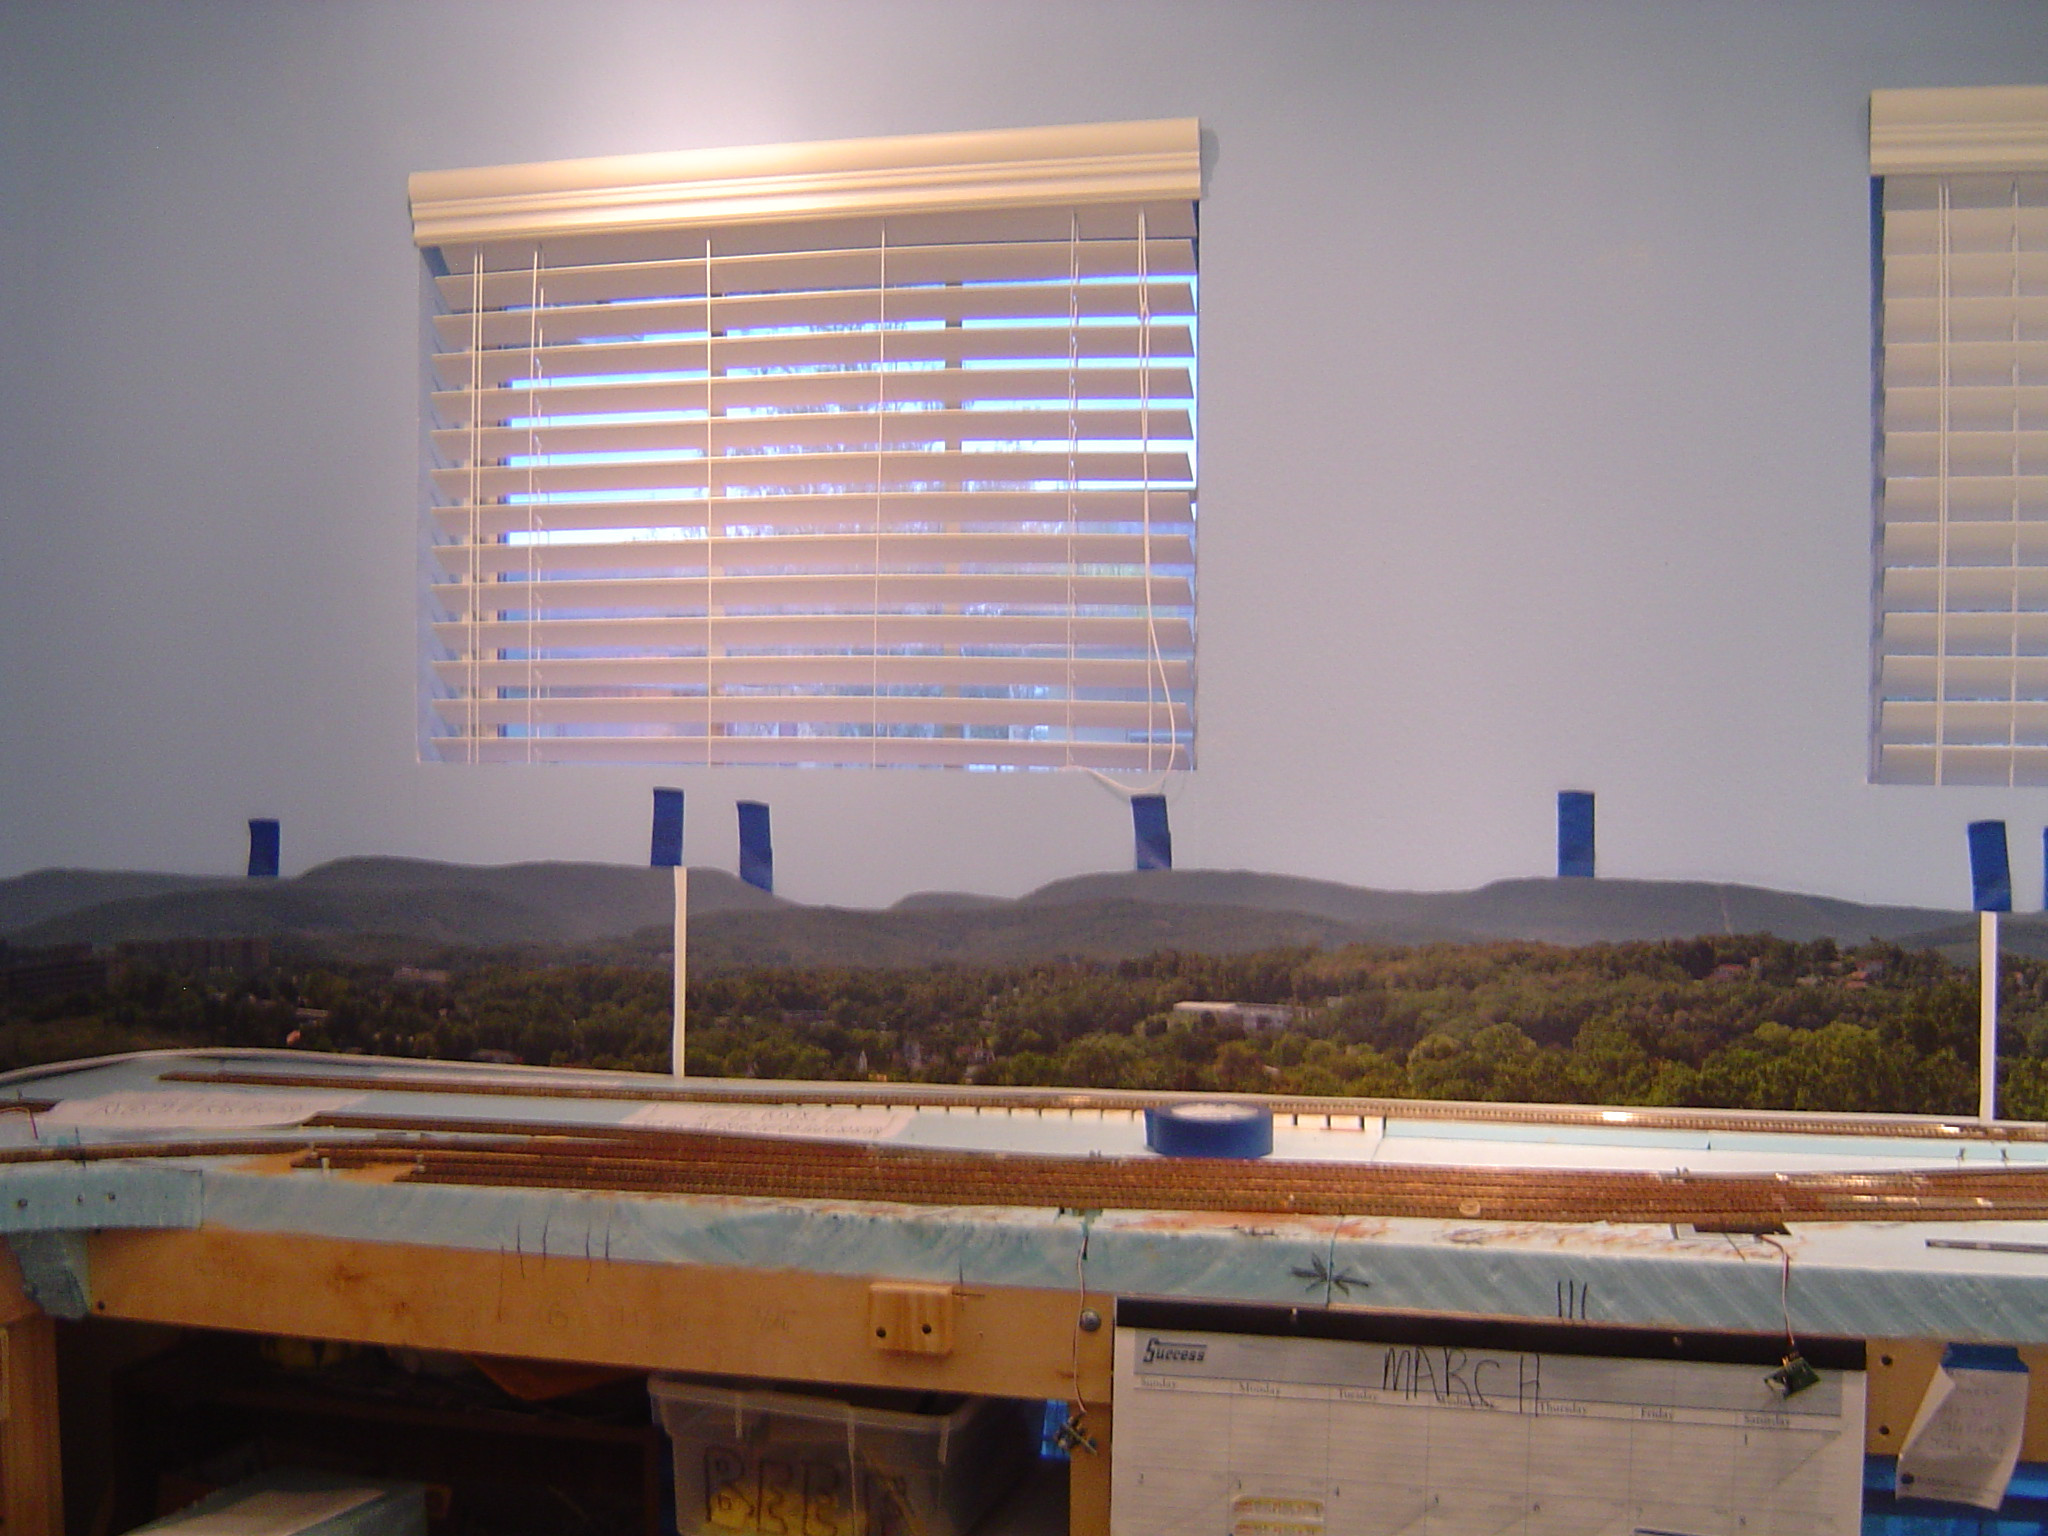
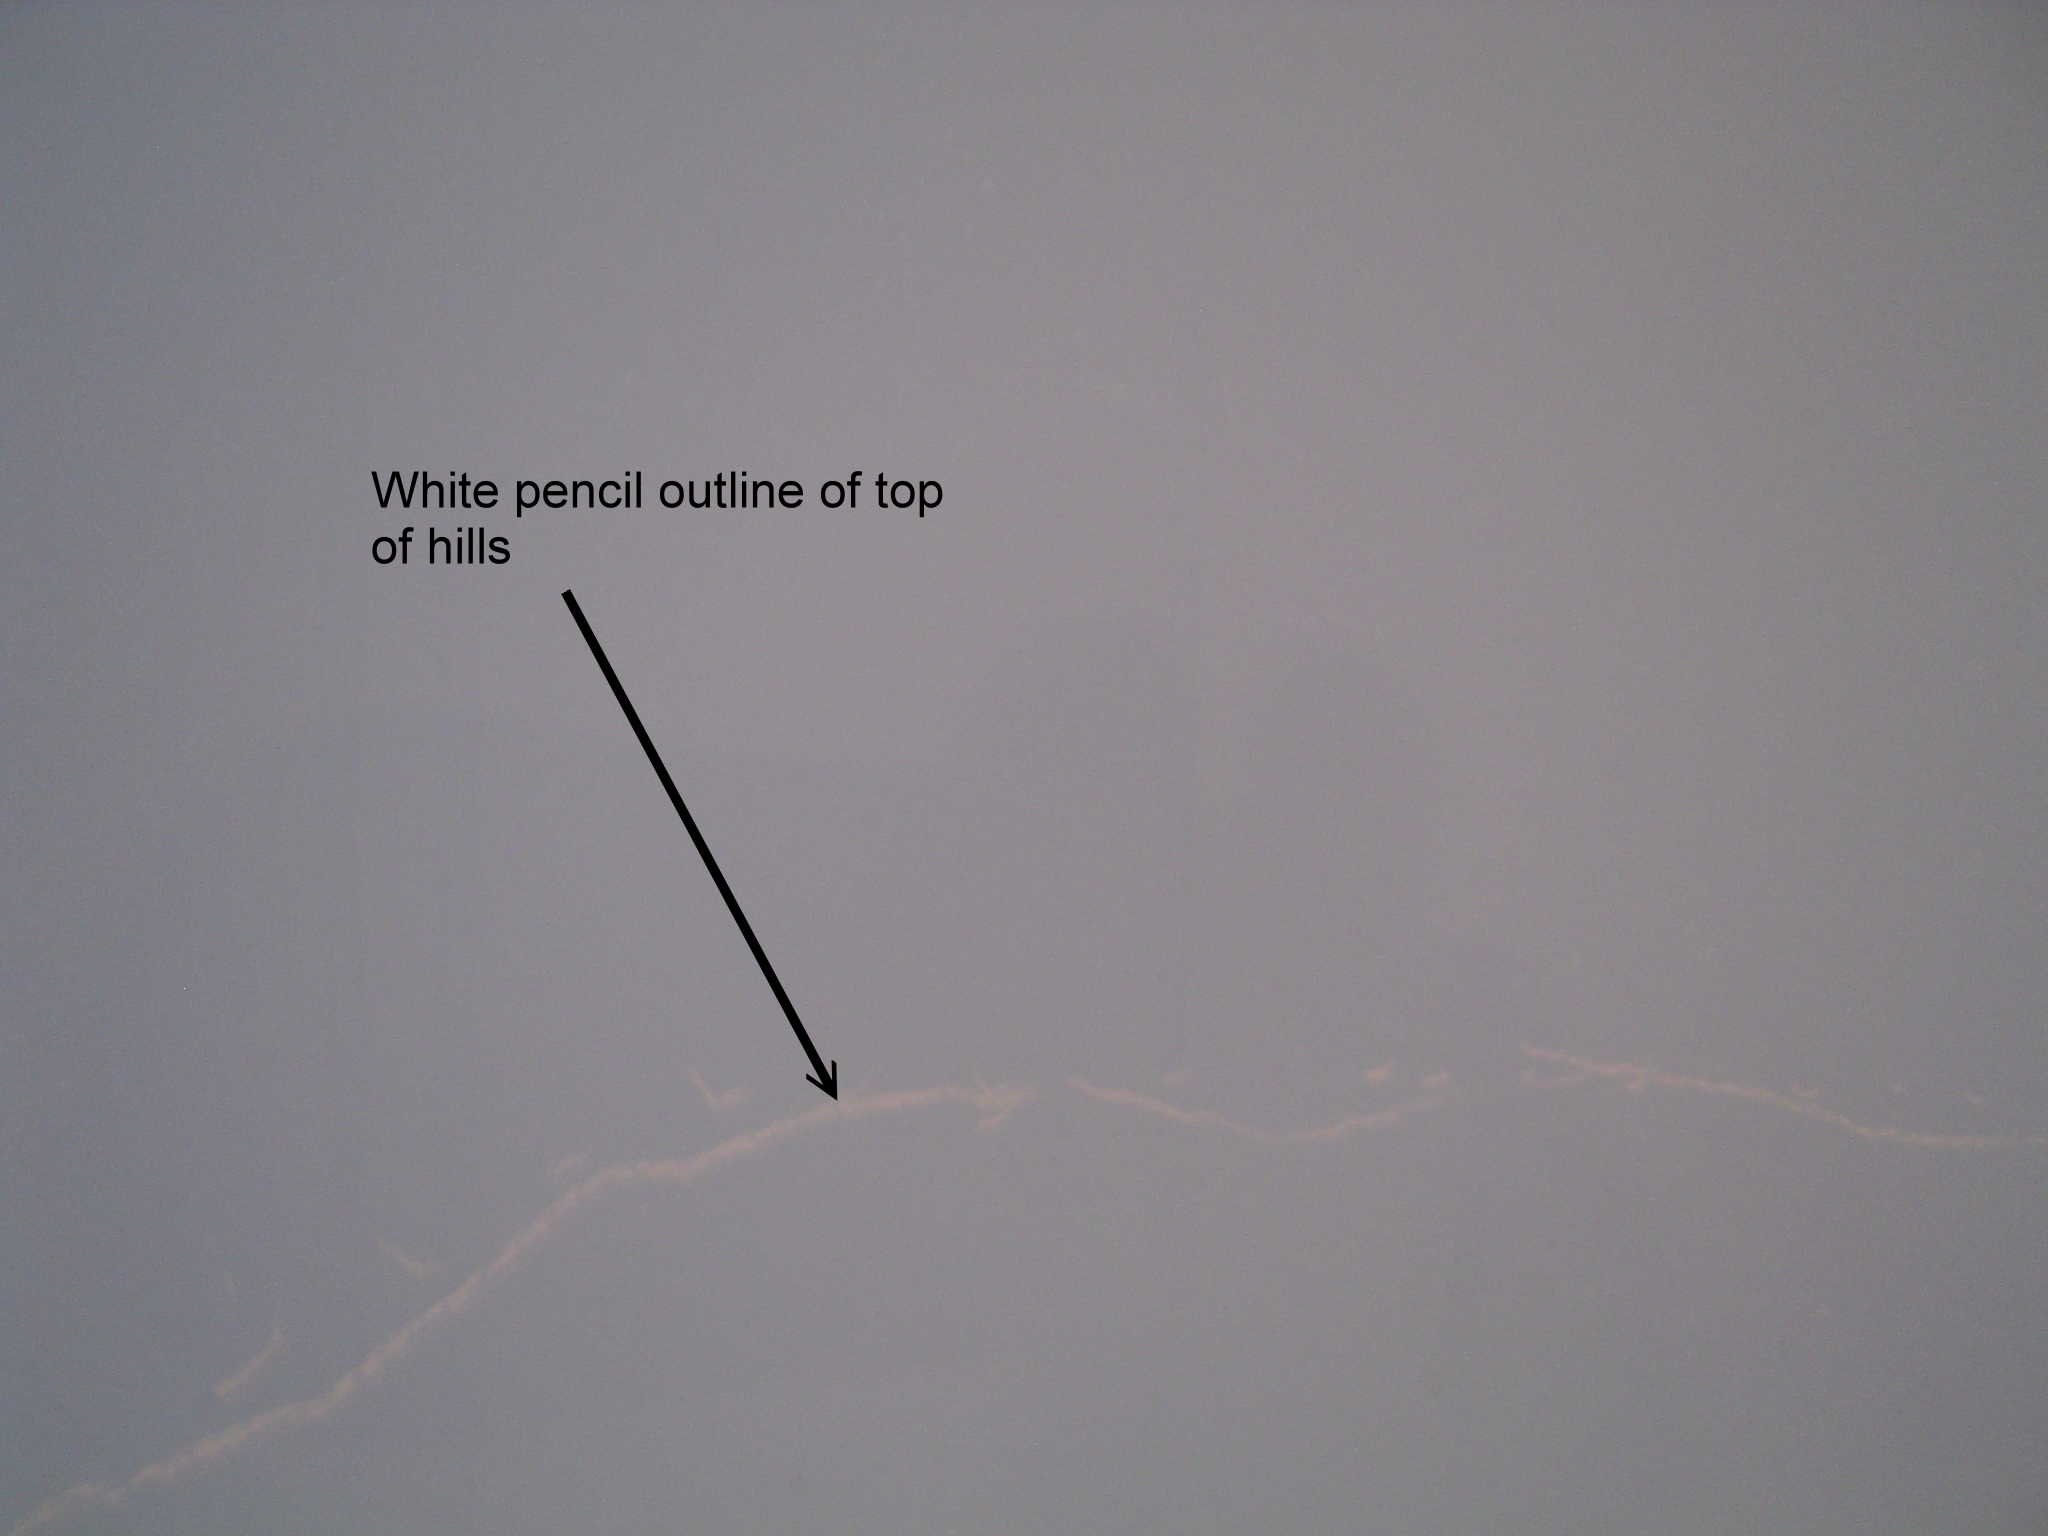
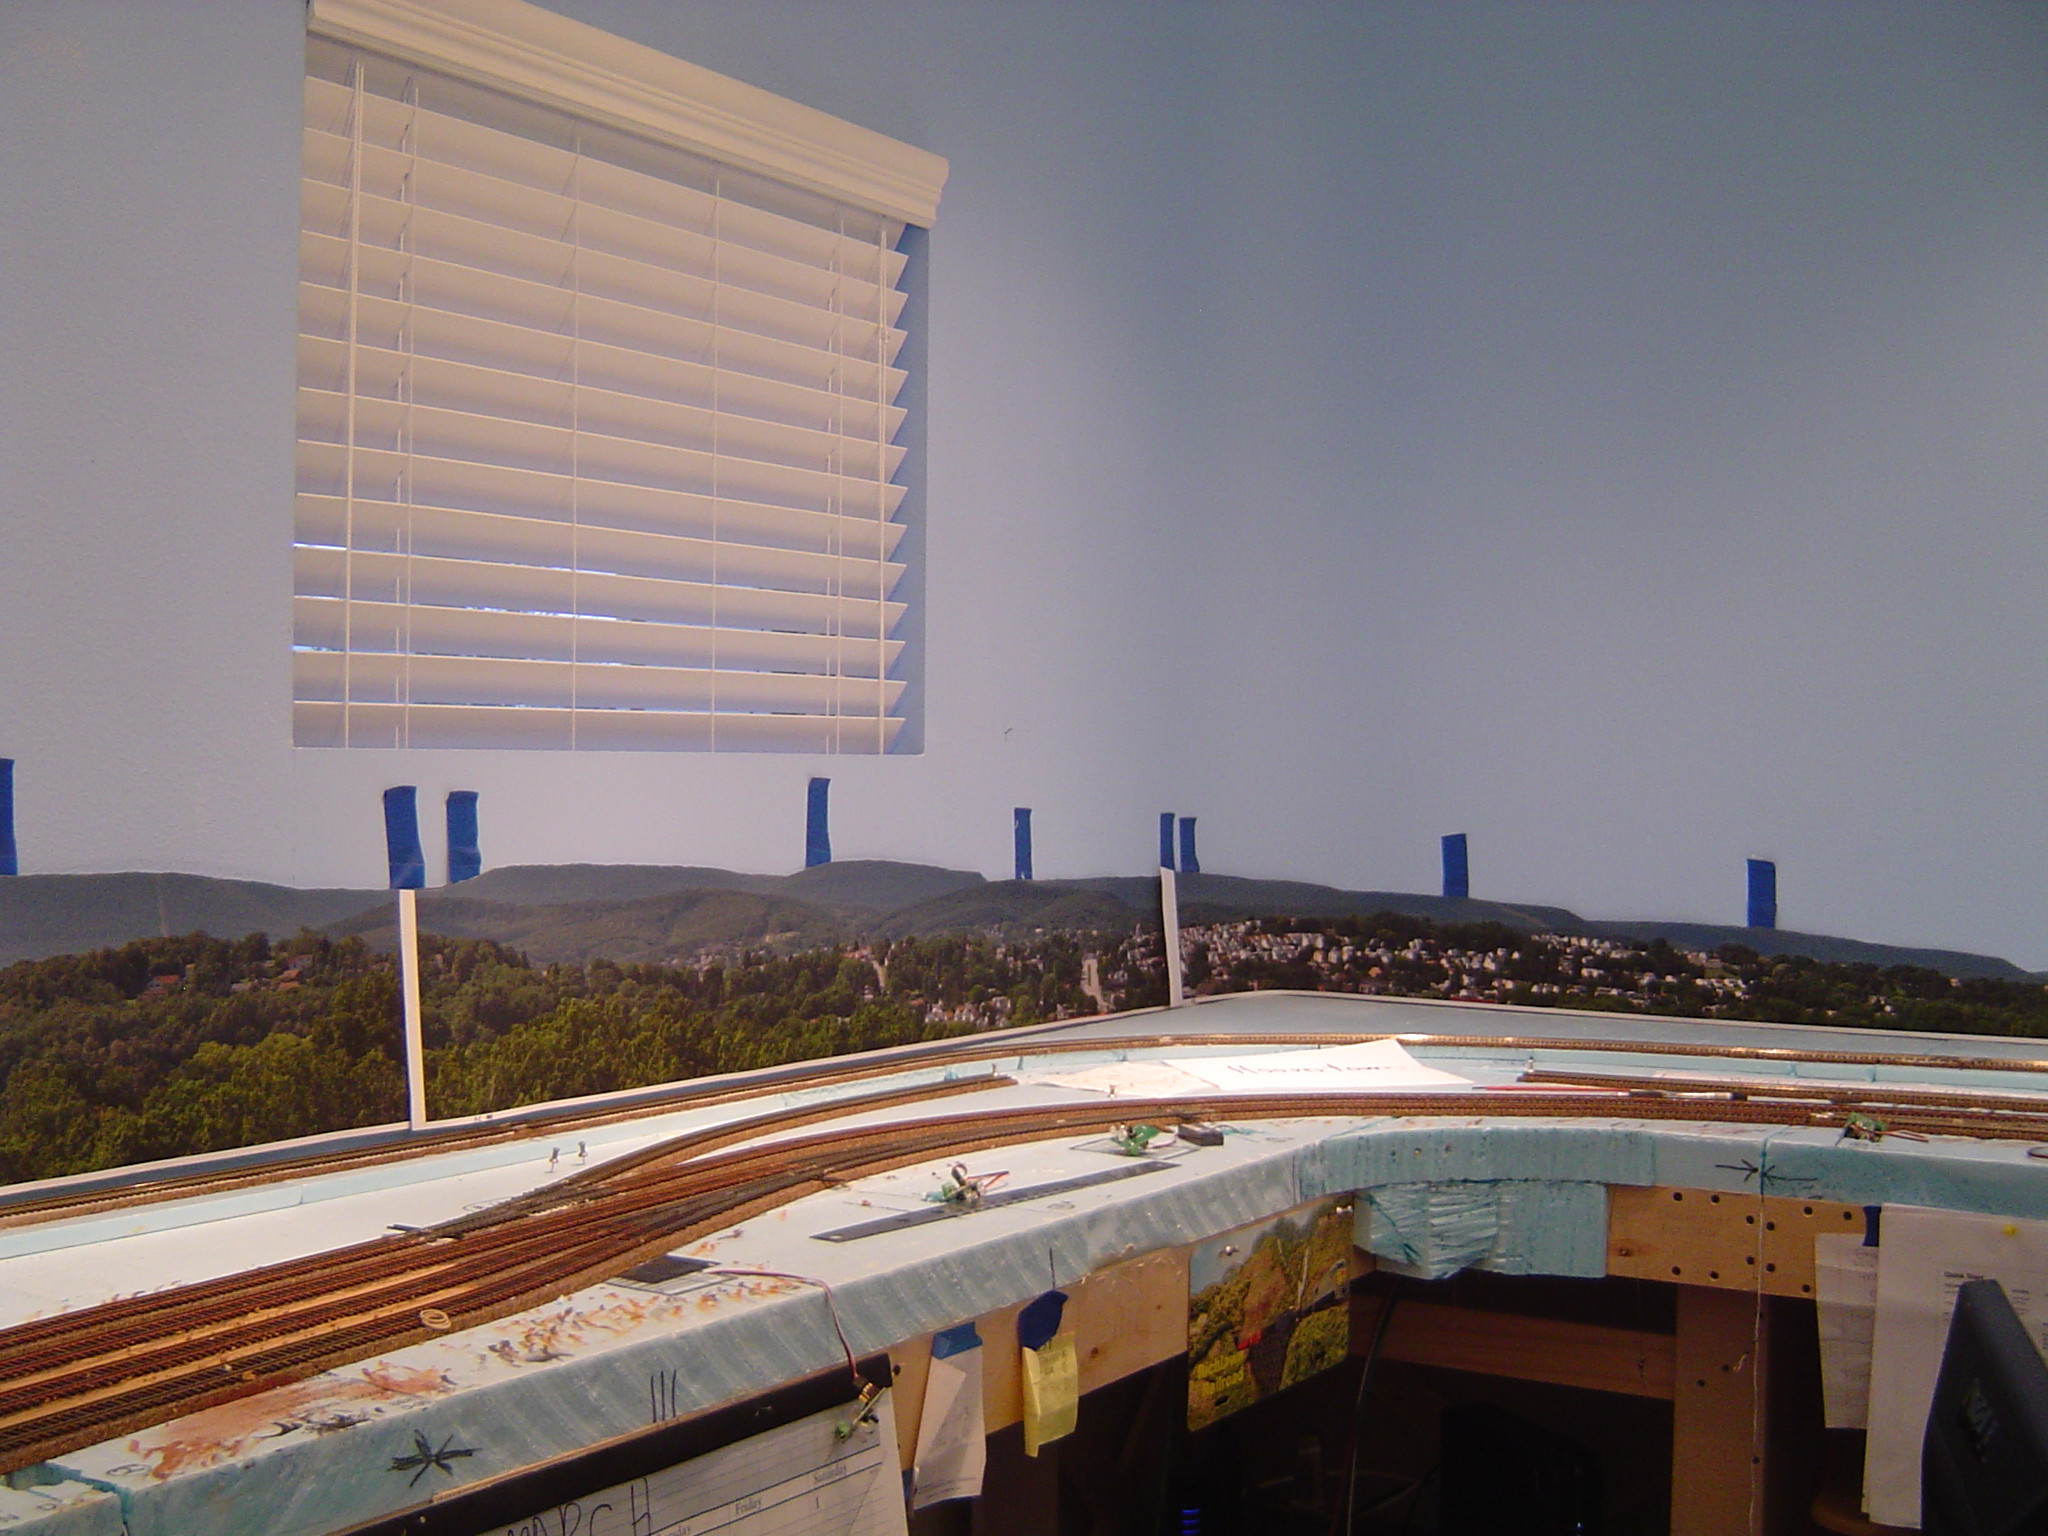 Next I used one of my wife’s white pencils from her craft room to mark the outline of the sections slightly below the top of the hills. It is a very faint line that I will use when I airbursh the horizon haze and clouds.
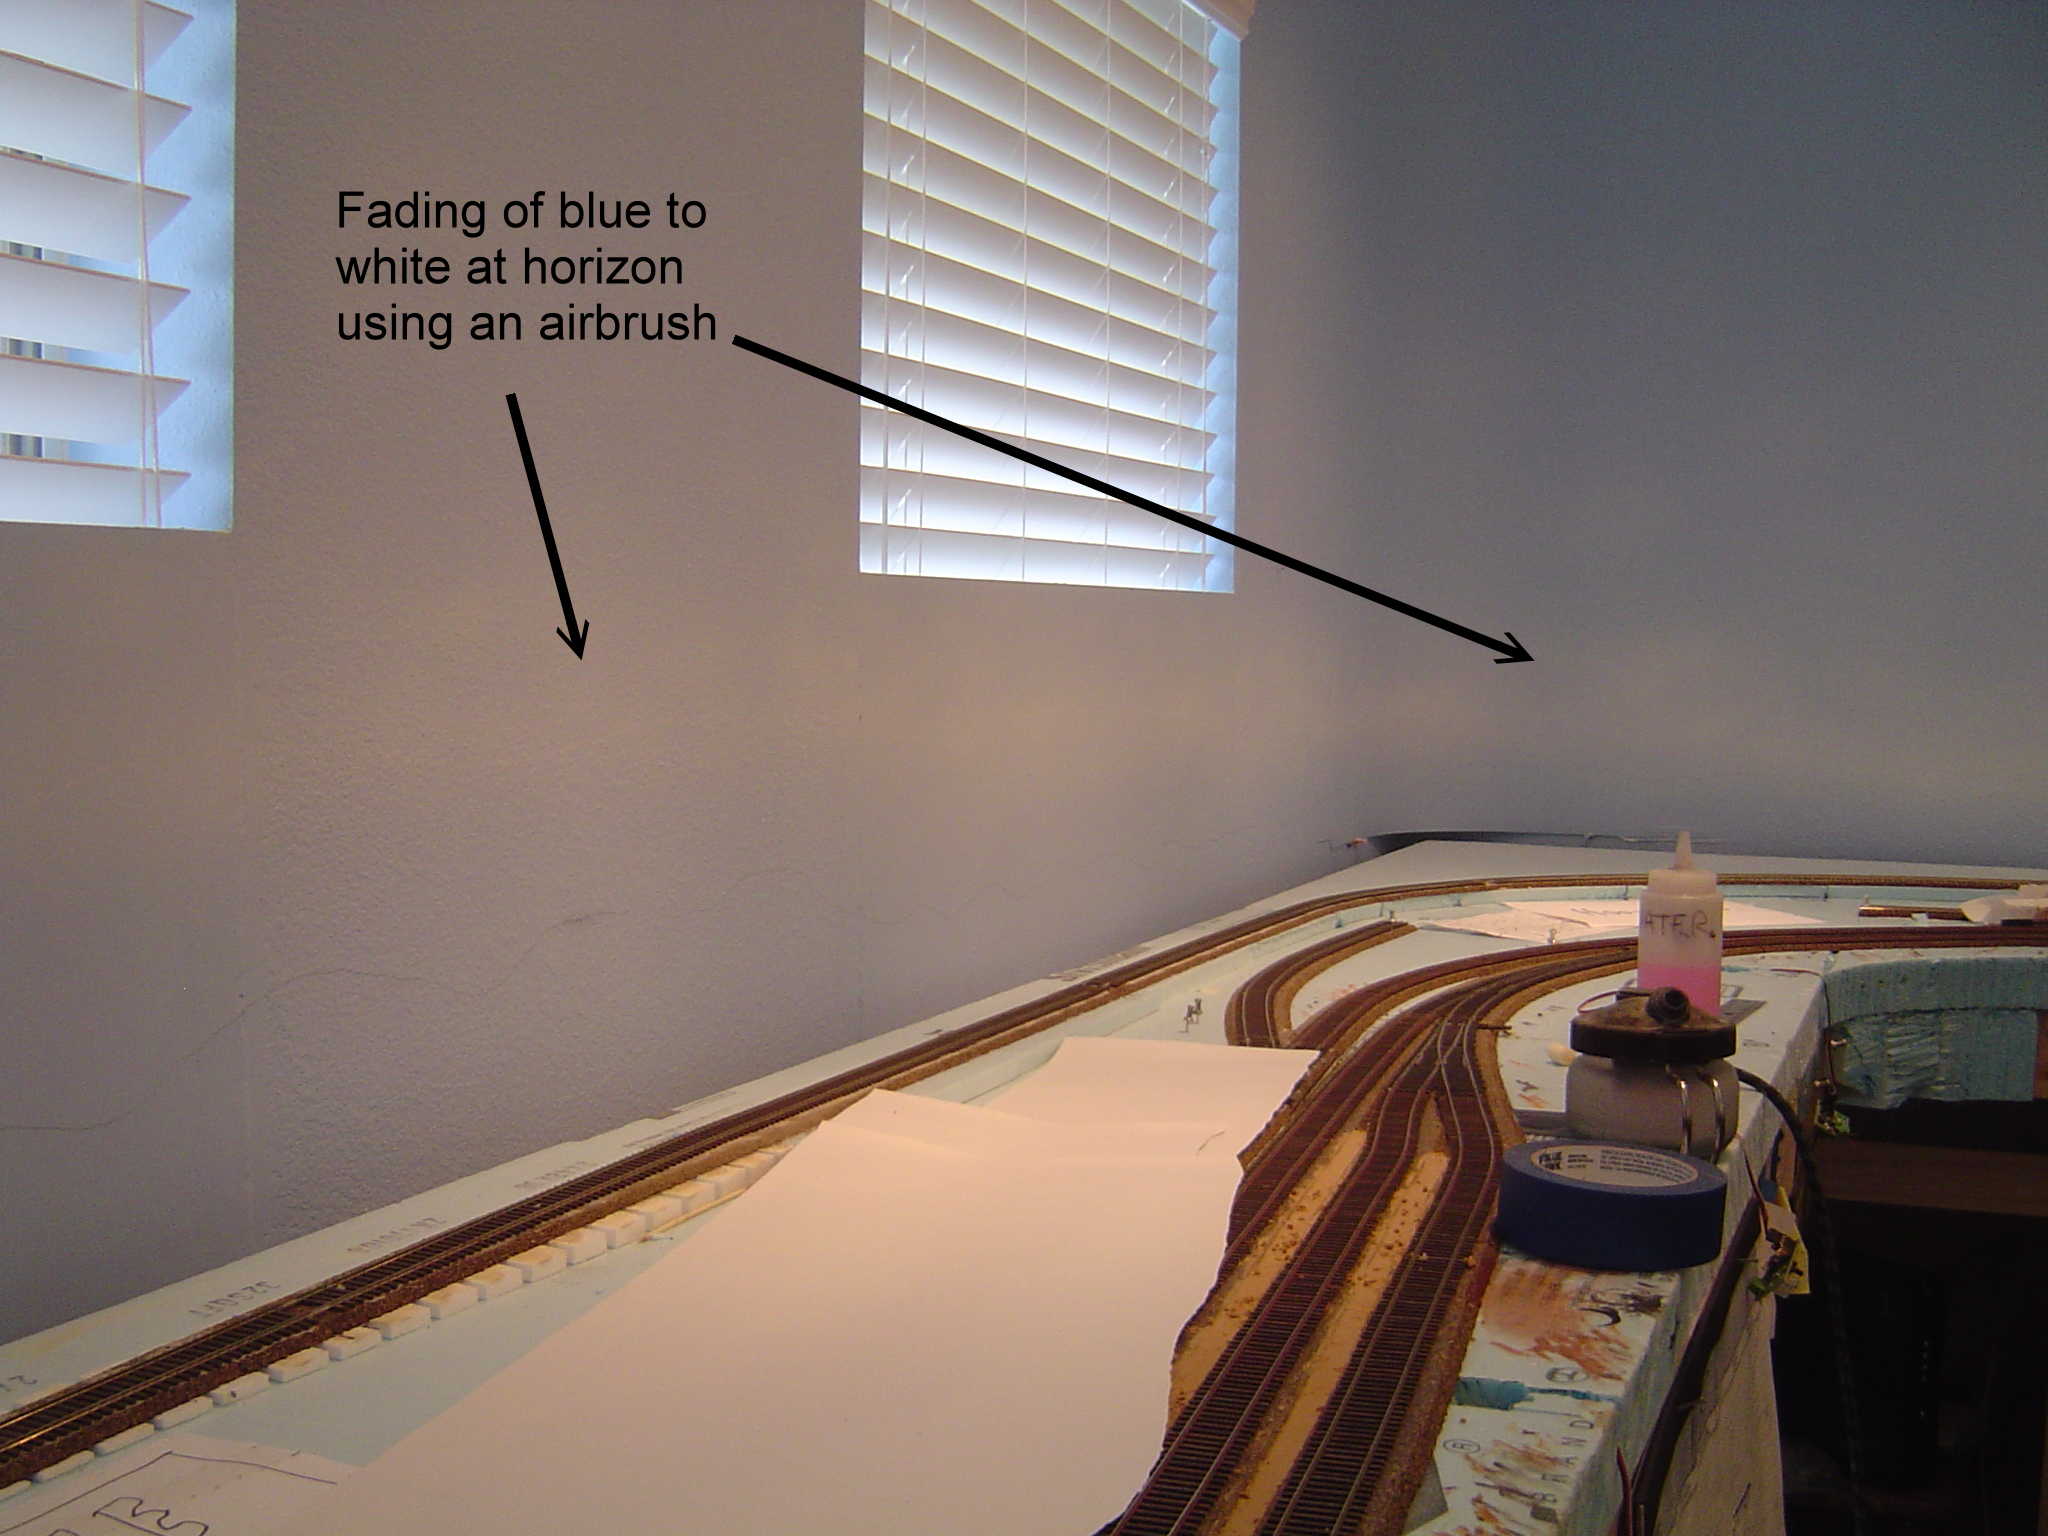
Using my airbursh and opaque white paint I painted the “haze” at the horizon along with some clouds. This will need to be adjusted after the installation of the sections.
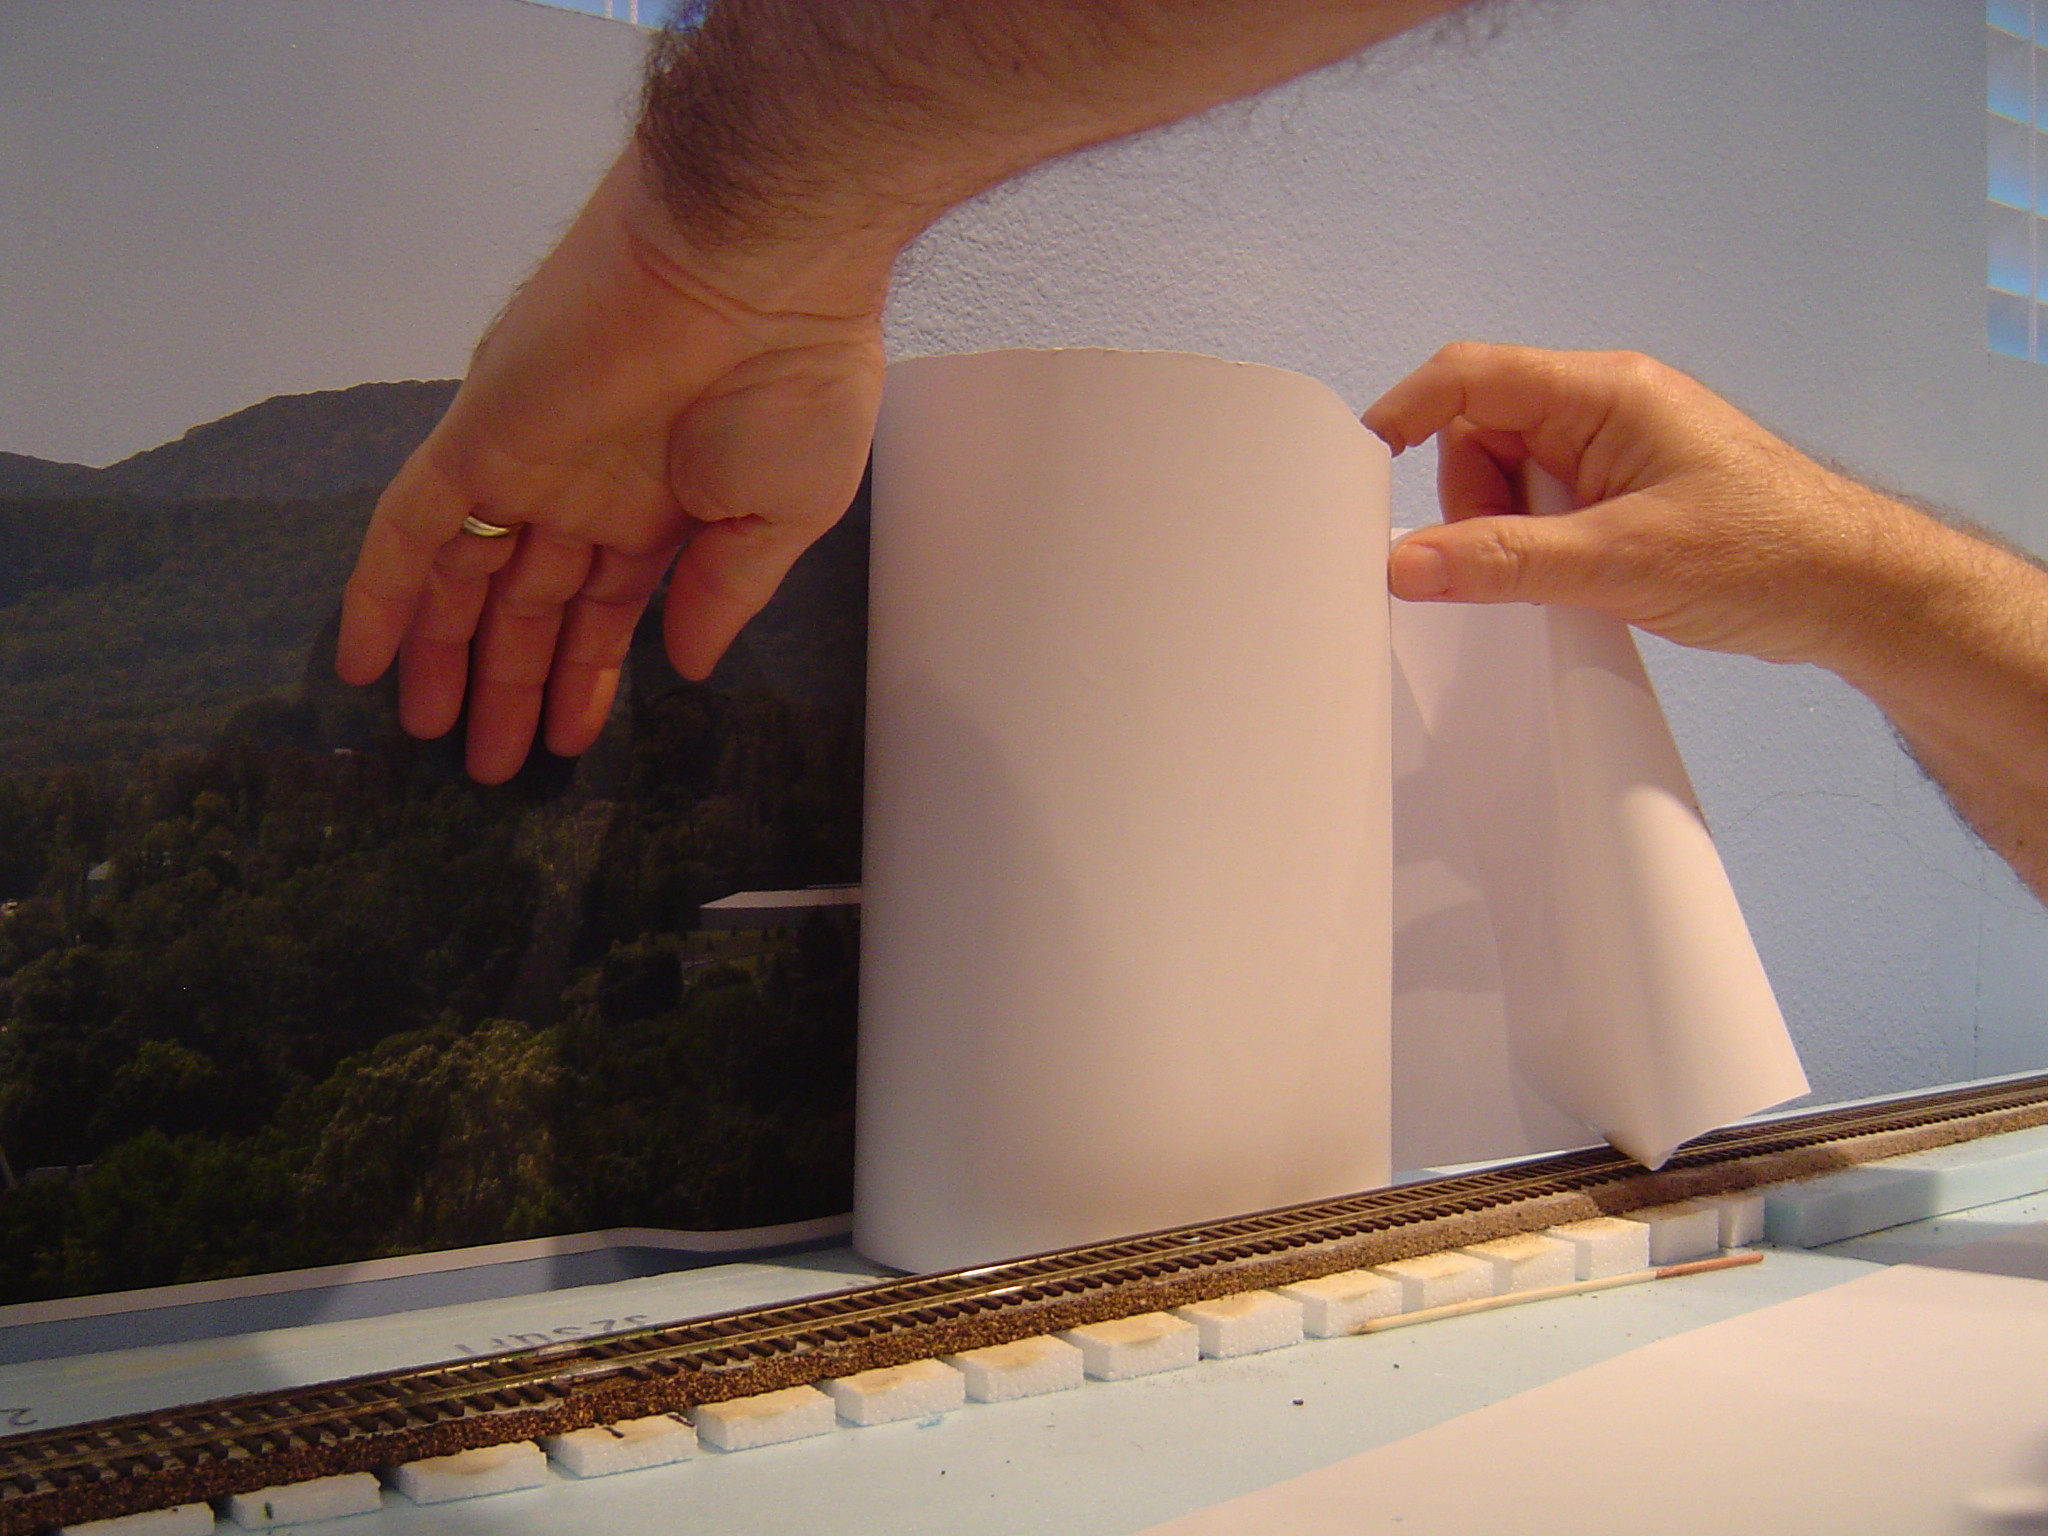
Now the installation process begins. I followed the installation video instructions from Backdrop Junction’s website. First I peeled back about an 8″ long section of the protective paper to reveal the adhesive then I stuck it to the wall making sure the bottom of the section was parallel with the layout. I then continued to pull away the backing and apply pressure to the backdrop.
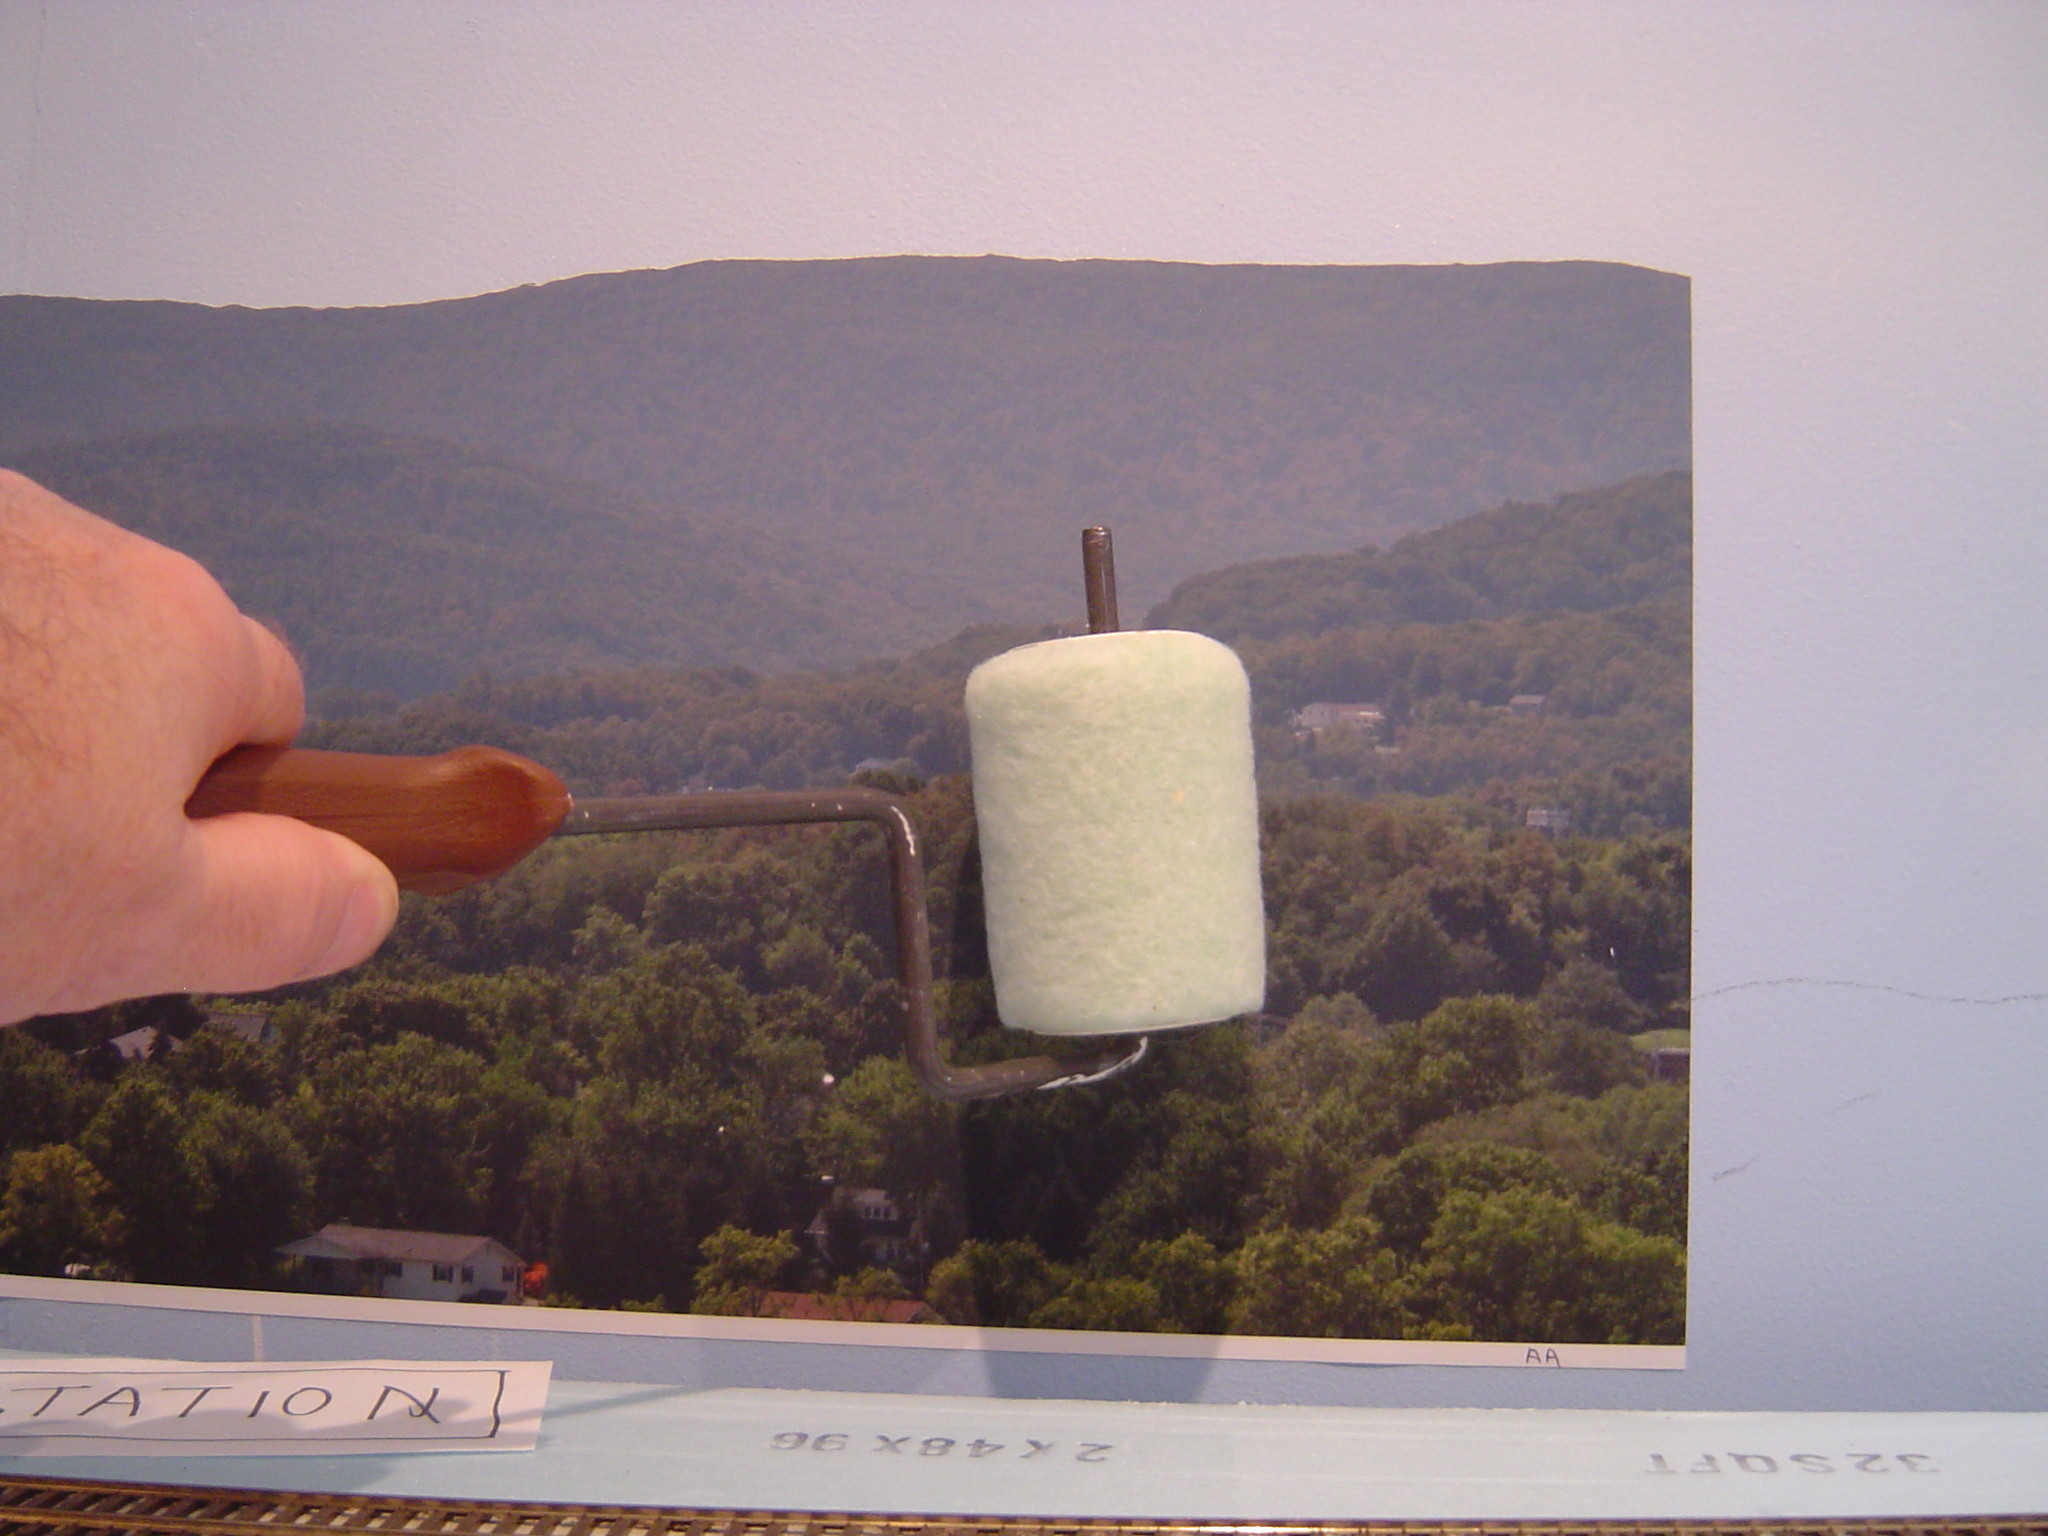
This process went well with no bubbles or wrinkles. Next I used a paint roller with medium pressure to roll the sections to insure adhesion.
One section installed and three to go!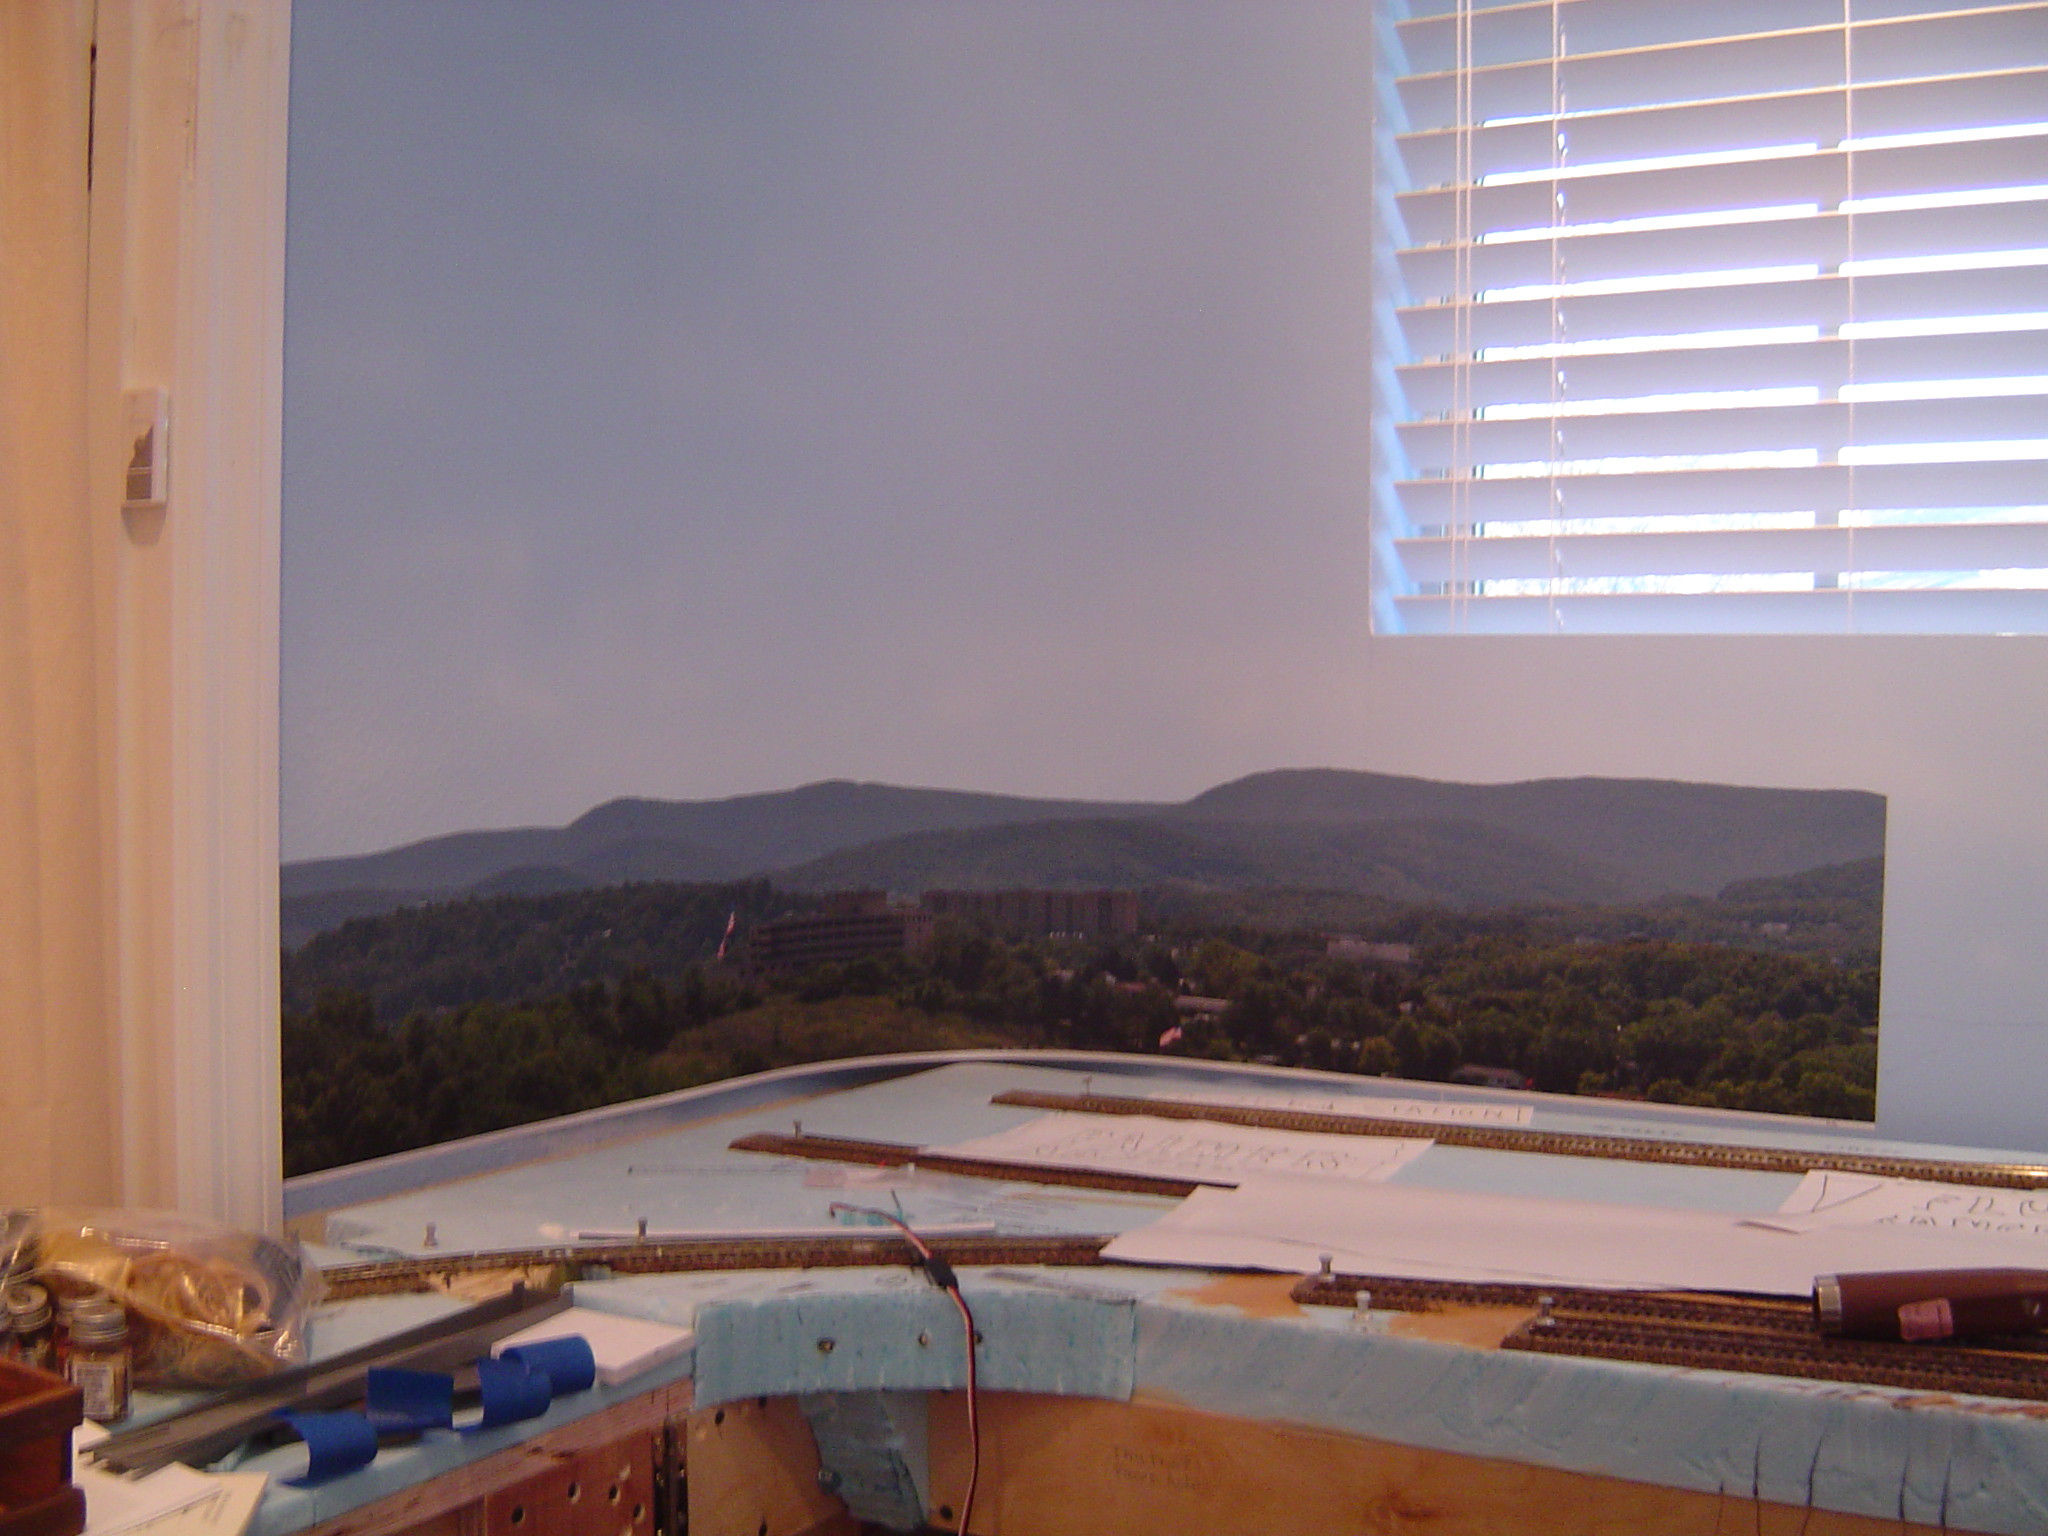
For the next sections I was careful to match the scenes which was easy and there is a 2″ overlap of printing. Here’s what the backdrop looks like with all of the sections installed.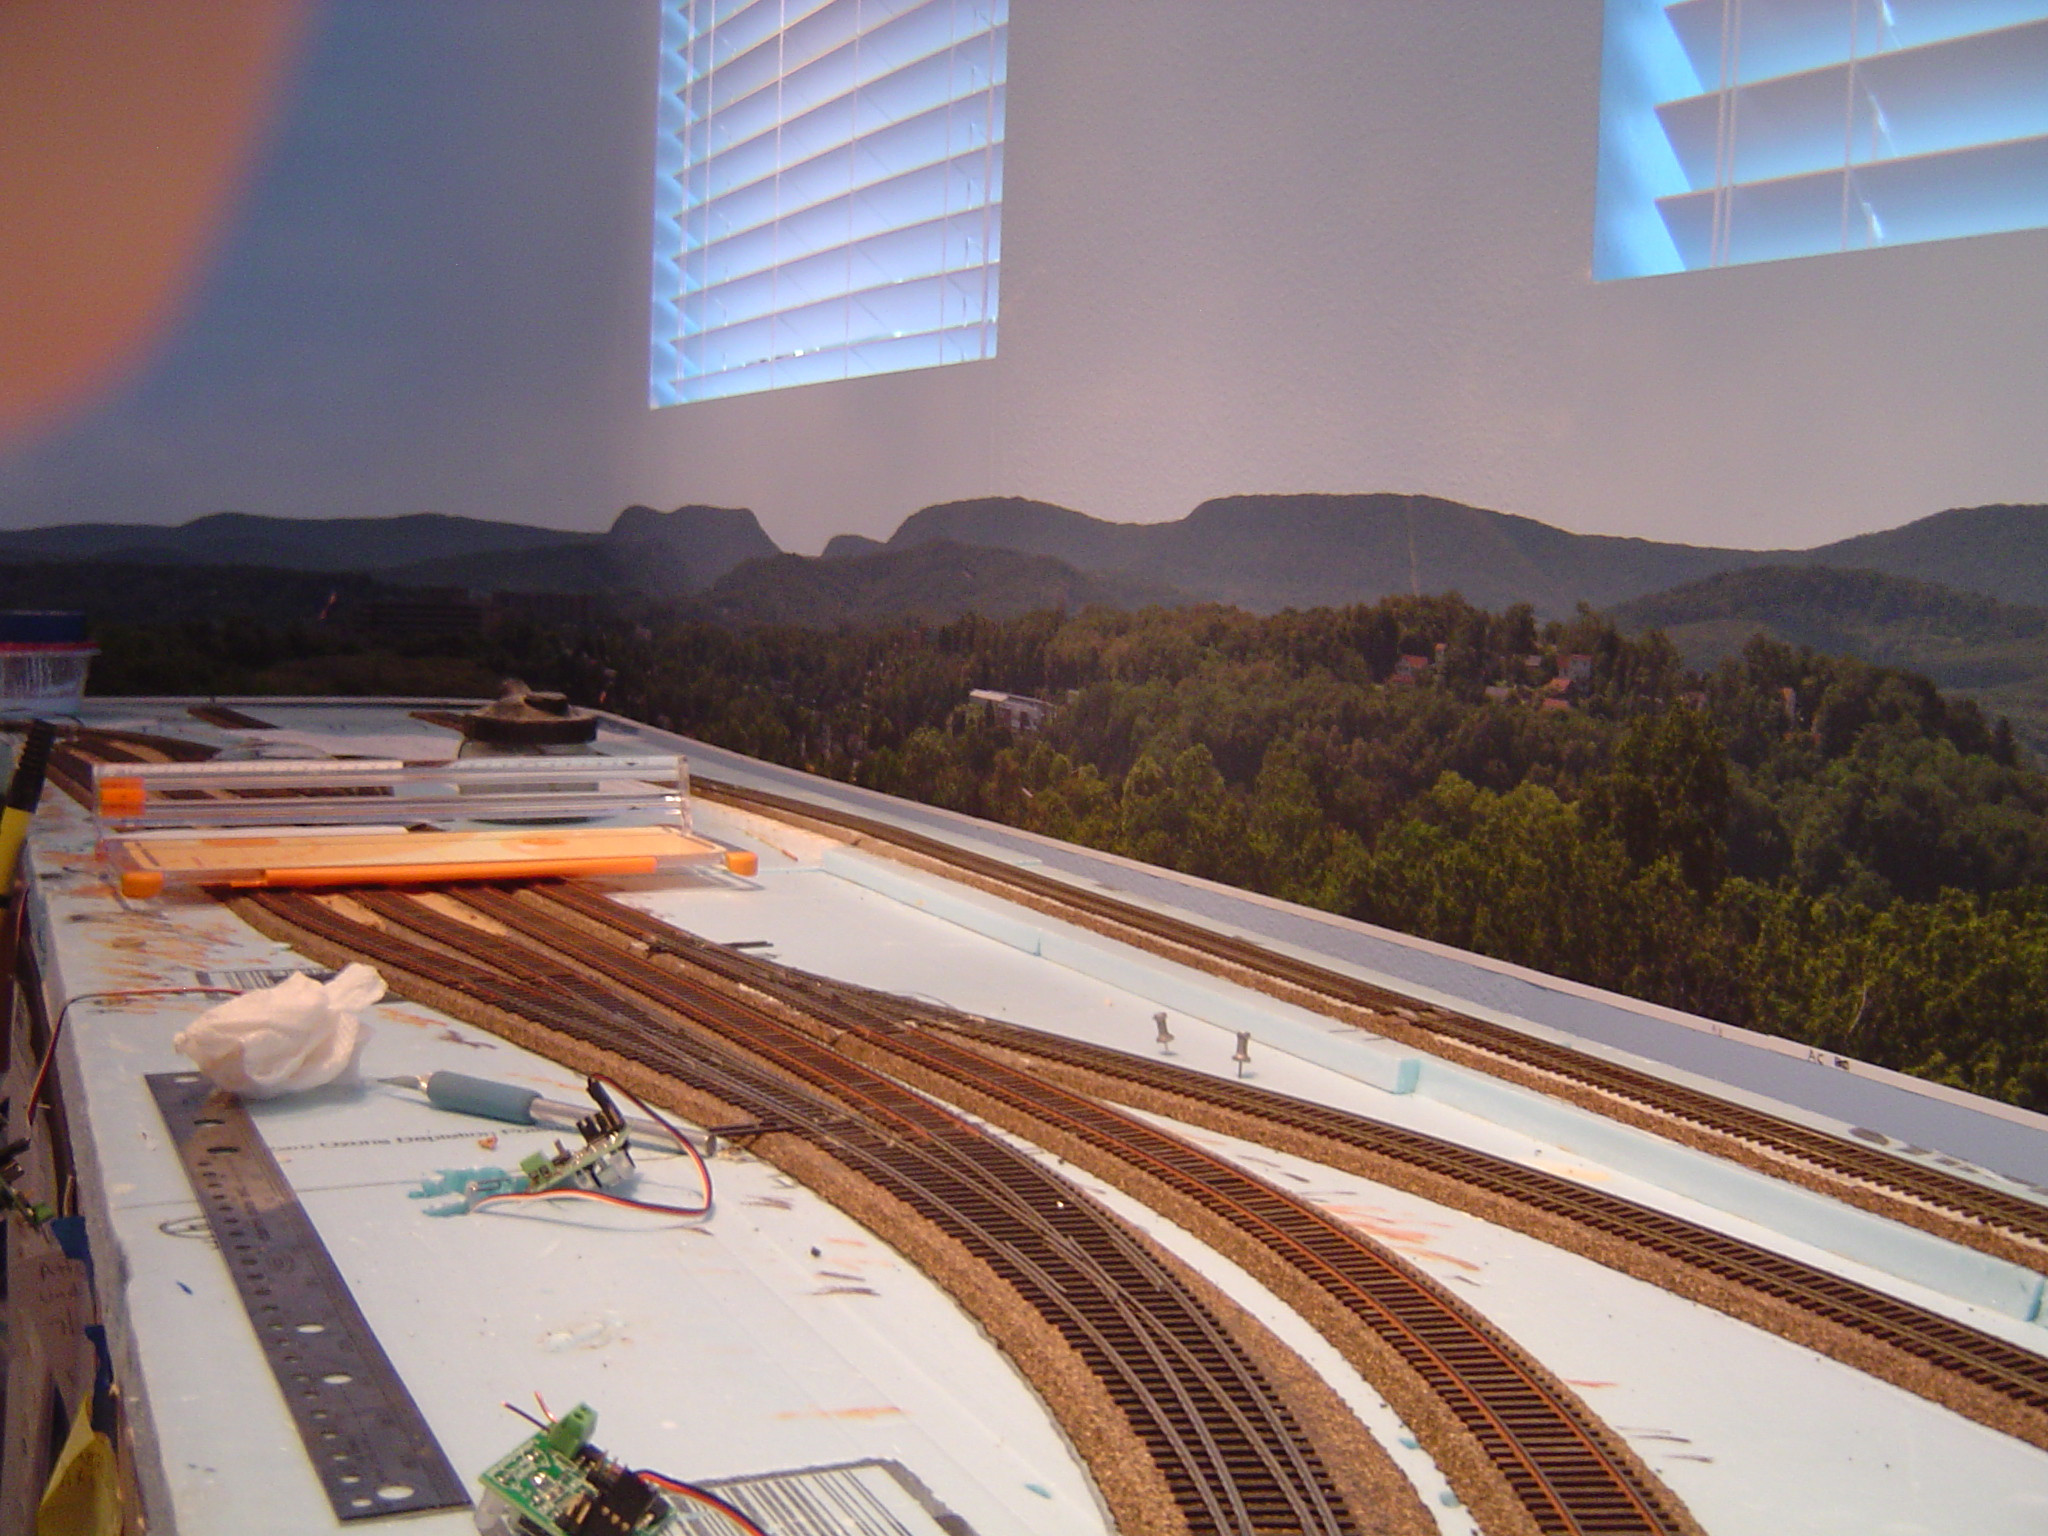
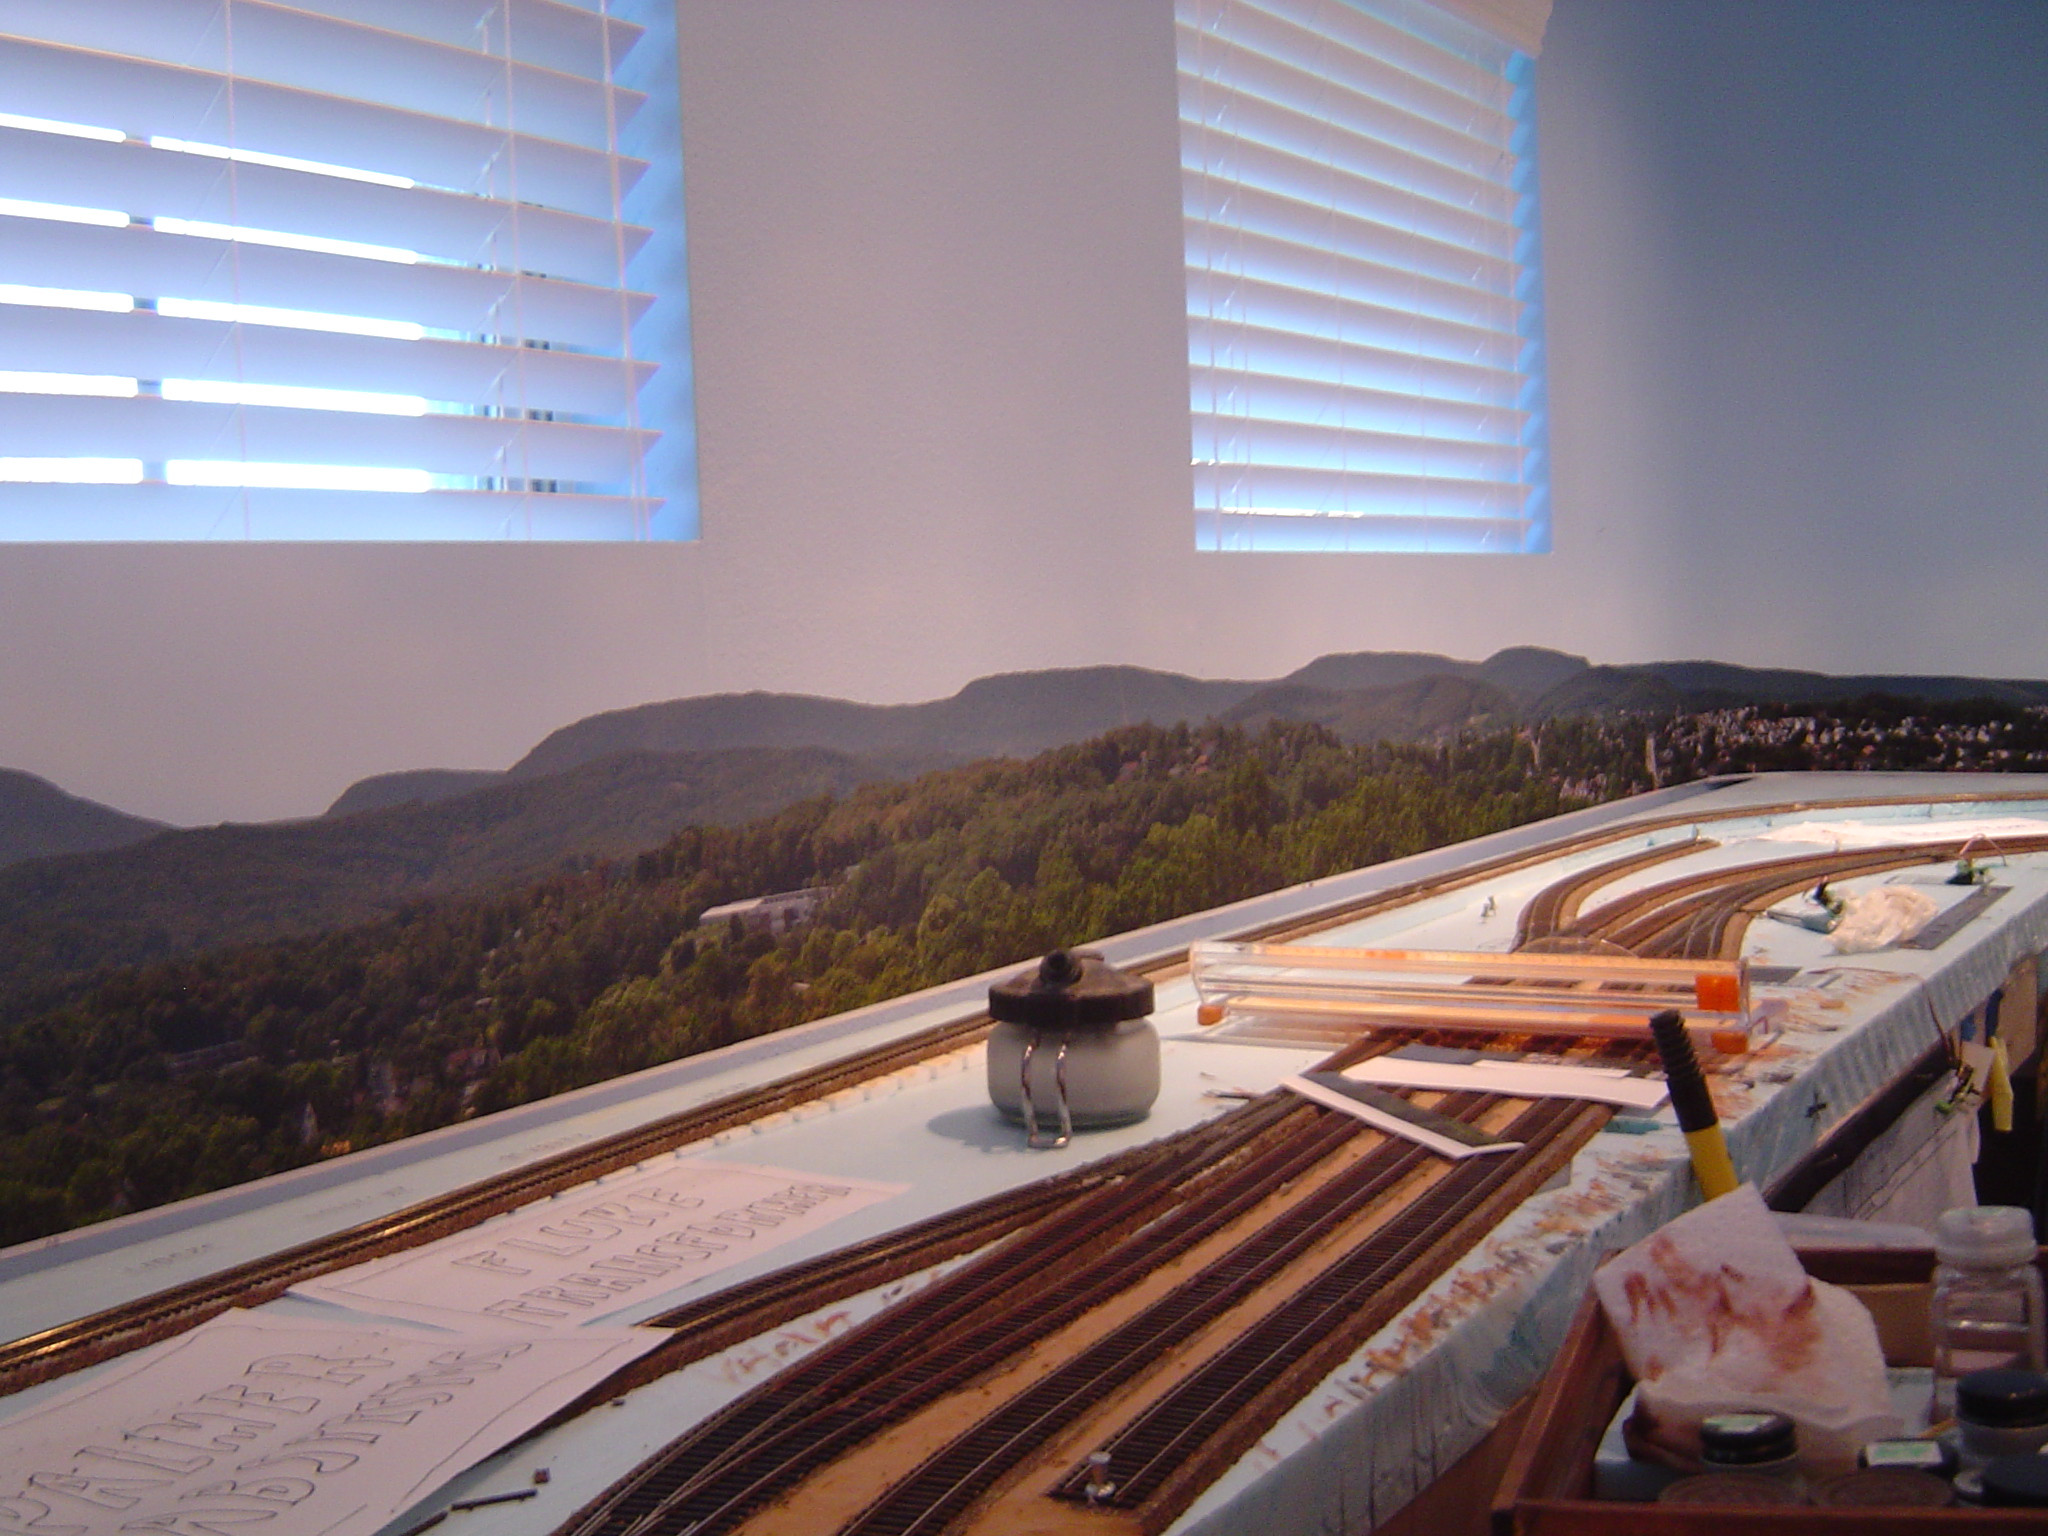 I’m very happy with my decision to use the printed backdrops from Backdrop Junction. Next I will be installing the backdrop on the right side of the room.

