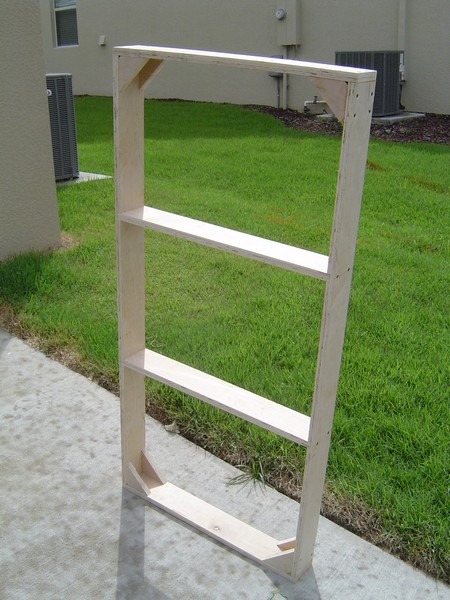
What a benchmark (get it?) day for me as yesterday I constructed my first piece of benchwork. It’s been over 6 months since we moved into our Florida home. Now I feel like I’m finally making some progress on the railroad! It took me several hours to complete because I’m a slow worker in the first place and I purposely slow down even more when working with saws.
Some may make fun of my antique saw, but it has special meaning to me. It’s a 50+ year old 9″ DeWalt radial arm saw that I inherited from my Dad. He bought it to finish our basement in our home in Louisville, KY. I was 8 years old at the time and had only used a hand saw up to that time. I can remember my excitement when he said “Do you want to try a cut son?” I was so nervous as I grasped the handle with his hand on top of mine and pulled the blade through the board like a knife through butter! SAFETY NOTICE – ALWAYS READ, UNDERSTAND, AND FOLLOW ALL SAFETY INSTRUCTIONS SUPPLIED WITH YOUR TOOLS AND ALWAYS WEAR SAFETY GLASSES.
The saw is constructed from cast iron and weighs a ton! I understand that two different foundries manufactured the DeWalts – this one was made by AMF (yes, the same one that makes bowling equipment!).
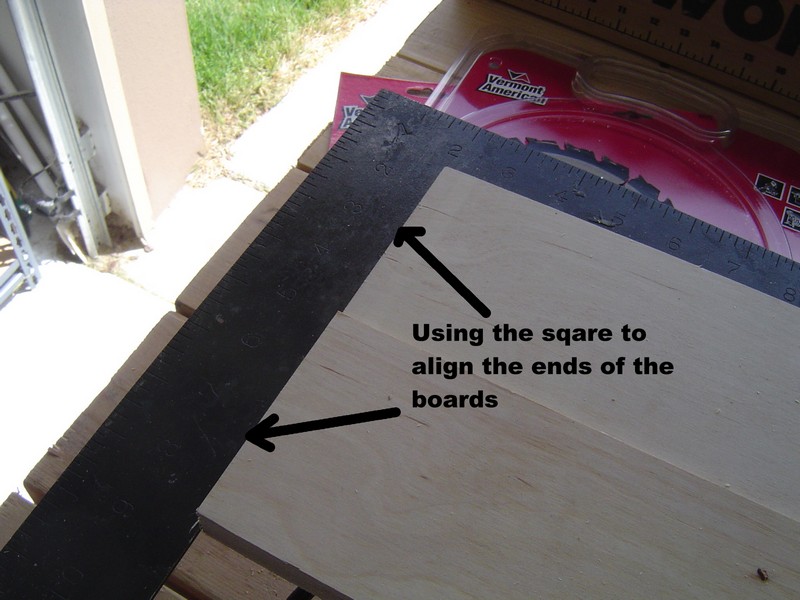
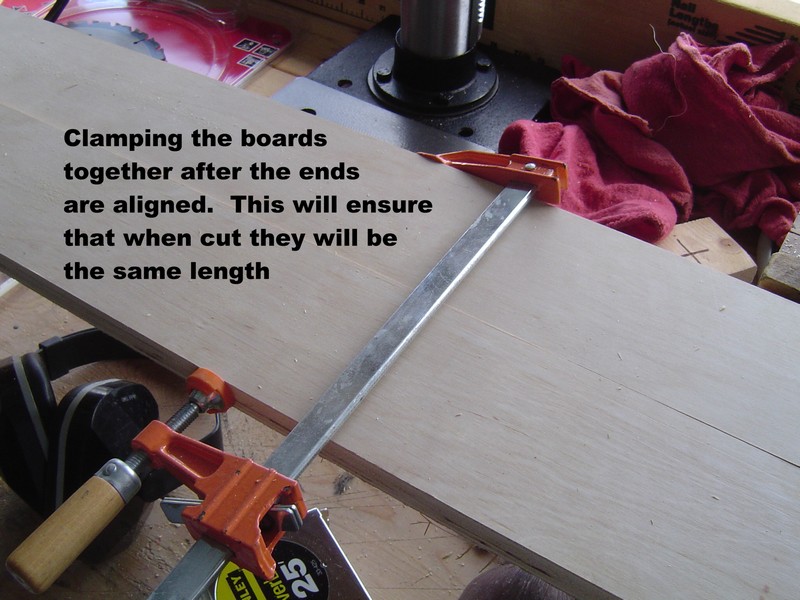
I want the boards to be the same length and cutting them at the same time is one way of insuring same cuts. I use this method to cut all of my boards.
Here I’ve clamped the boards together. Not shown is that there is another clamp on the other ends of the boards.
I don’t want to get mixed up so I mark the lengths of my boards including marking the leftover cuts. It makes it easier to find the right length boards when constructing my other sections.
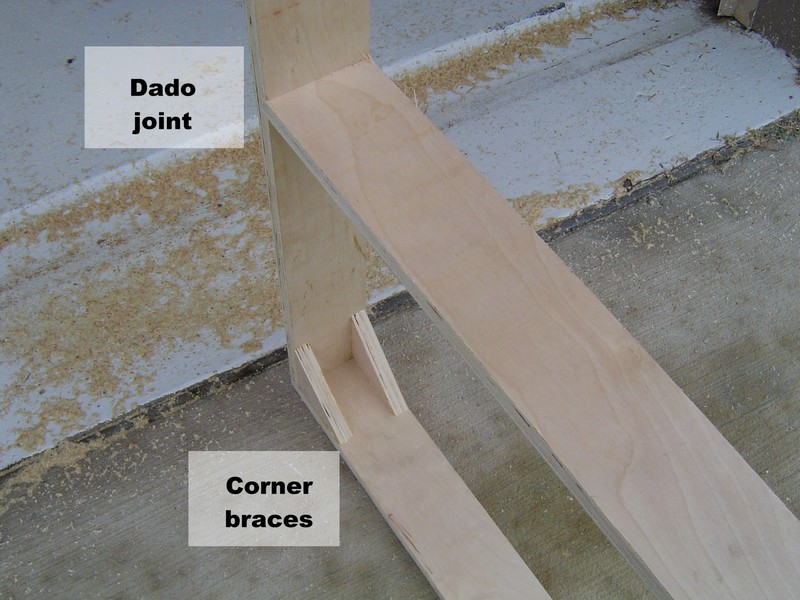
I used dado joints to joint my joists to the side rails for added strength. I use some scrap lumber the set the correct depth.
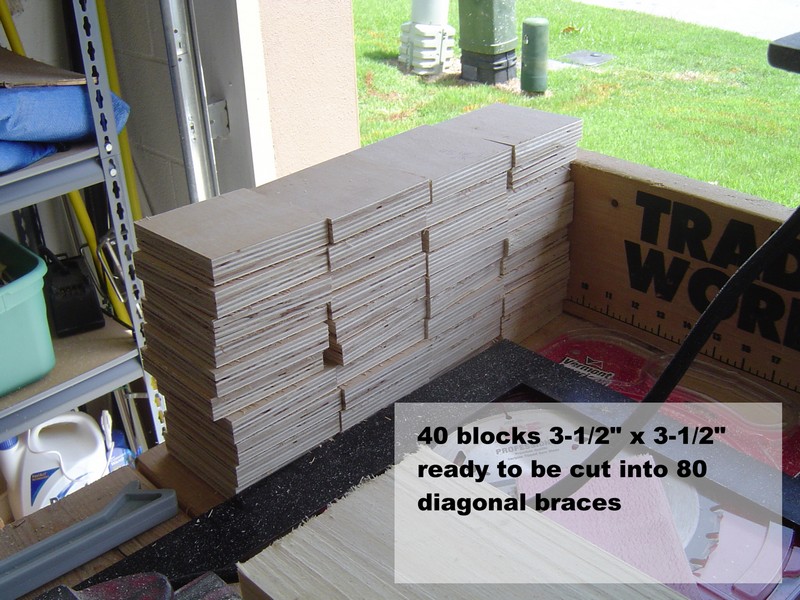
The sections will have diagonal braces that are 3-1/2″ X 3-1/2″. First I need to cut the blocks out which will then be cut on the diagonal.
The process when fairly quickly and here are the blocks.
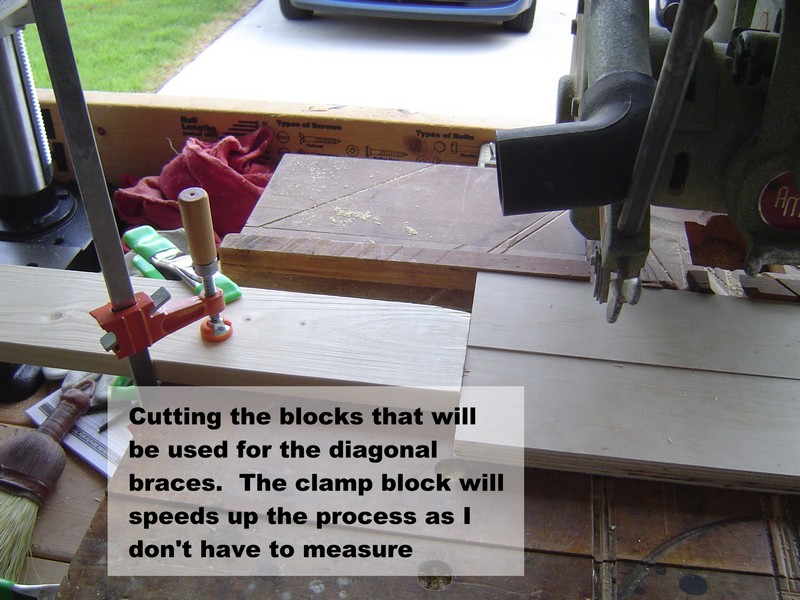
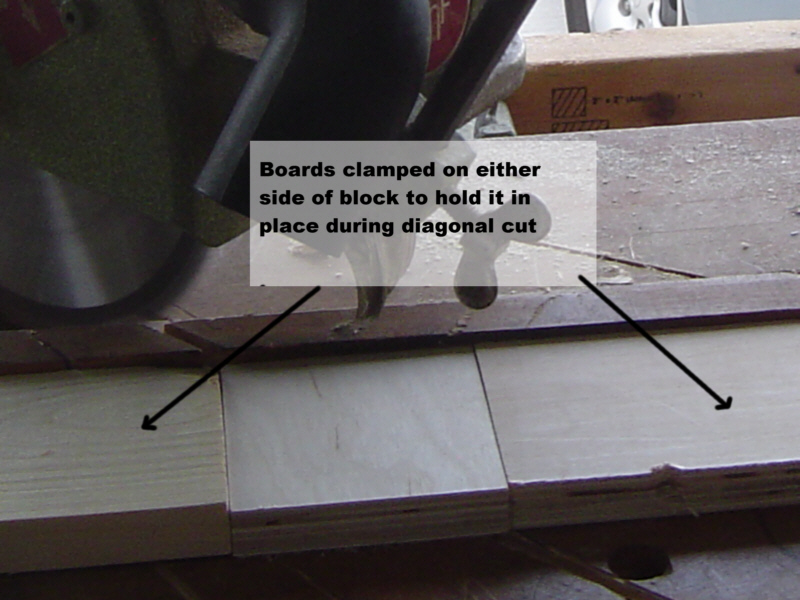
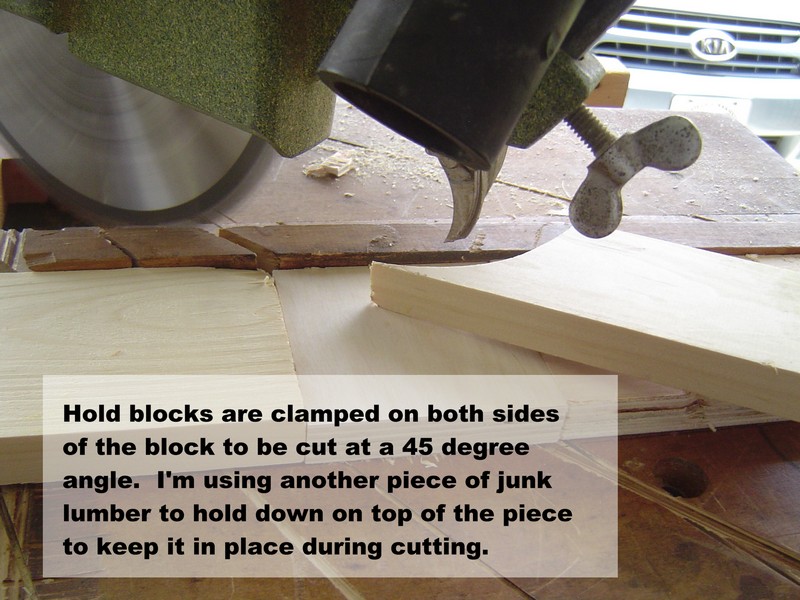
Cutting small pieces can be dangerous on saws. I keep my hands away by using clamping boards on either side of the block. Here I’ve already set the radial arm at a 45 degree angle.
Because the blocks are small they want to “kick” out of the saw. I use a piece of scrap lumber to apply downward pressure on the block during cutting. I also use the same scrap to move the cut pieces away from the blade after cutting.
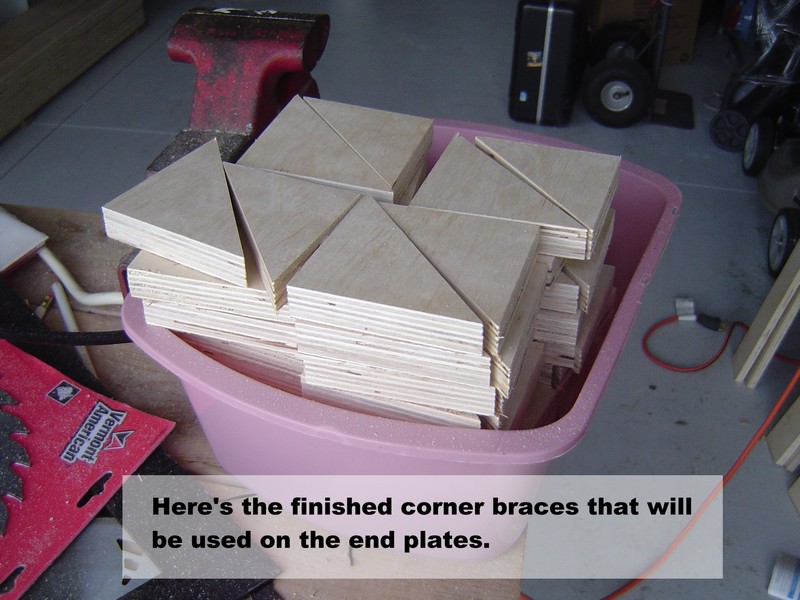
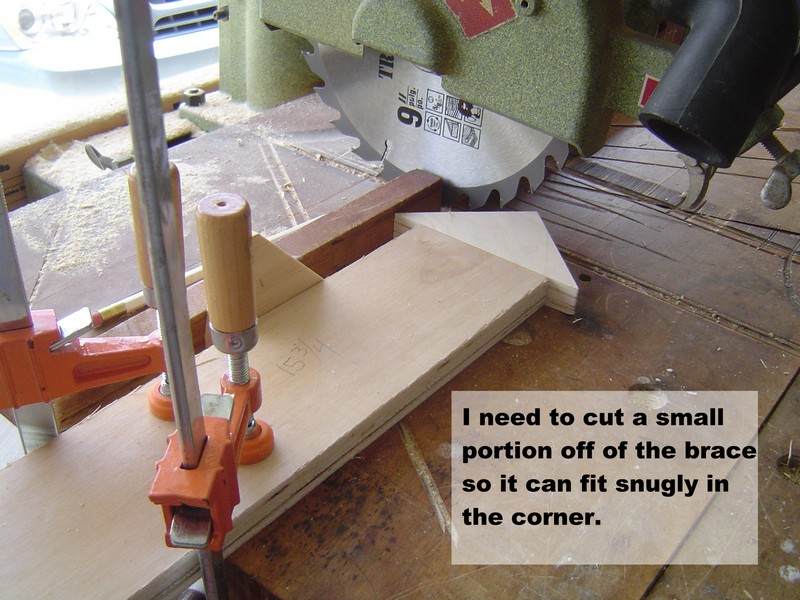
Braces galore! The picture says “finished”; however, I’ll need to nip off the 90 degree corner to allow for flush fitting of the braces in the corners.
A piece of lumber clamped in place sets the cut and I use a piece of scrap to hold down the diagonal during cutting.
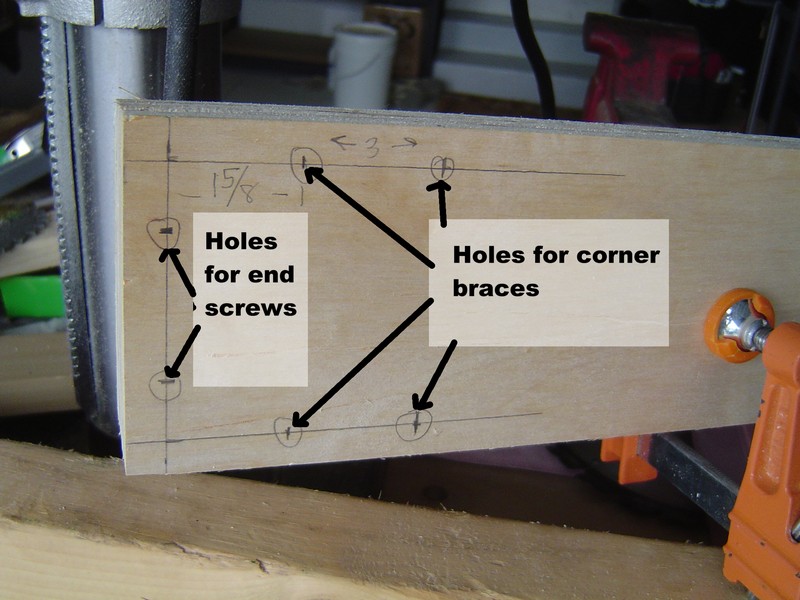
Here I’ve marked the holes where I drill the countersunk holes for the assemble screws. Not shown is that I made a template from this so I won’t have to measure on future boards. I used my drill press to drill all of the holes before assembly.
 Fast forward……I used screws and glue to assemble the pieces into the benchwork session. Here you can see the dado joint where the joist joins the side rail.
Here’s another view of the dado joint and a view of the corner braces installed.
One down and 8 more to go! Of course when I got it assembled I realized that I forgot to drill holes for the wiring. I won’t make that mistake on the other sections. The sections will be topped with 2″ rigid foam.
One down and eight to go! The other sections will be assembled using the same techniques so I won’t be blogging their individual builds.


