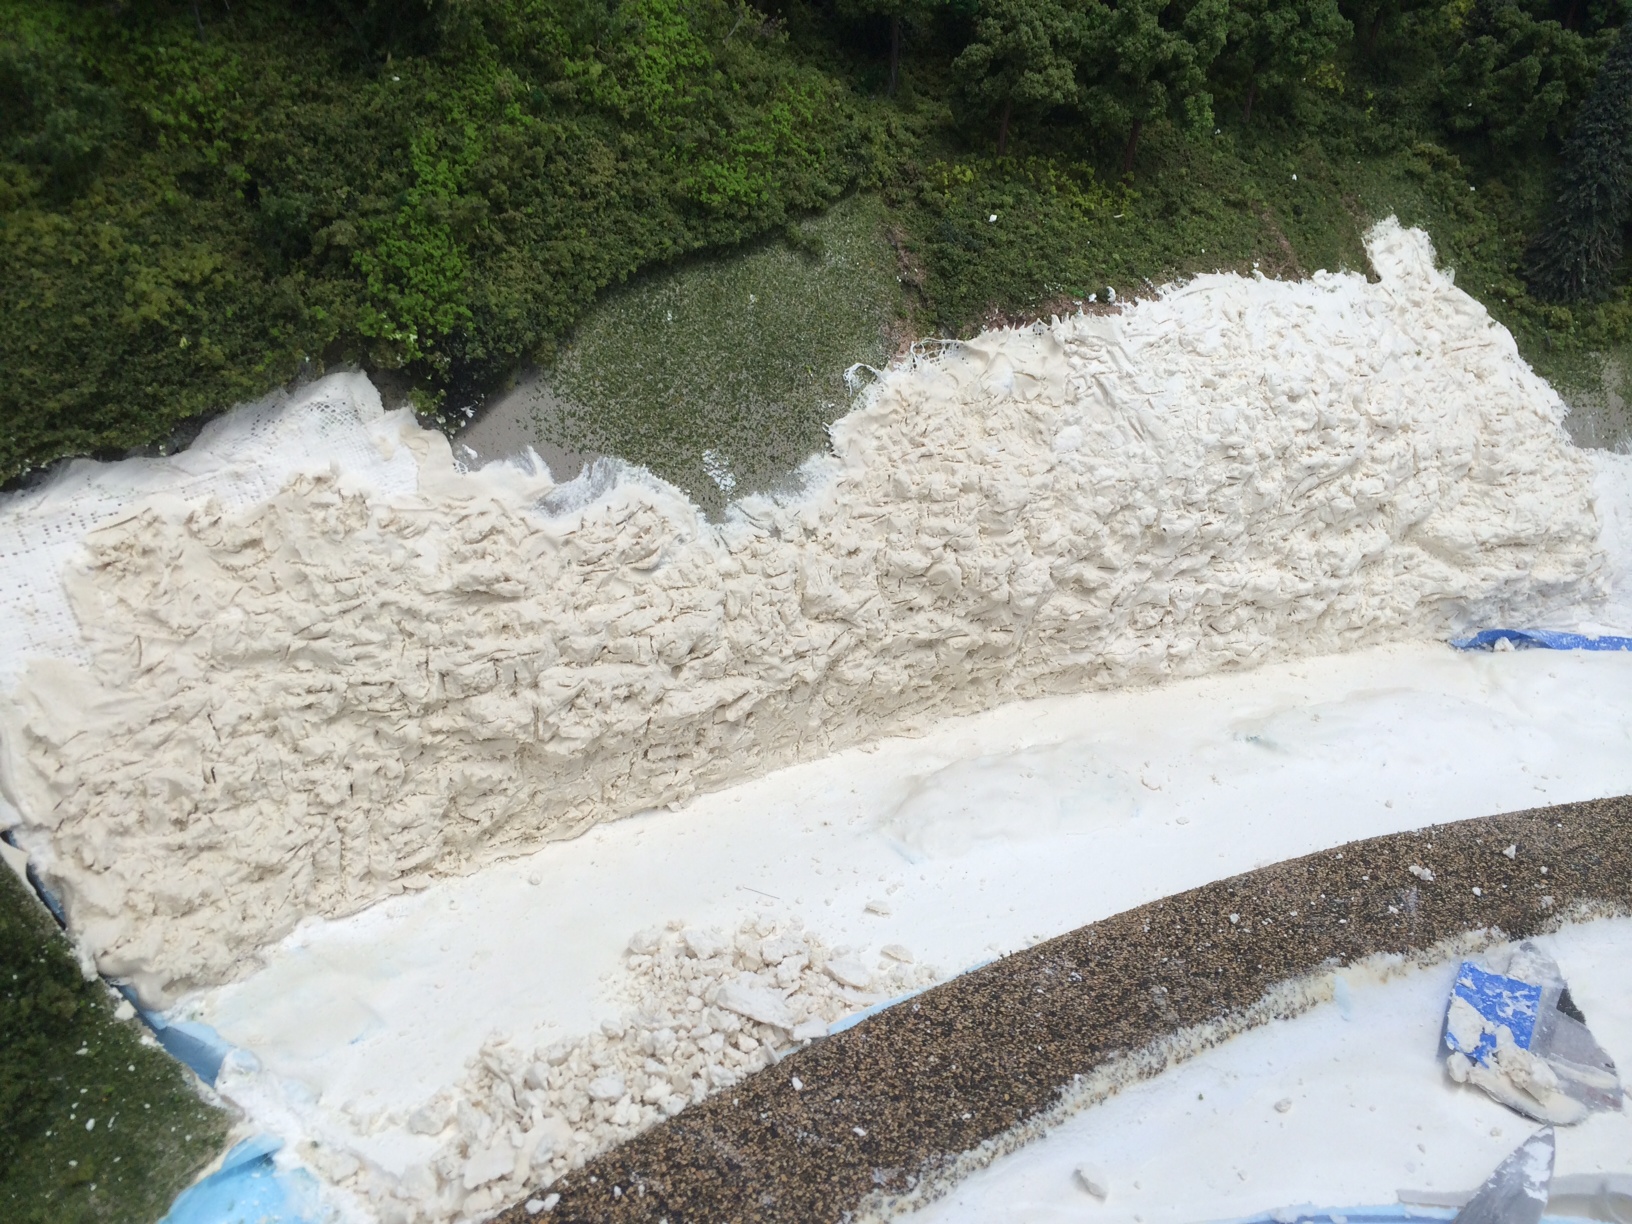
Seeing Michael Rose’s mountain progress (See it Here) inspired me to start on my mountain. On my previous layout I used the cardboard strip woven method for the basic structure but this time I used aluminum screen (like Michael uses) and sure enough it is MUCH faster and I believe easier. The “earthquake fault” on the left of the mountain is a seam where the sections of the bench work meet and is necessary to make disassembly easier. I’ll just cover it with my landscape and it won’t be visible. This picture shows two layers of plaster cloth. Next I’ll add either a layer of Sculptamold or plaster. I’ve removed the trestle at the bottom of the mountain to protect it from damage. And, of course, there will have to be a waterfall!
And here’s how the mountain looks today. I’ve still got to do more work on the tunnel portals for the doodlebug and add a road with portals.
You can see a stop-action video of the mountain build HERE.
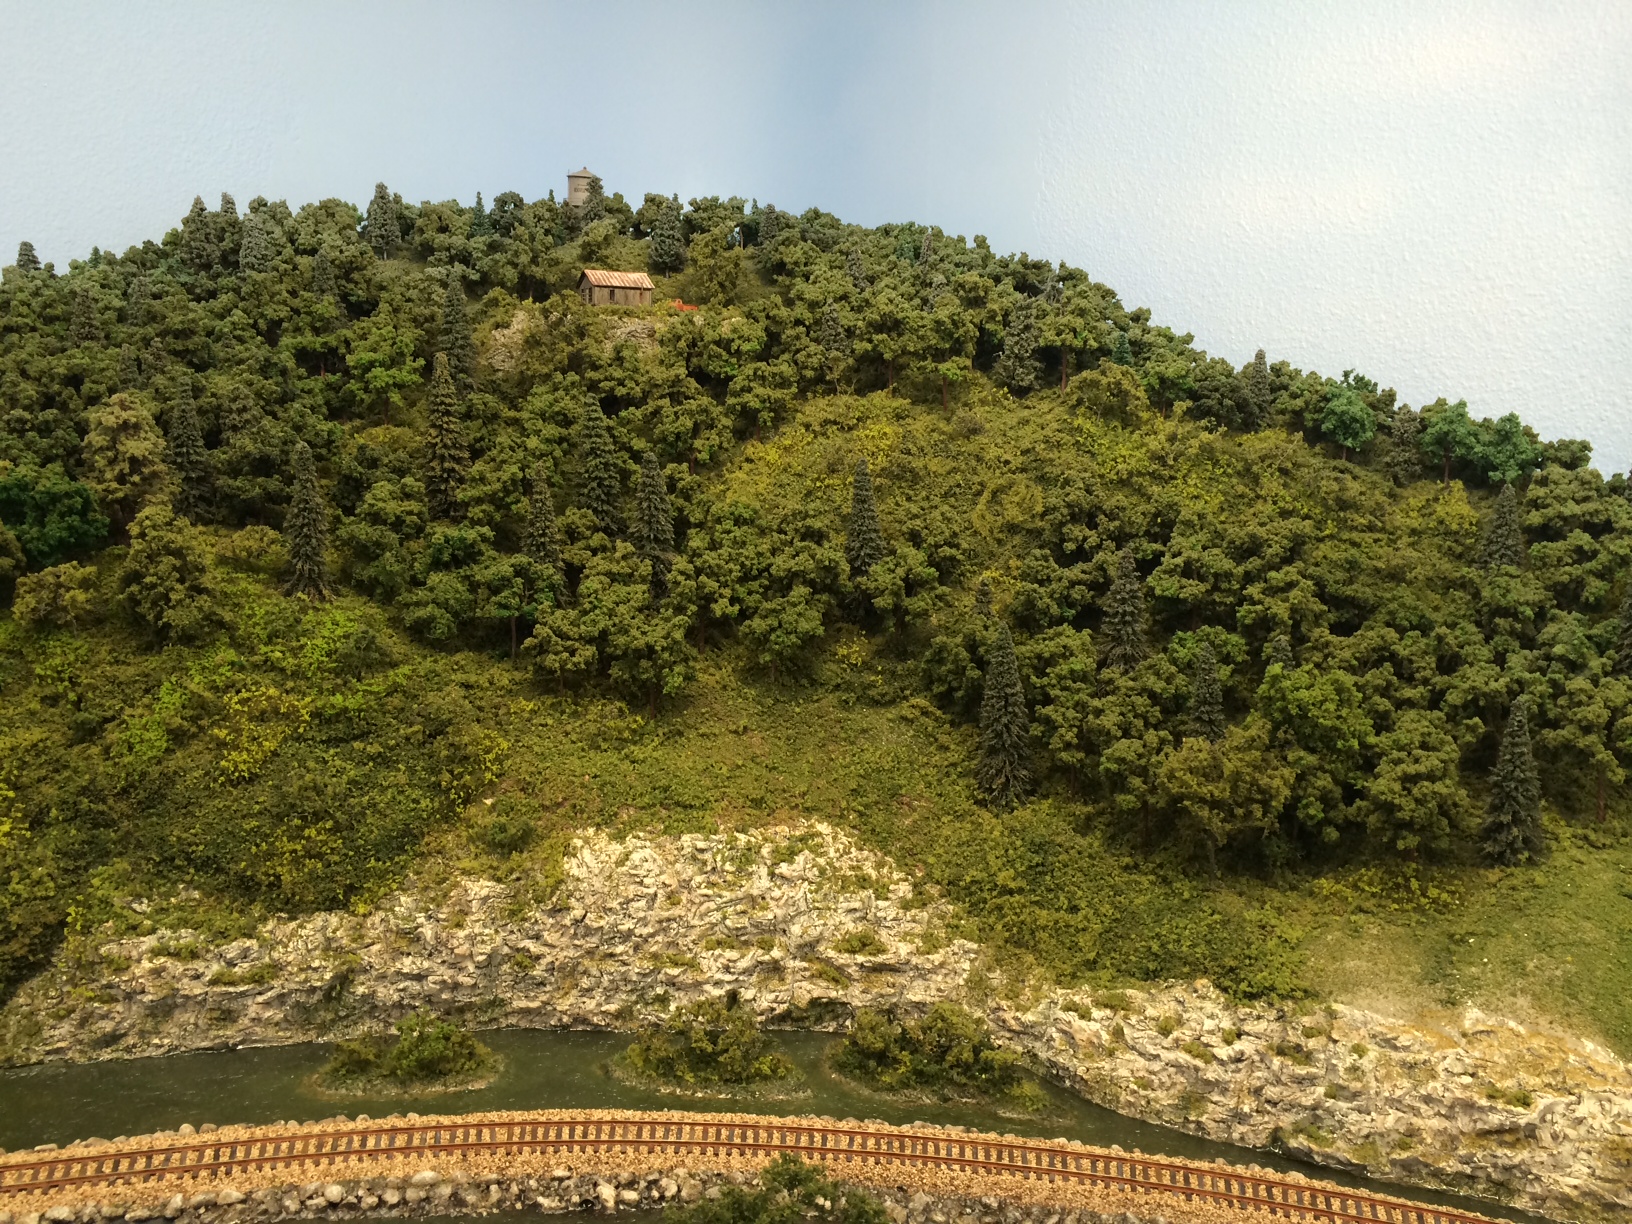
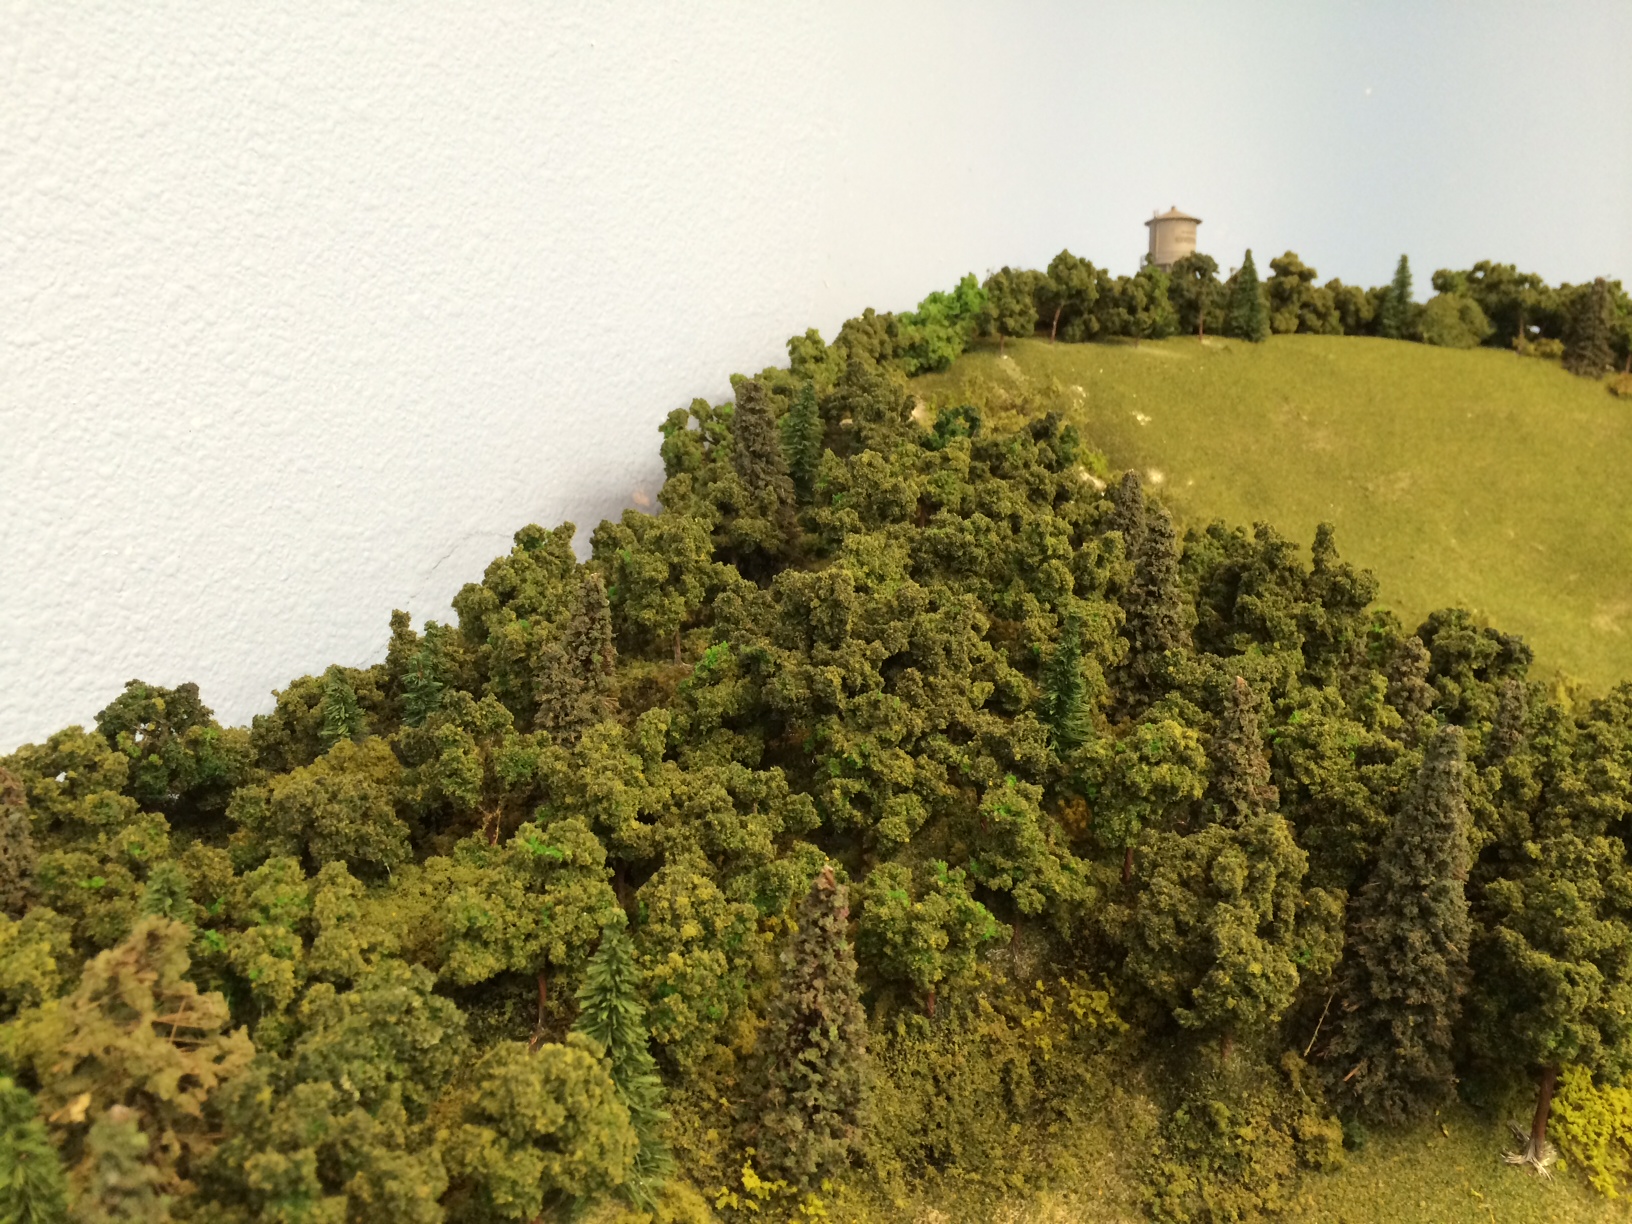
I’ve covered up the waterfall in this picture and added a bunch of trees. The trees at the top of the mountain are N scale and then I used larger HO scale trees farther down the mountain closer to the viewer.
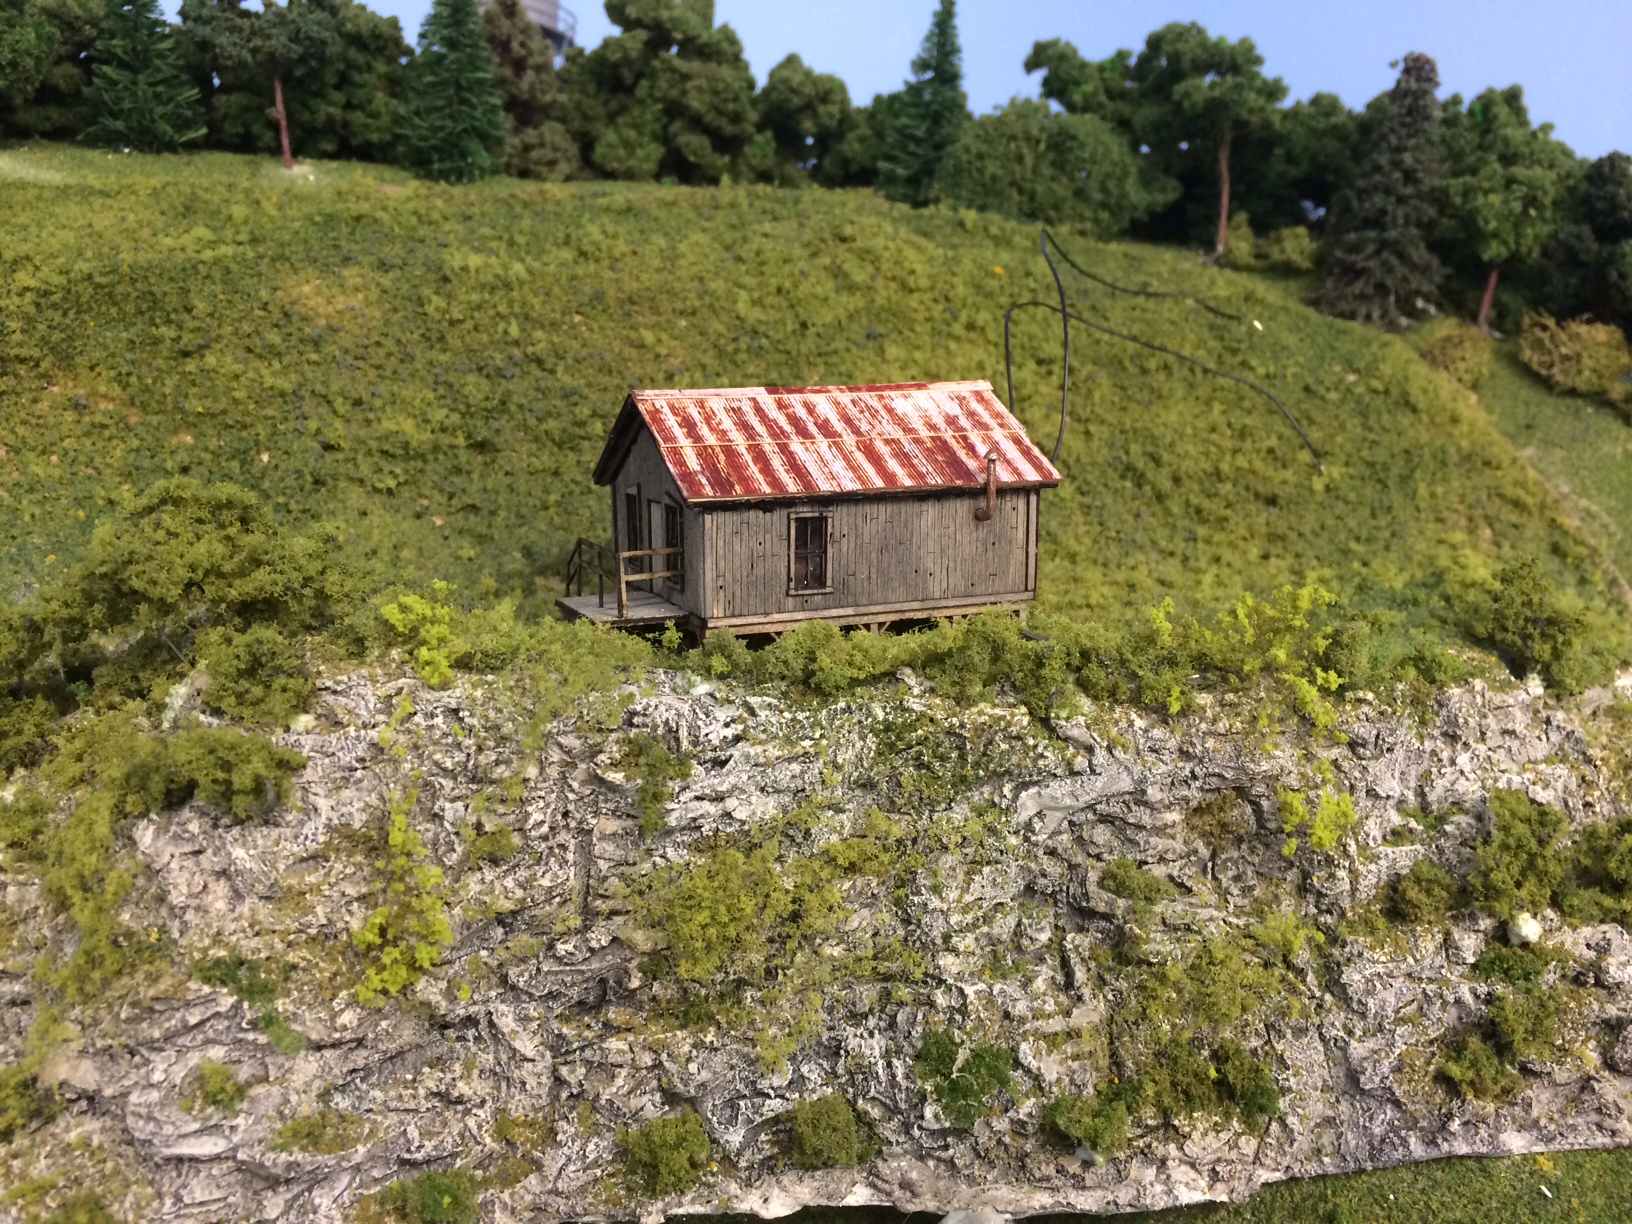
Here’s the building in place on the mountain before the wire were routed down underneath.
Here’s the N scale structure showing the interior view block and lighting.

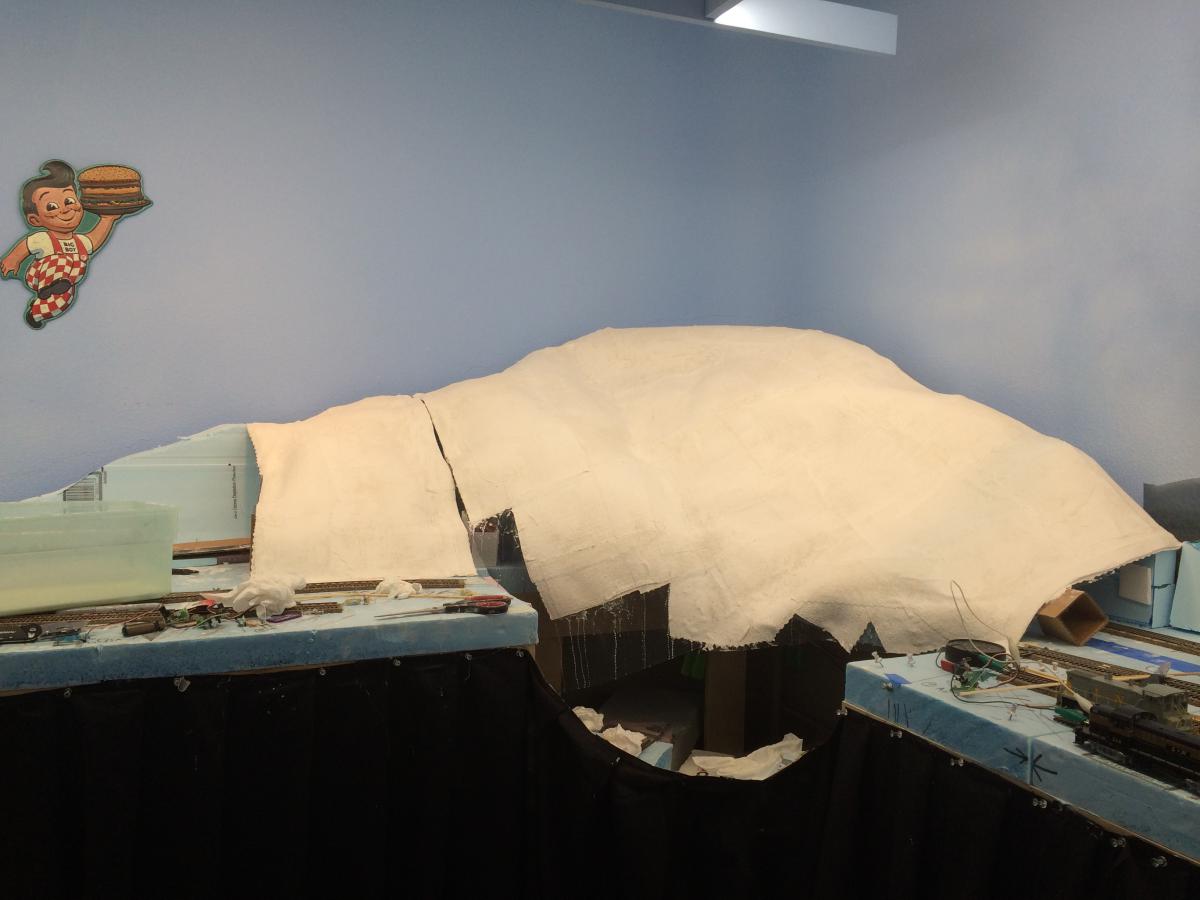
I wanted to add a N scale small structure to the mountain and used WS “Shaper Sheet” the get the base along with a foam mach up. The waterfall didn’t work out and was later removed.
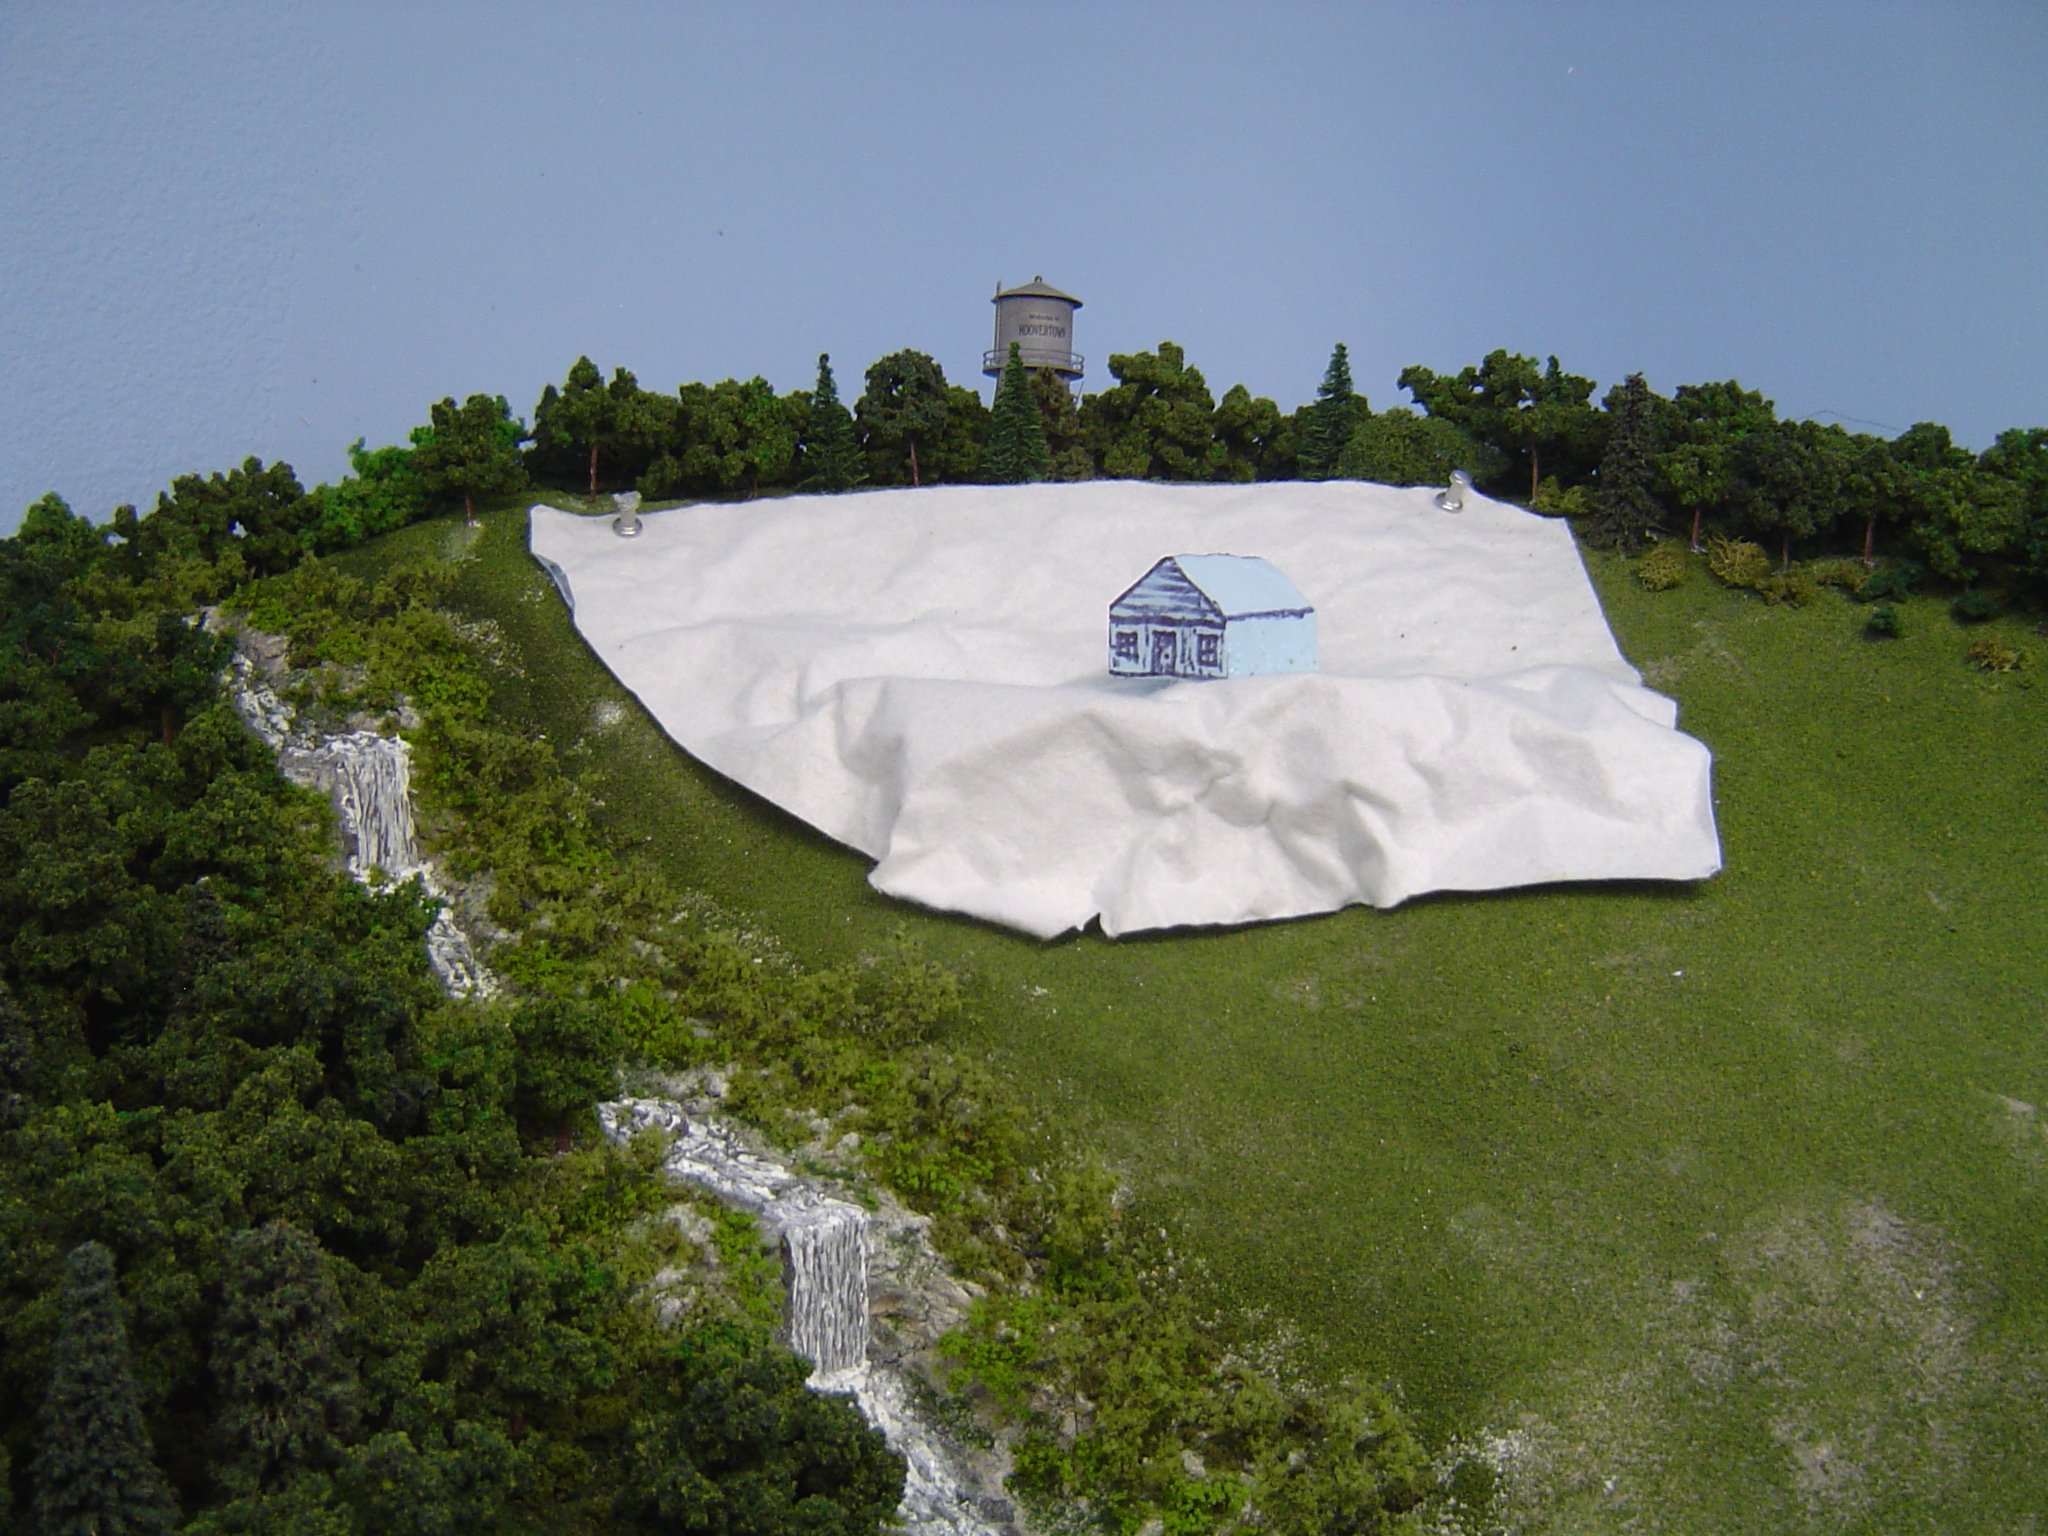
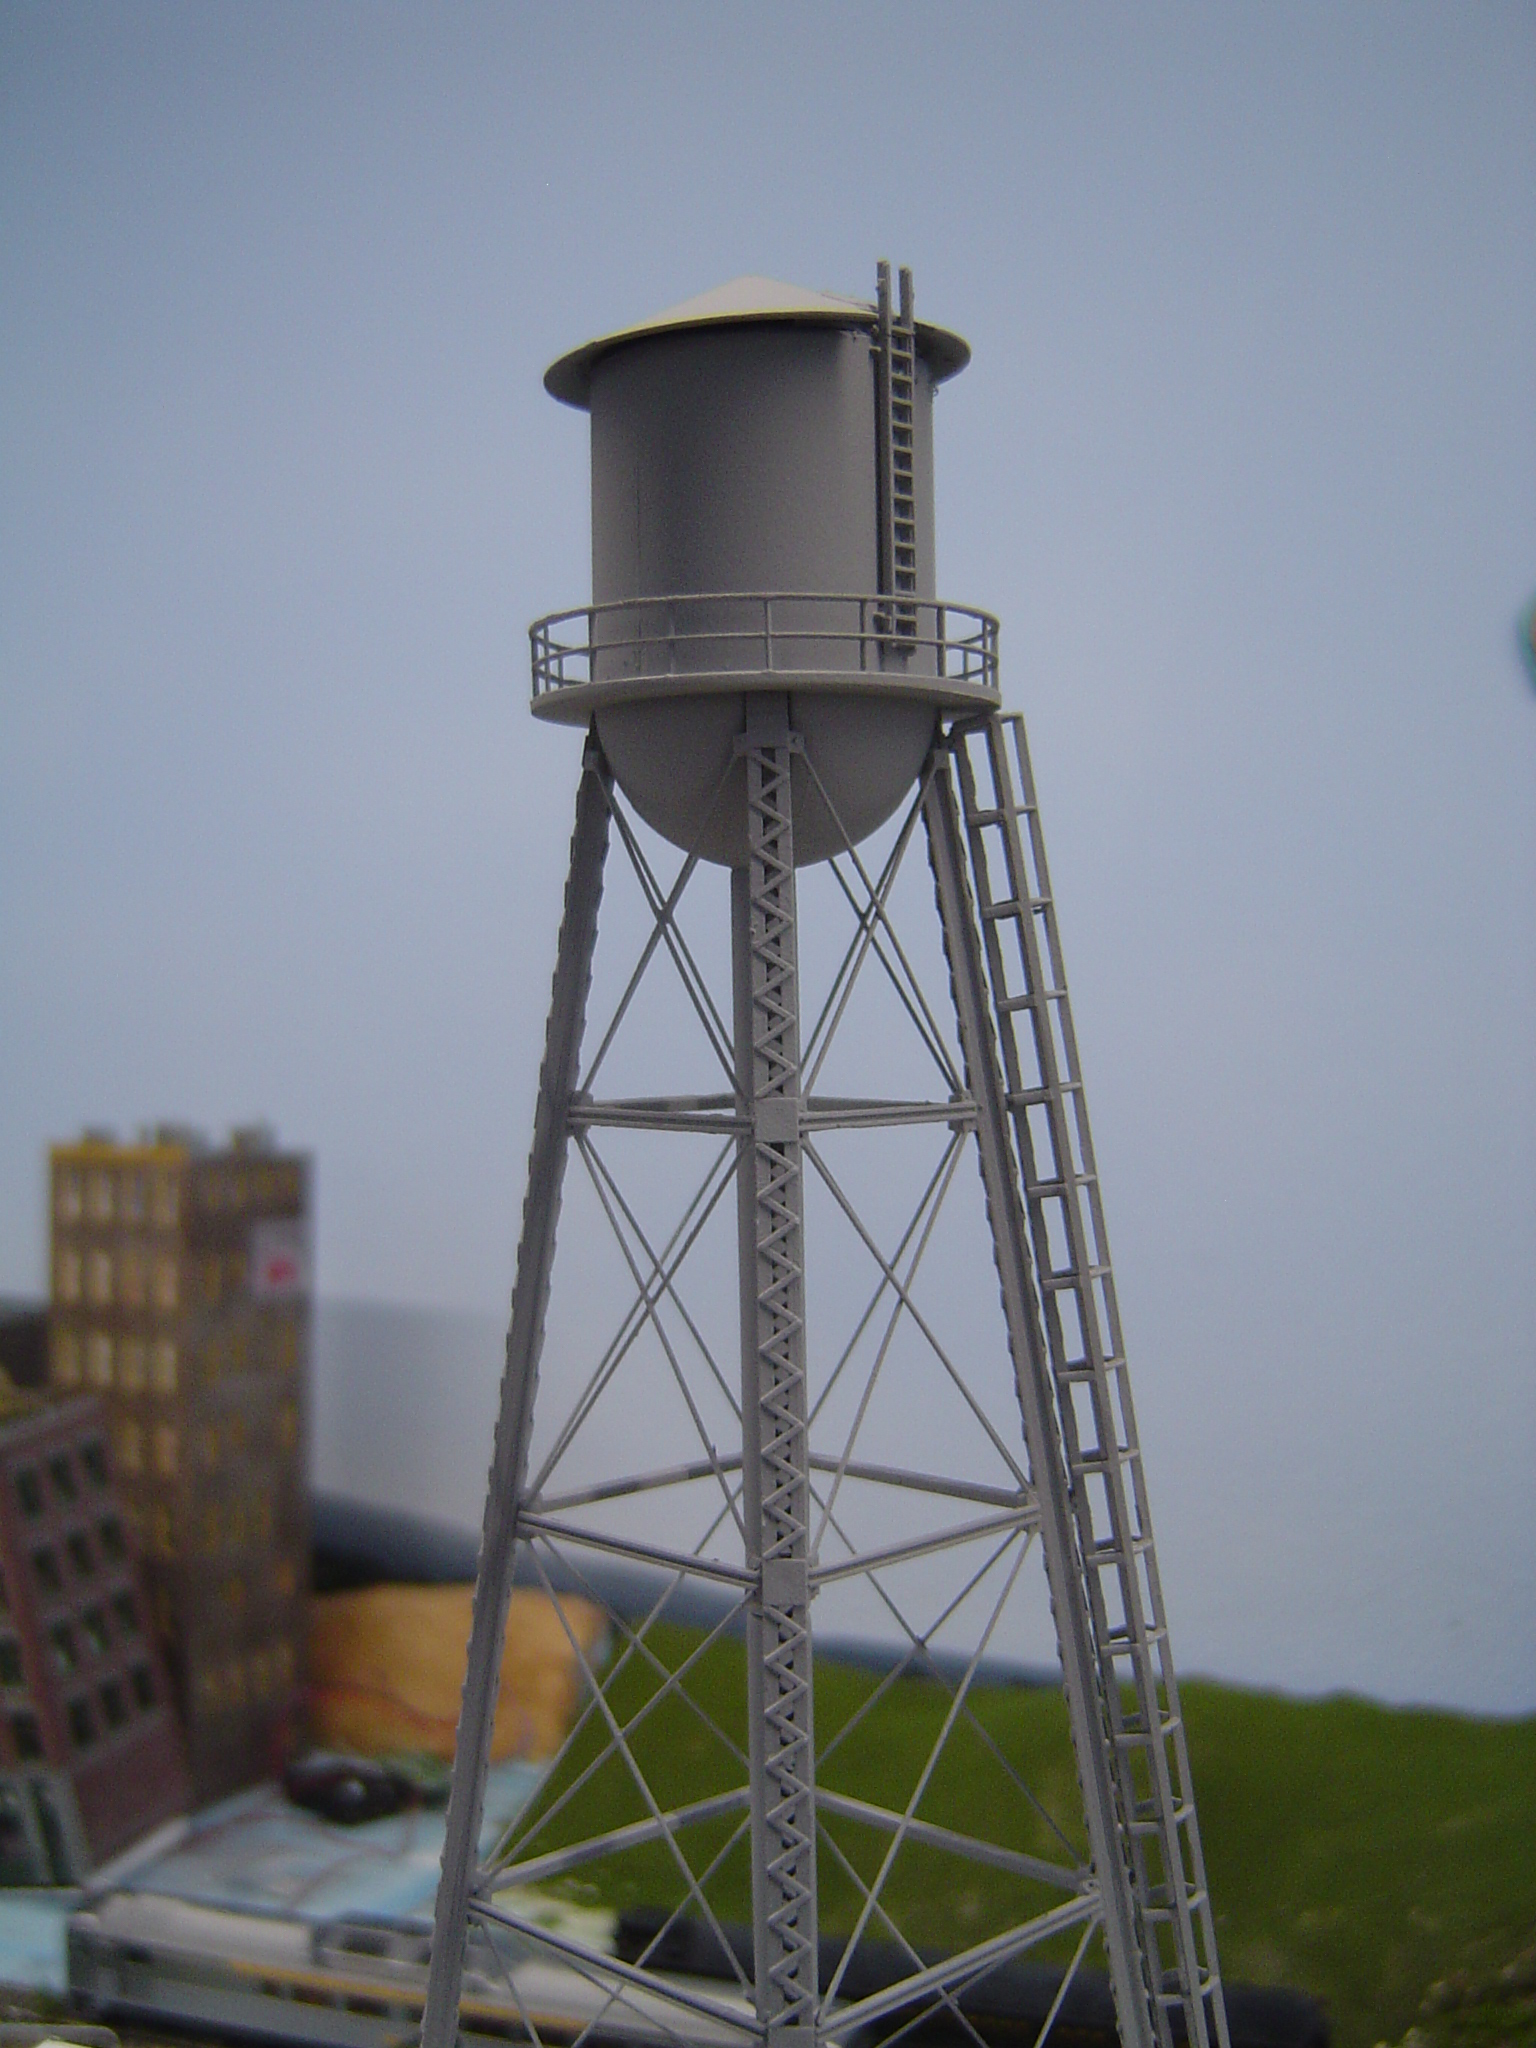
I used an N scale Walthers water tower with a flashing red beacon to the top of the mountain to give it some forced perspective and to draw the eye up the mountain.
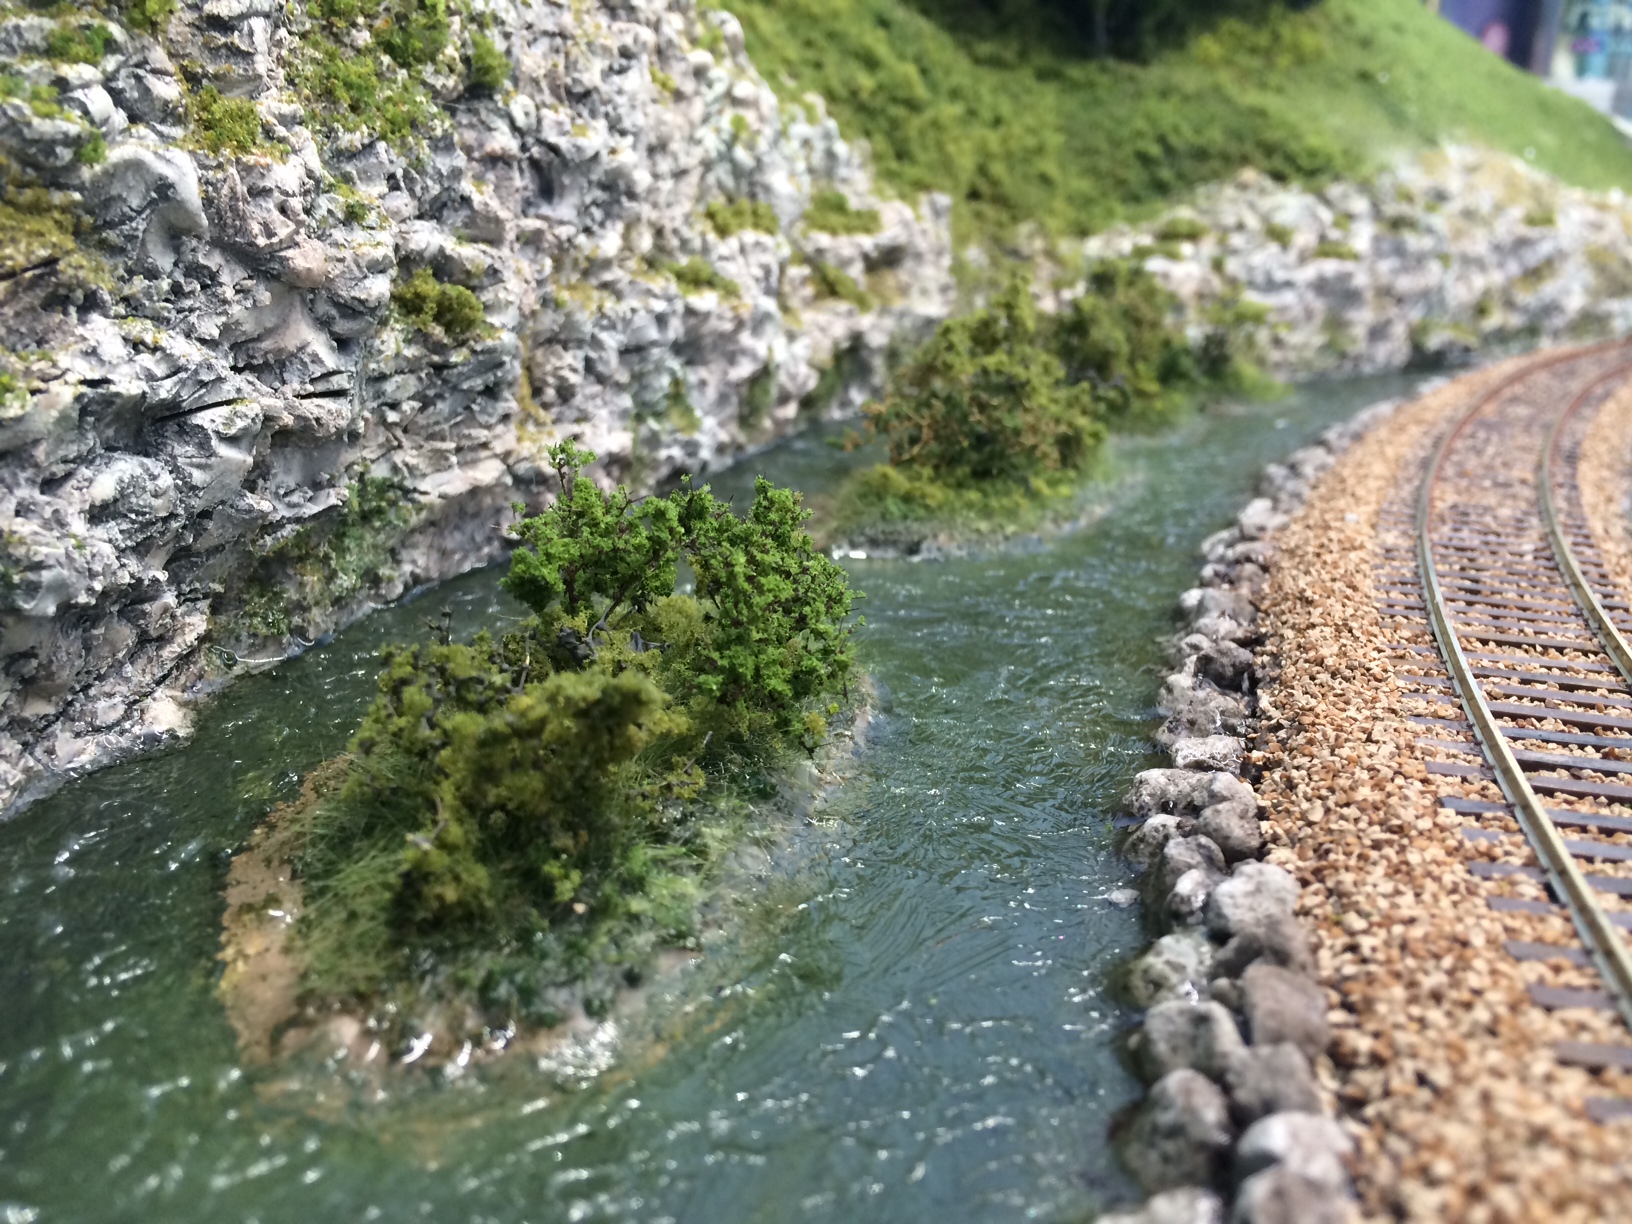
I used Eviro-Tek Light as the water and then used WS “Water Effects” to get the movement. I then added a layer of high gloss mat medium to the top.
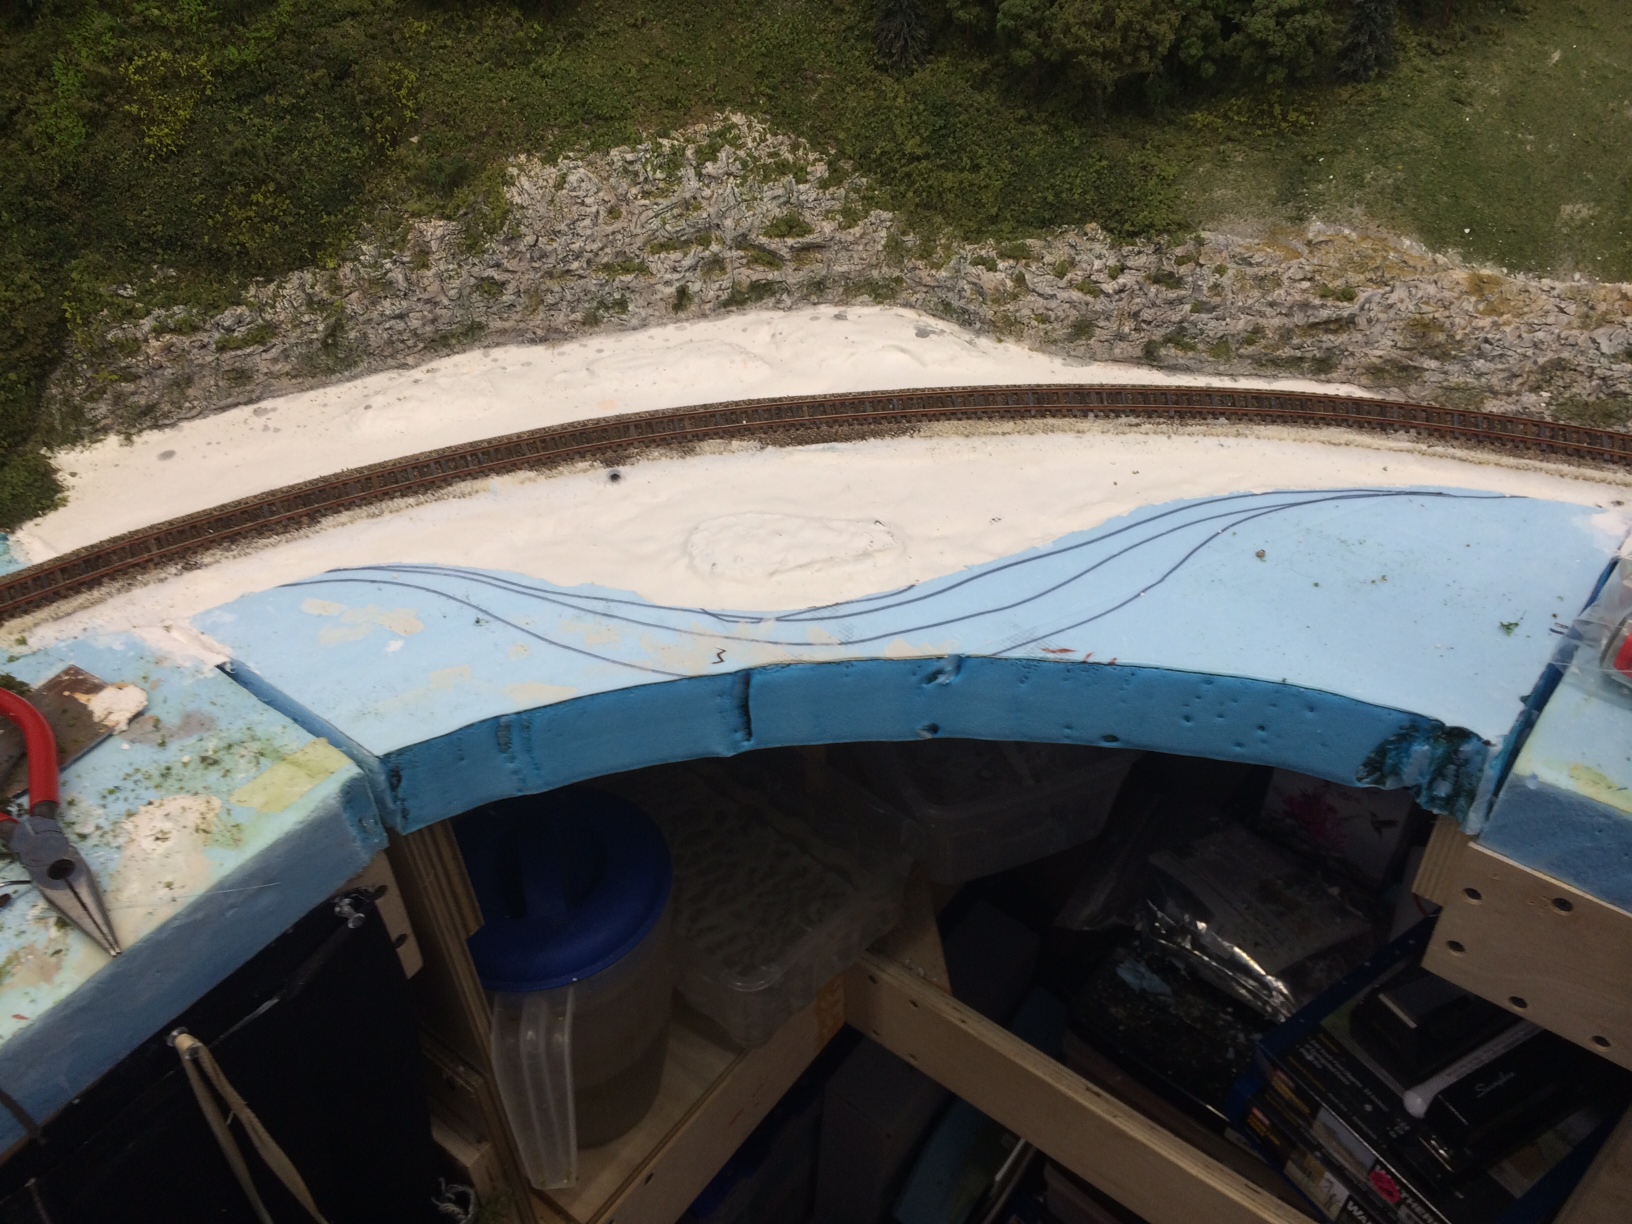
I made sure that when I painted the bottom I added gradients of different shades near the islands and in the “deep” water.
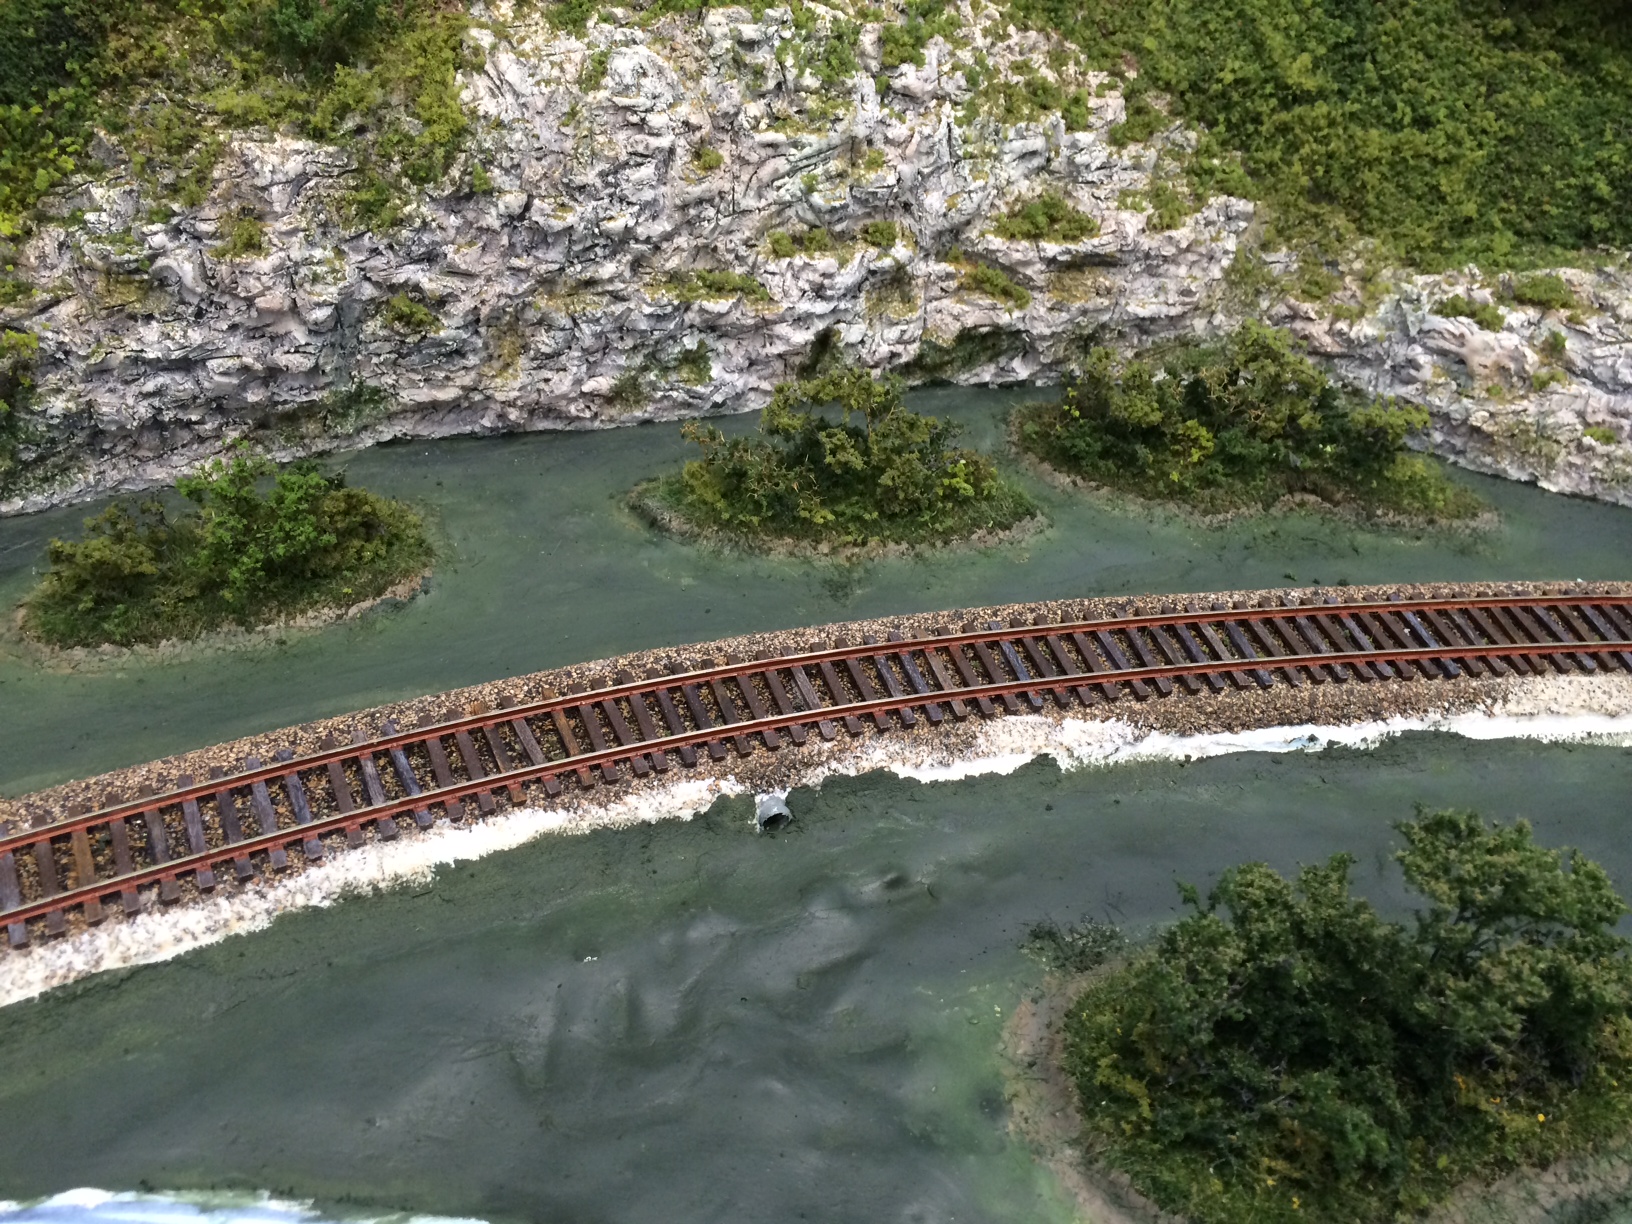
The bottom was painted using these four colors to get a greenish look since the trees would be reflected in the water.
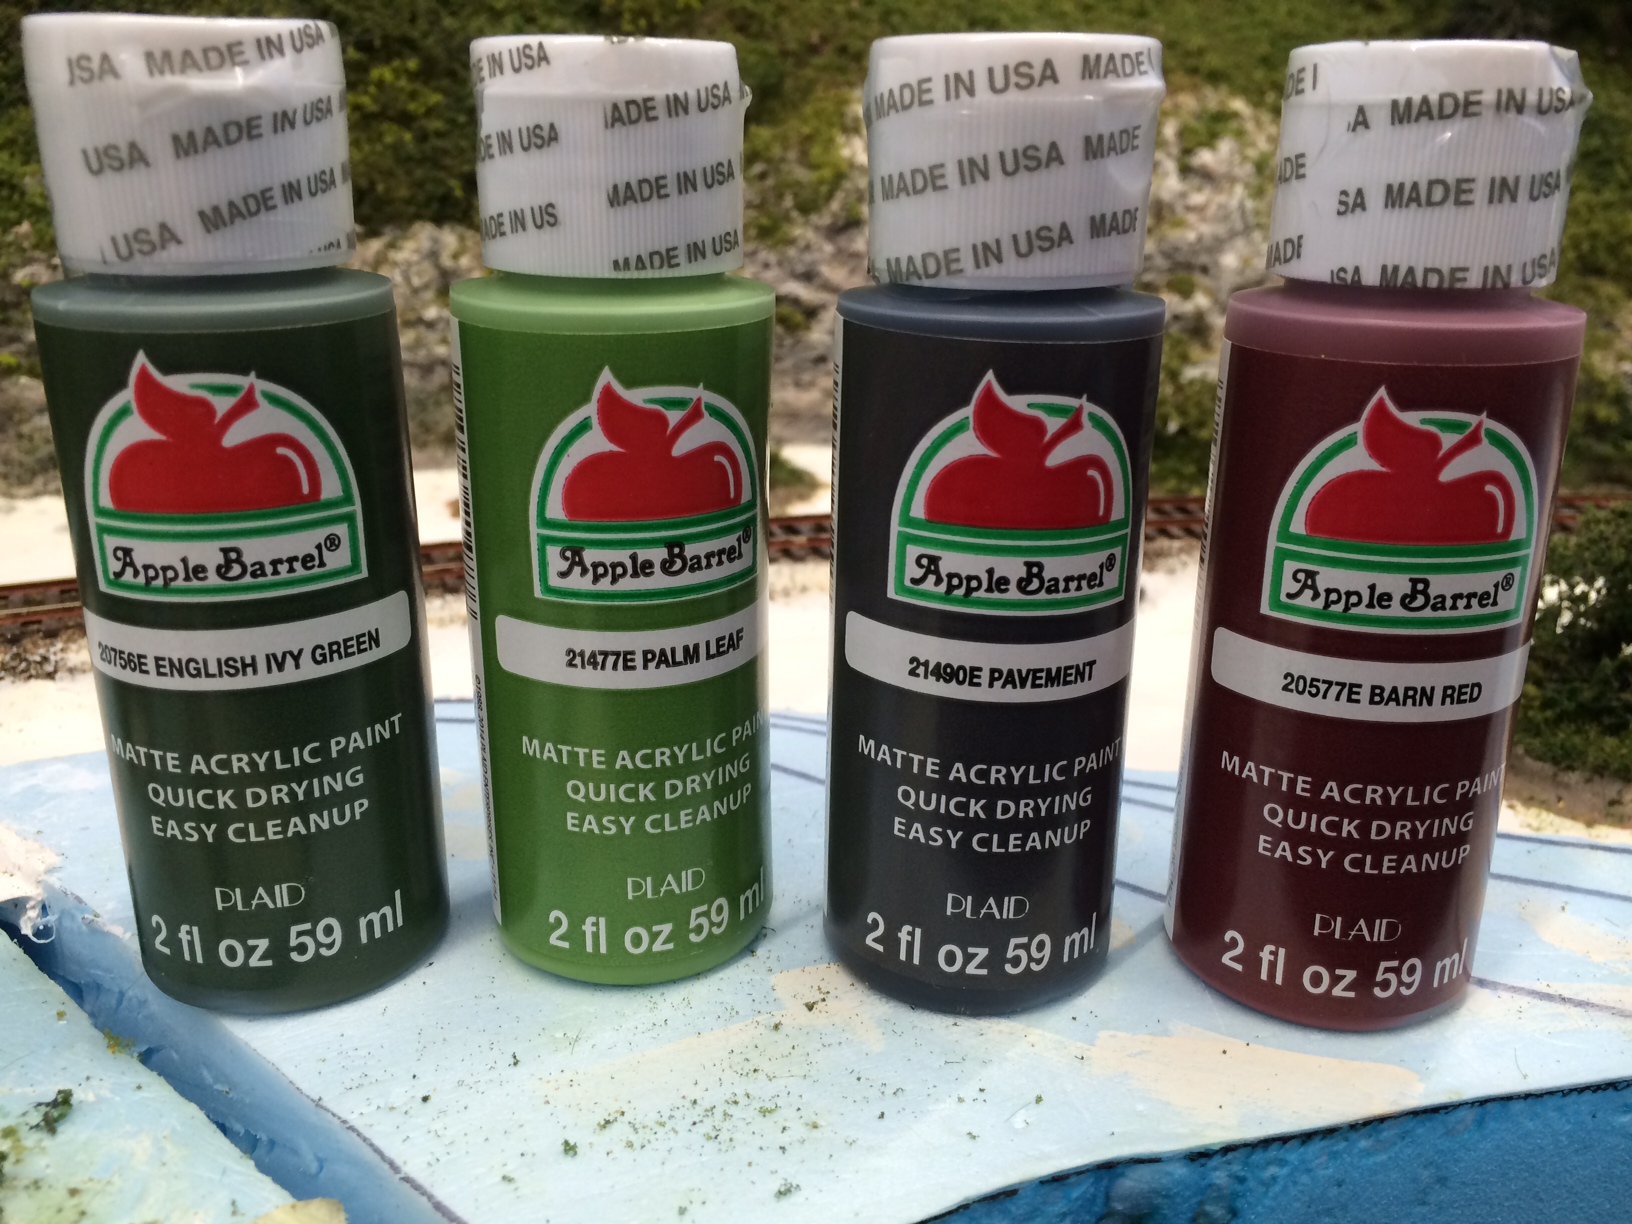
I wanted a little extra interest in the area so I added four islands.
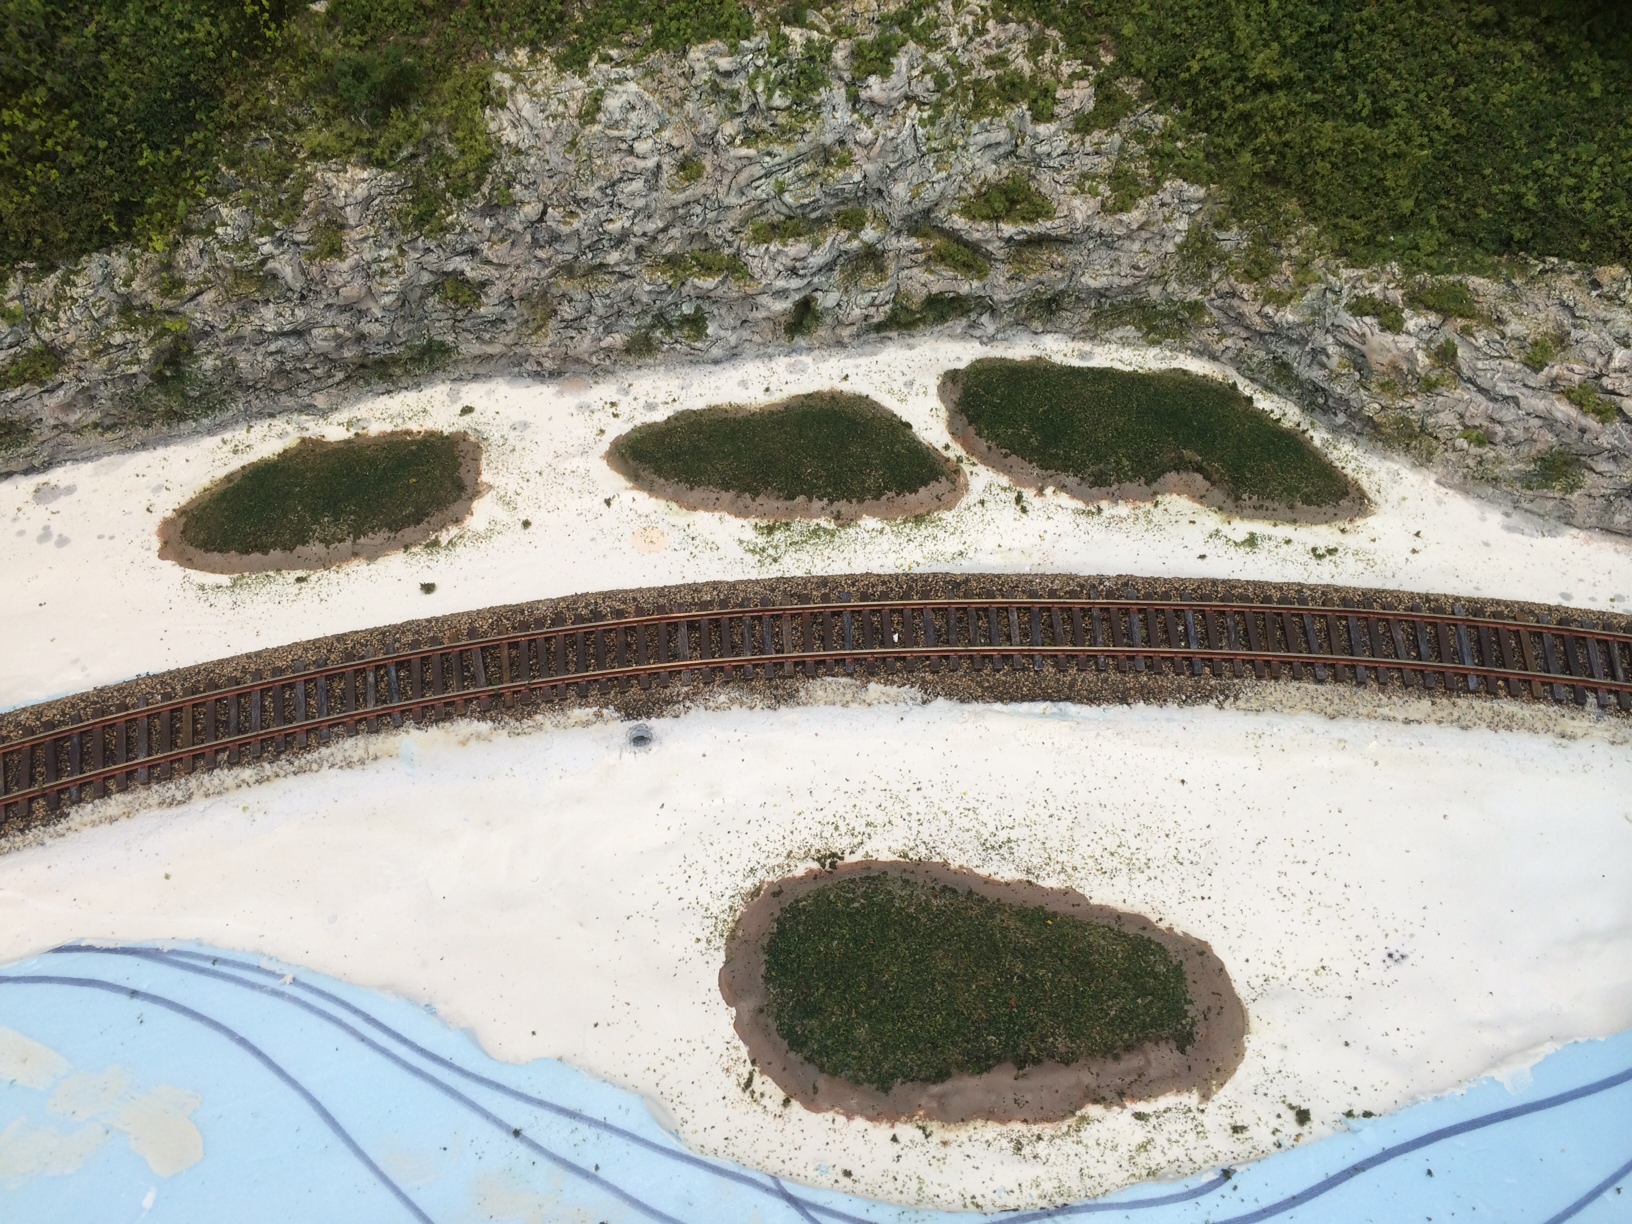
I’ve added foliage to the rocks along with the track running though the area. I added a soupy mix of plaster as the bottom for the water area.
Here are the rocks after coloring and before adding foliage.
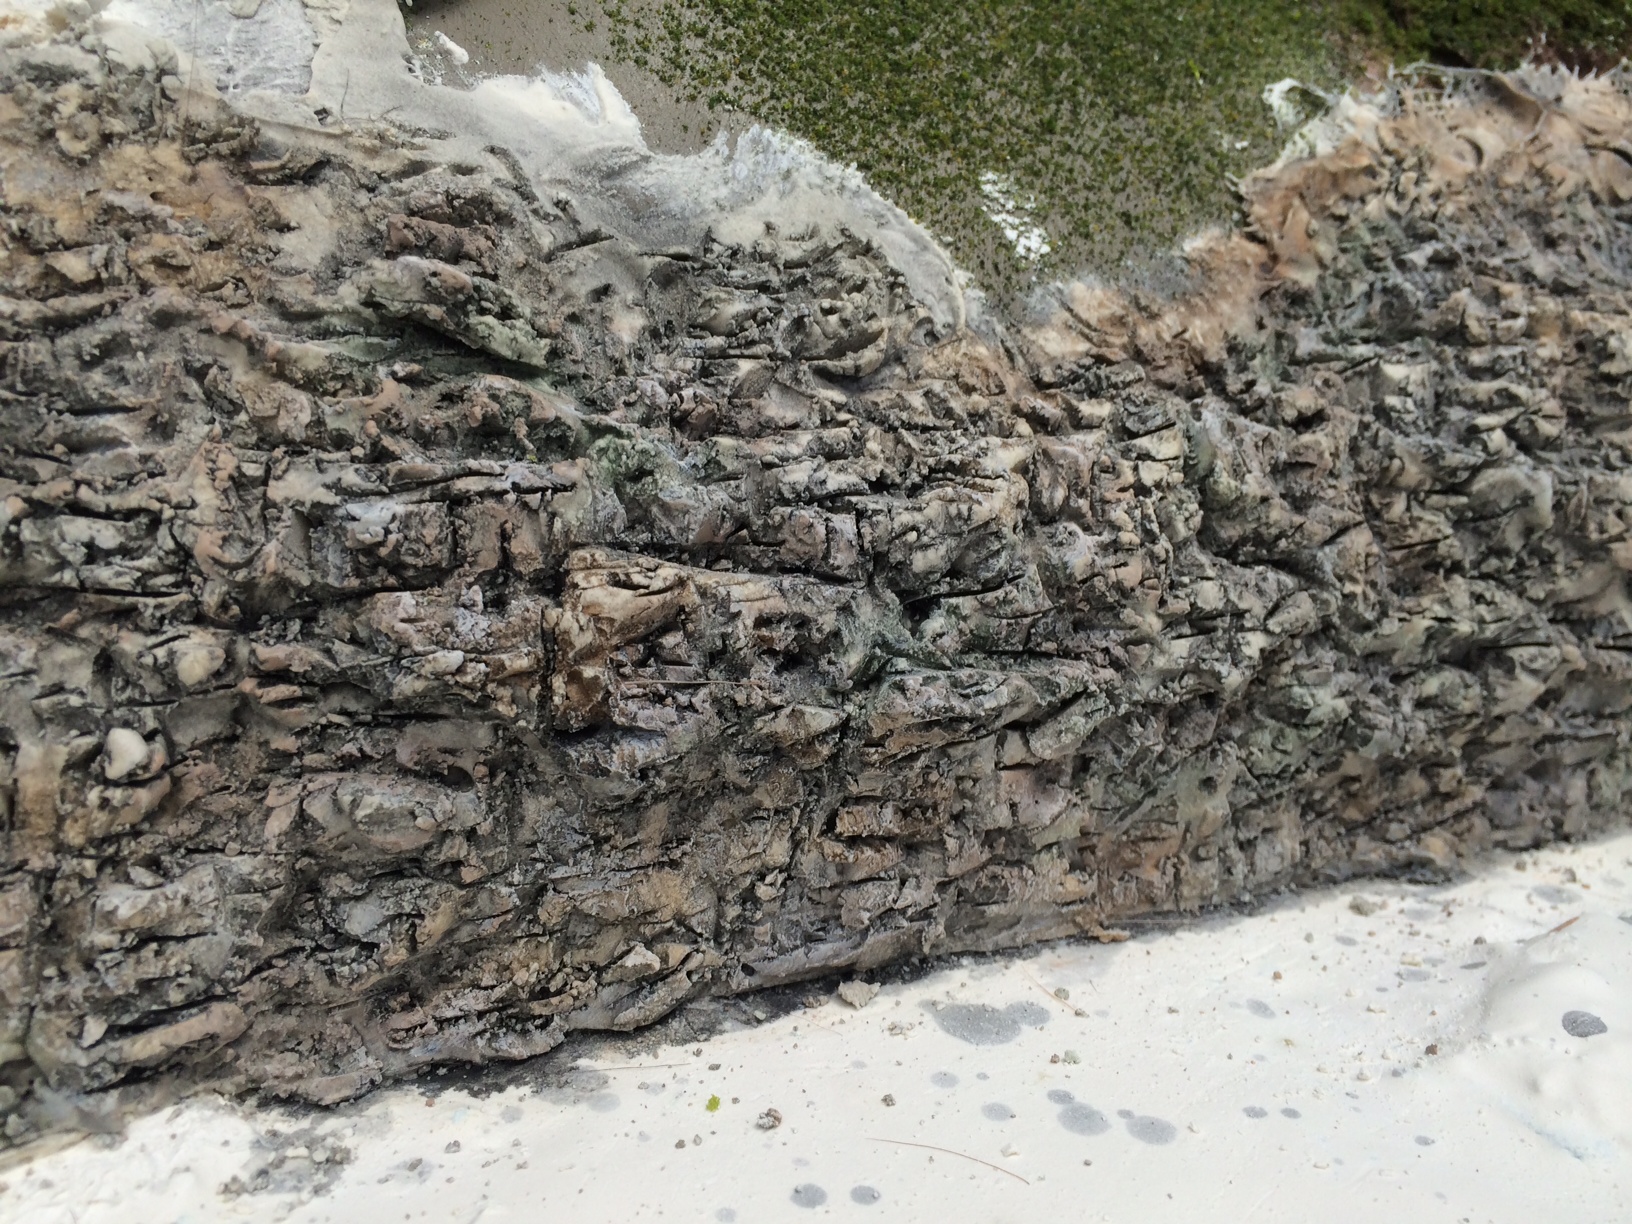
I decided not to use the trestle from my previous layout as there wasn’t any easy way to make it look right, so I decided to add water instead. Here you can see the carved plaster rocks before coloring.
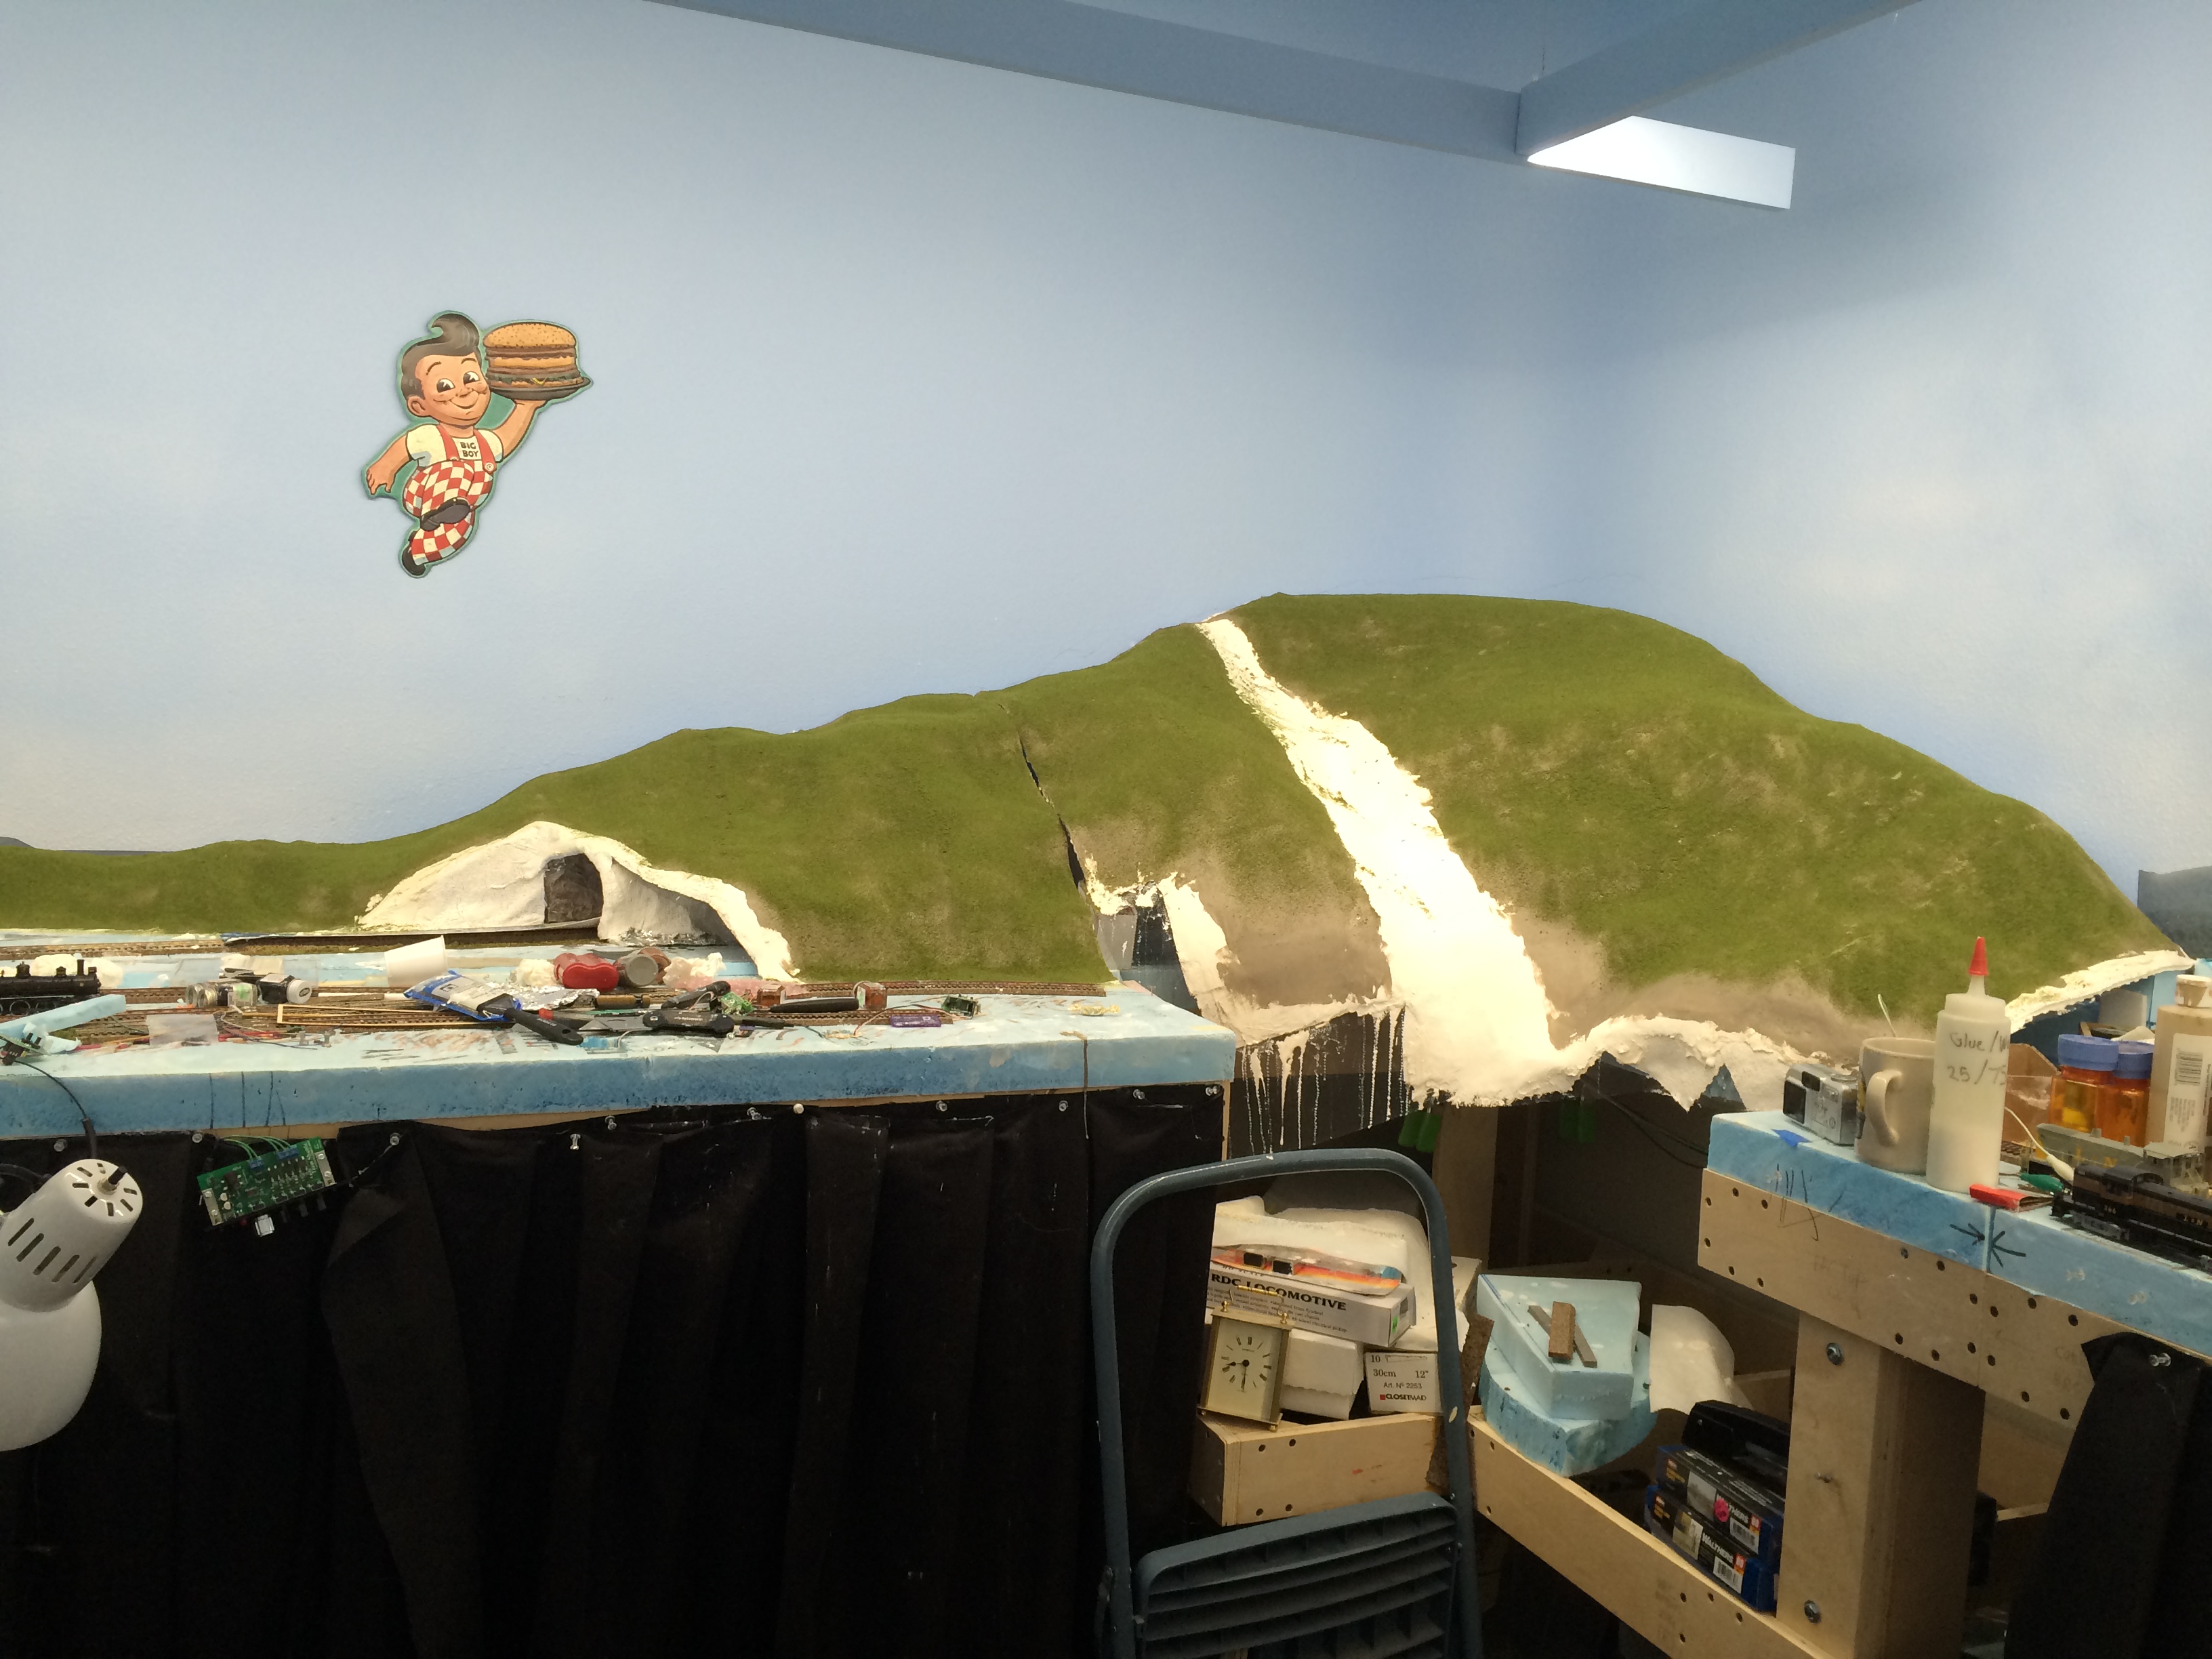
Here’s what the mountain area looks like as of 8/5/15 with dirt colored paint and WS “Blended” ground foam. The white are is where the waterfall will be and PLEASE NOTE the picture doesn’t accurately show the contours well.
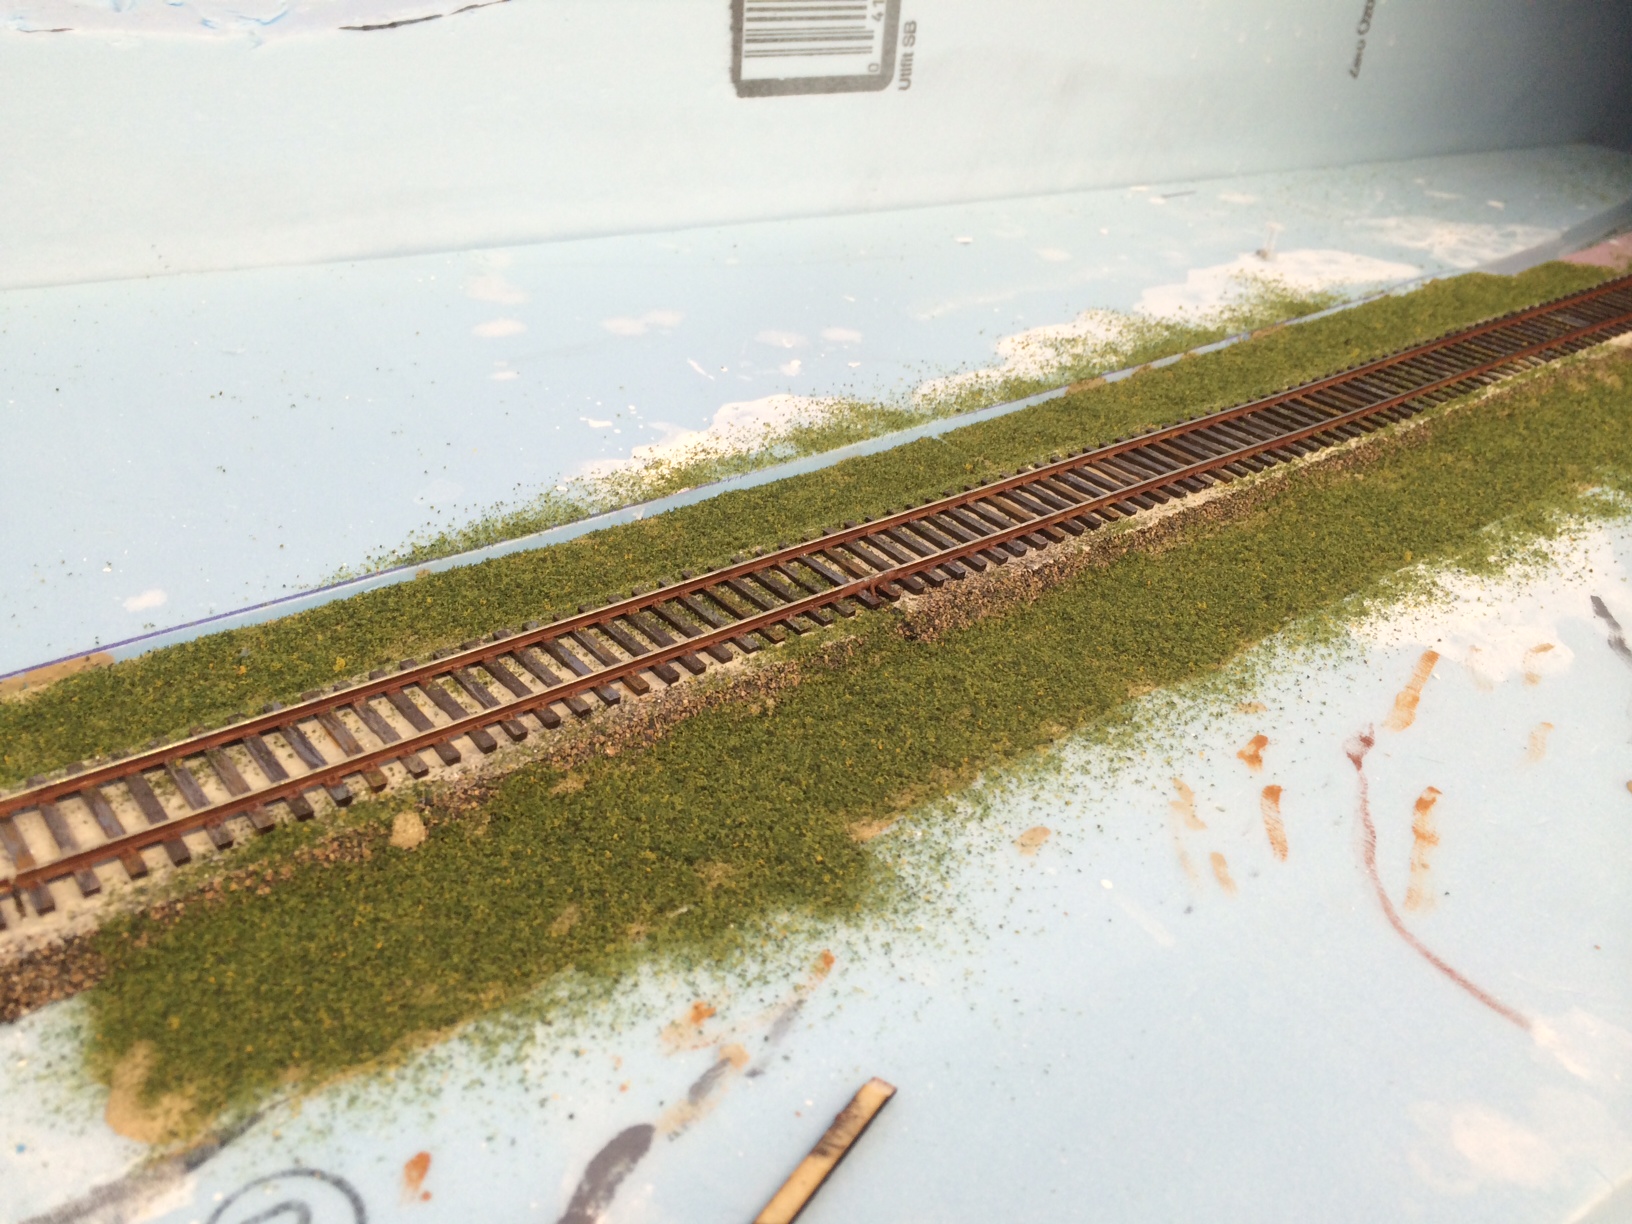
I did some detail work on the rail and ties on the Doodlebug track where it will be entering the tunnel through the mountain and started work on the tunnel liner. I’ll probably be running a camera car on the layout so I can’t slack on the detail for entrances to tunnels.
For the track I first painted the rails with Testors(tm) “Rust” flat enamel using a small brush.
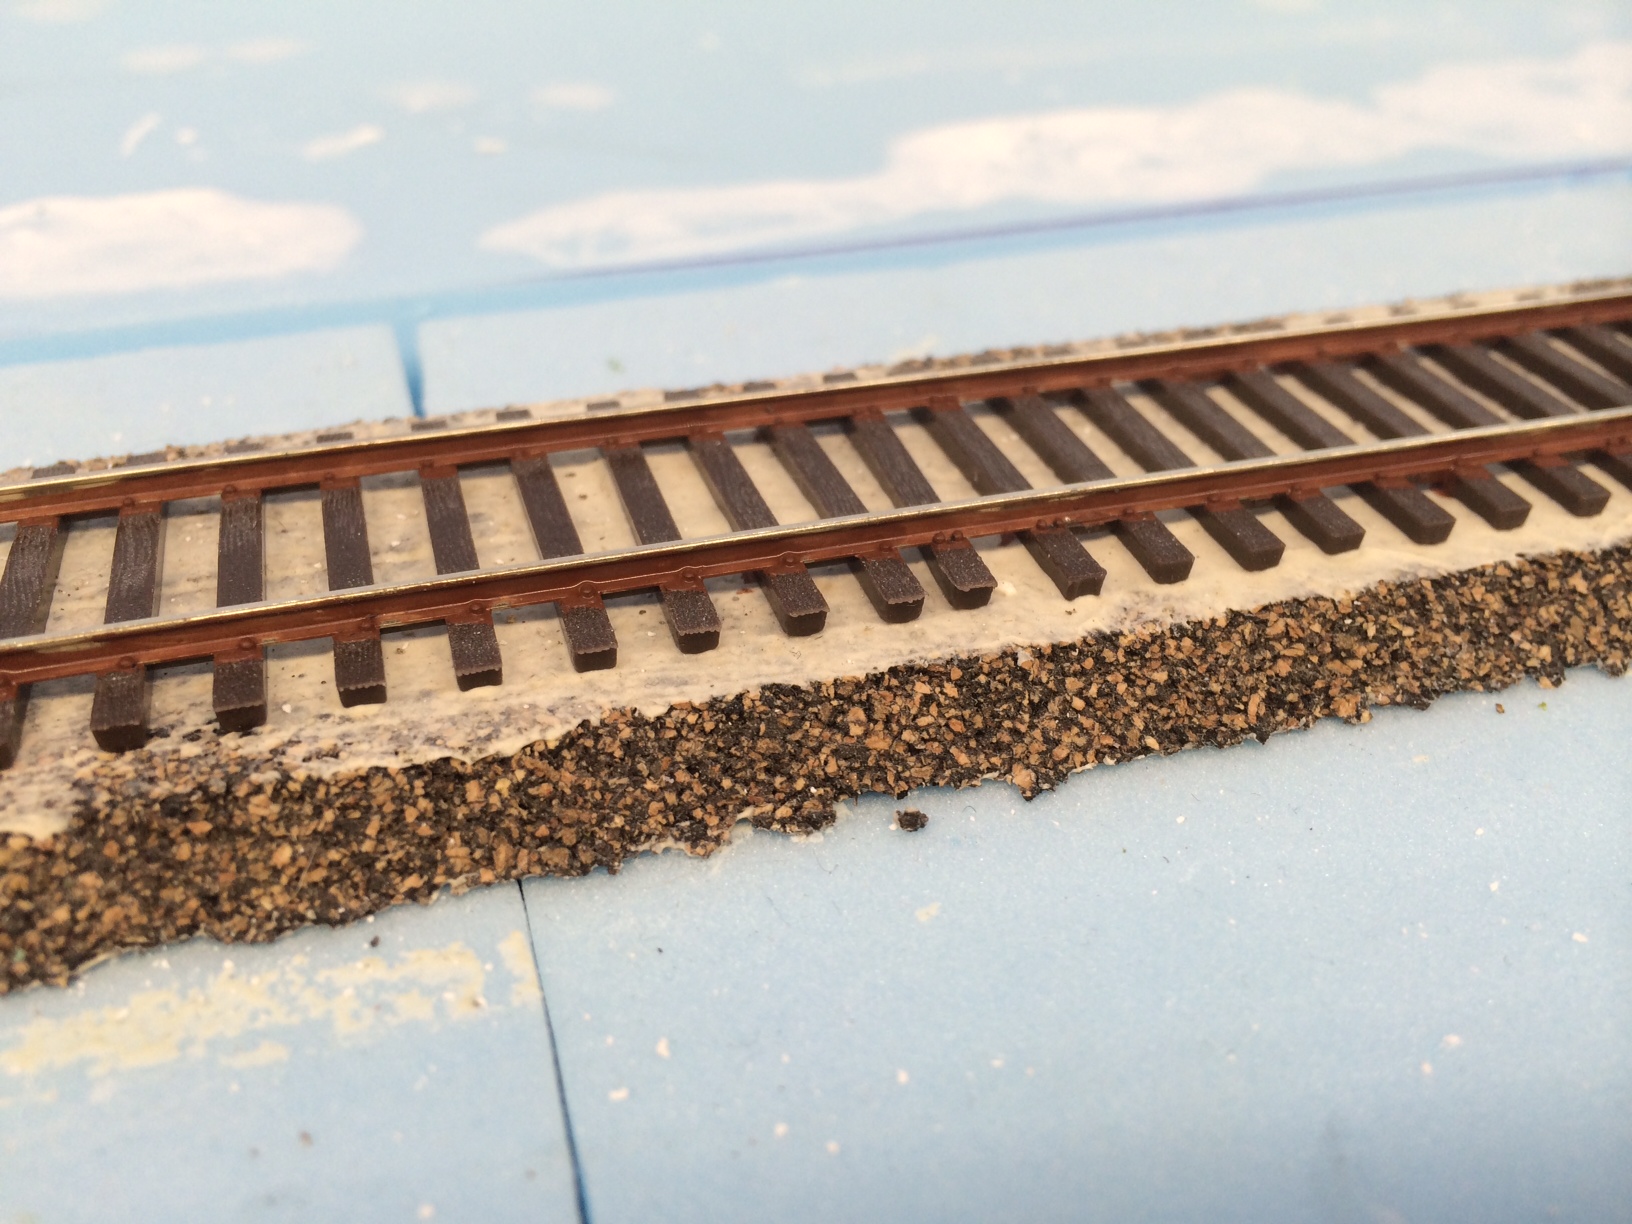
Next I used various colors of enamel to paint the ties.

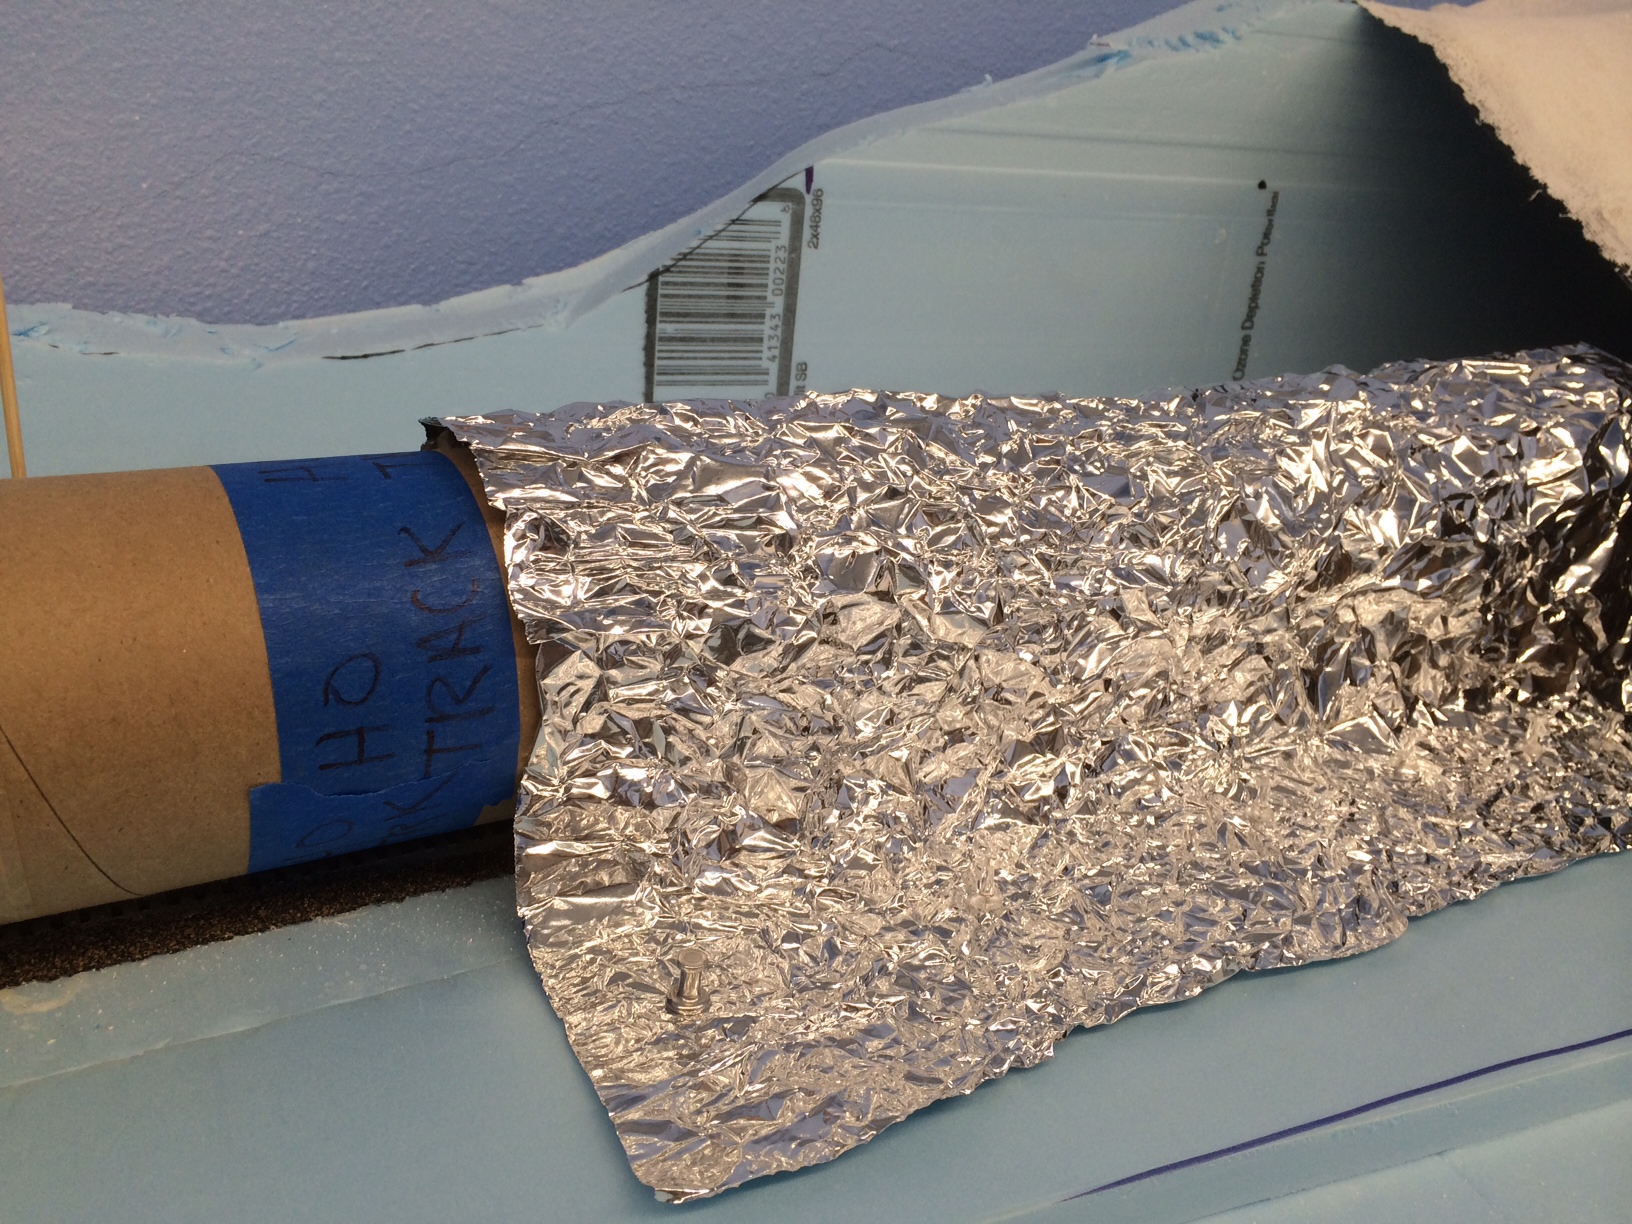
I used a shipping tube as the form on which I applied crinkled heavy duty aluminum foil. Once the inside of the foil is painted it will approximate the look of rock.
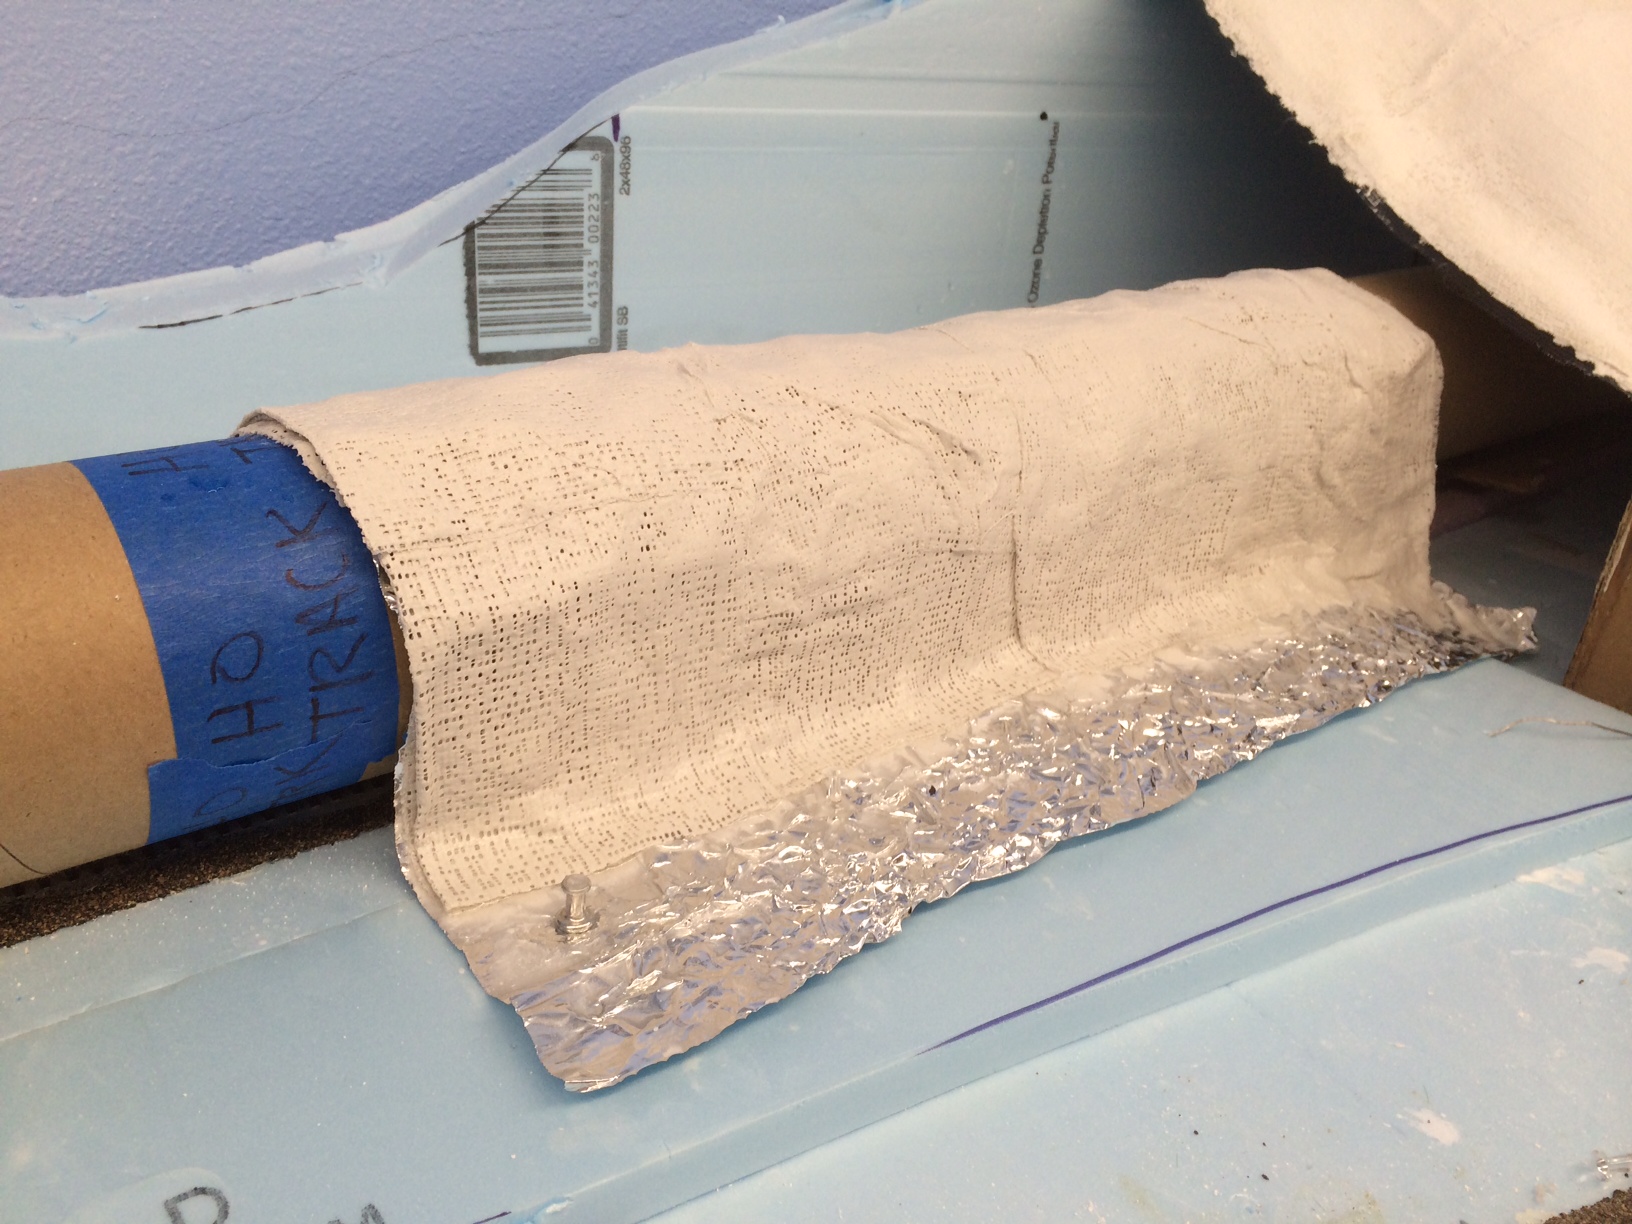
Next I applied two layers of plaster cloth to give the liner some strength. I let it dry overnight.
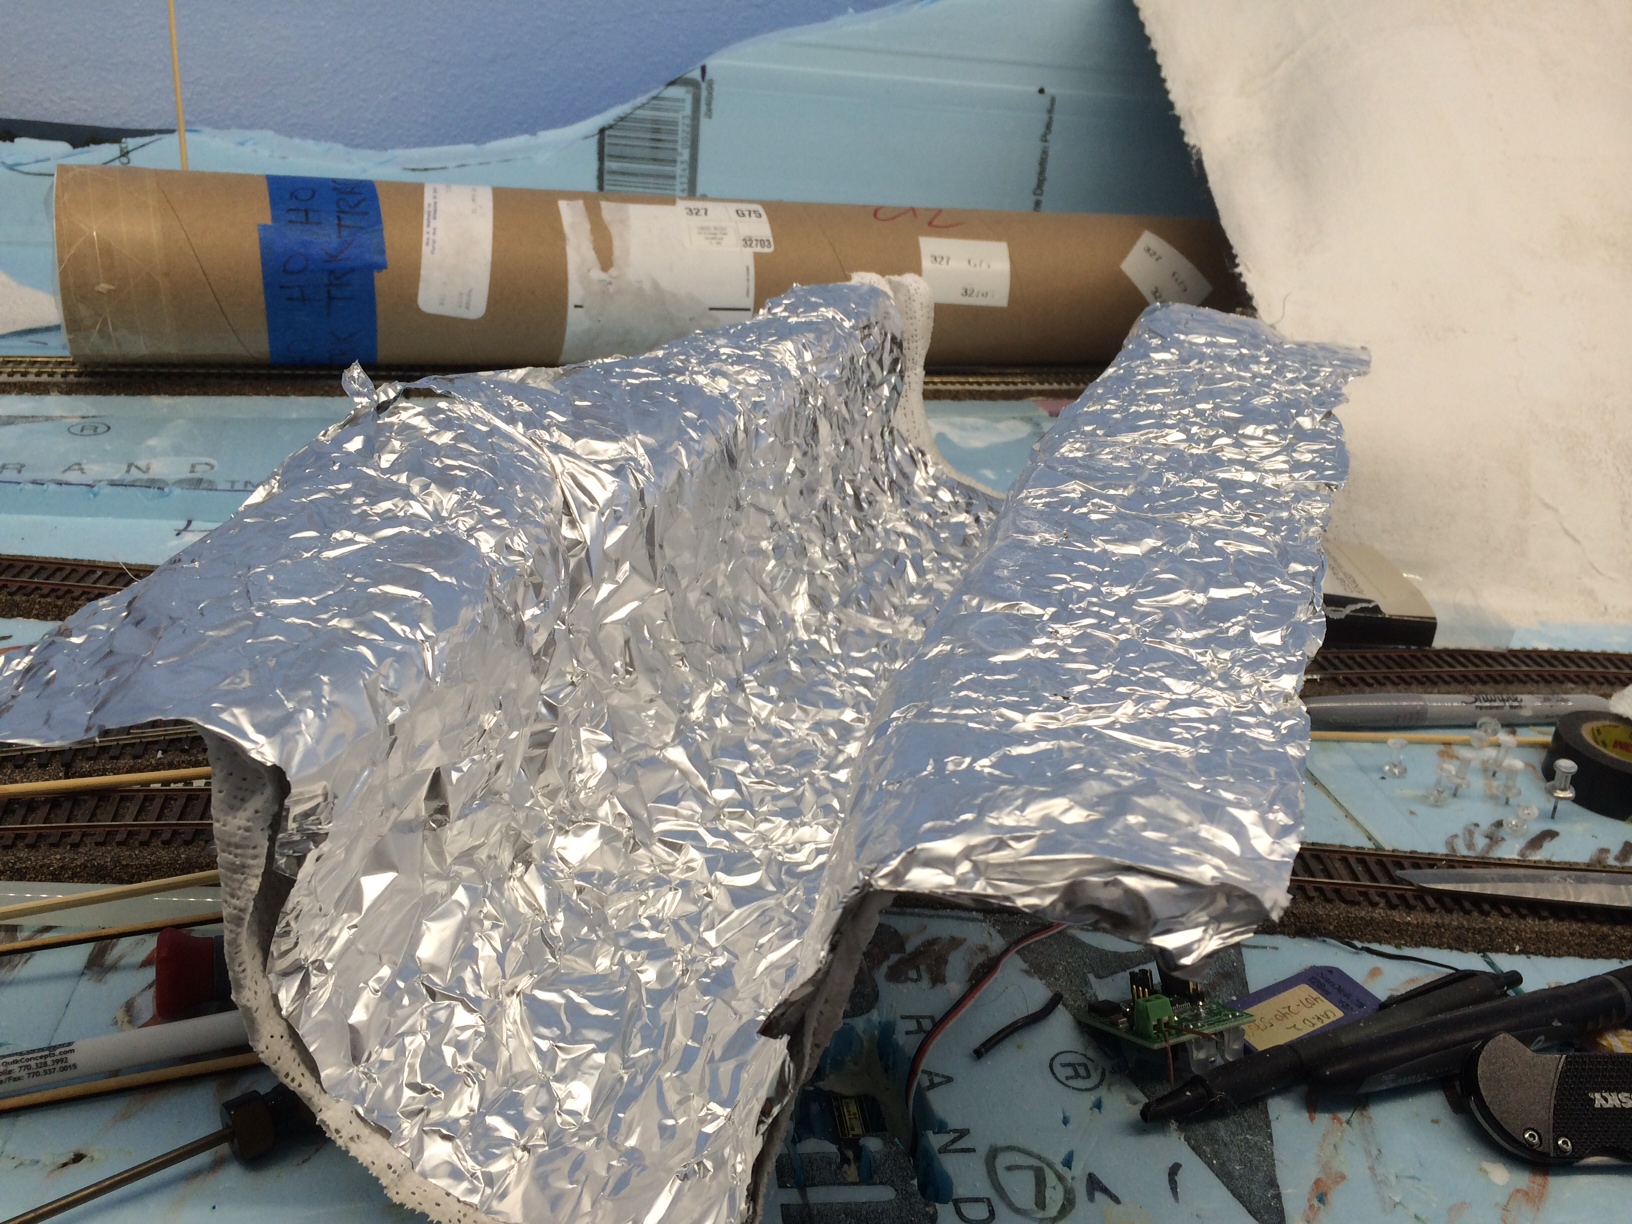
Here’s a view of the inside of the tunnel liner before paint and detailing.
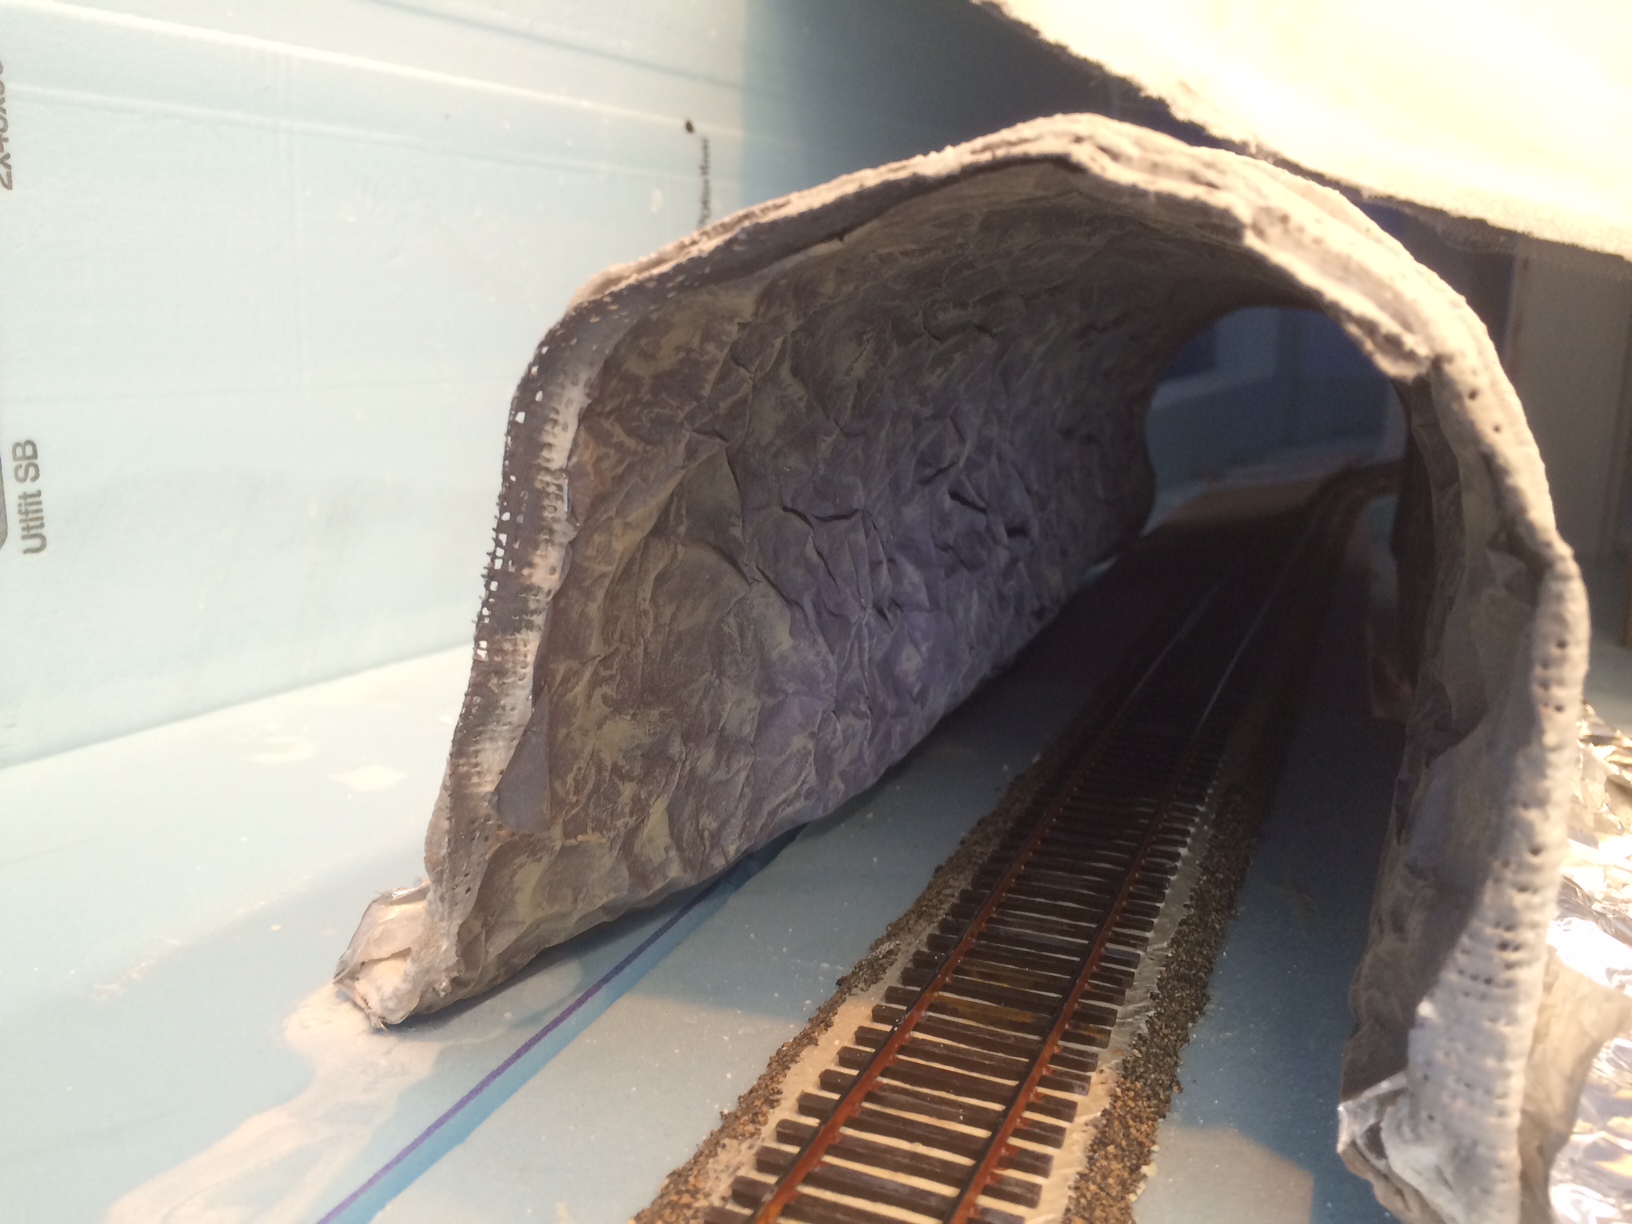
I painted the tunnel liner using a combination of spray paint and dry brushing different colors. It’s difficult to get a good picture that shows the colors.
I started doing landscaping of the track in the tunnel of the mountain. I first spread a mixture of 50/50 white glue / tan craft paint and then added WS Blended Turf. This picture was taken while the mixture was still wet and before vacuuming. Next I’ll add various shades / grades of landscaping material and finally I’ll be able to ballast the track.